Model Build
After I purchased the model from eBay in March 2018 and got it home, I started to have a look around at what I had and what needed to be done.
Here are the pictures that I took of Bluebird on my kitchen table.
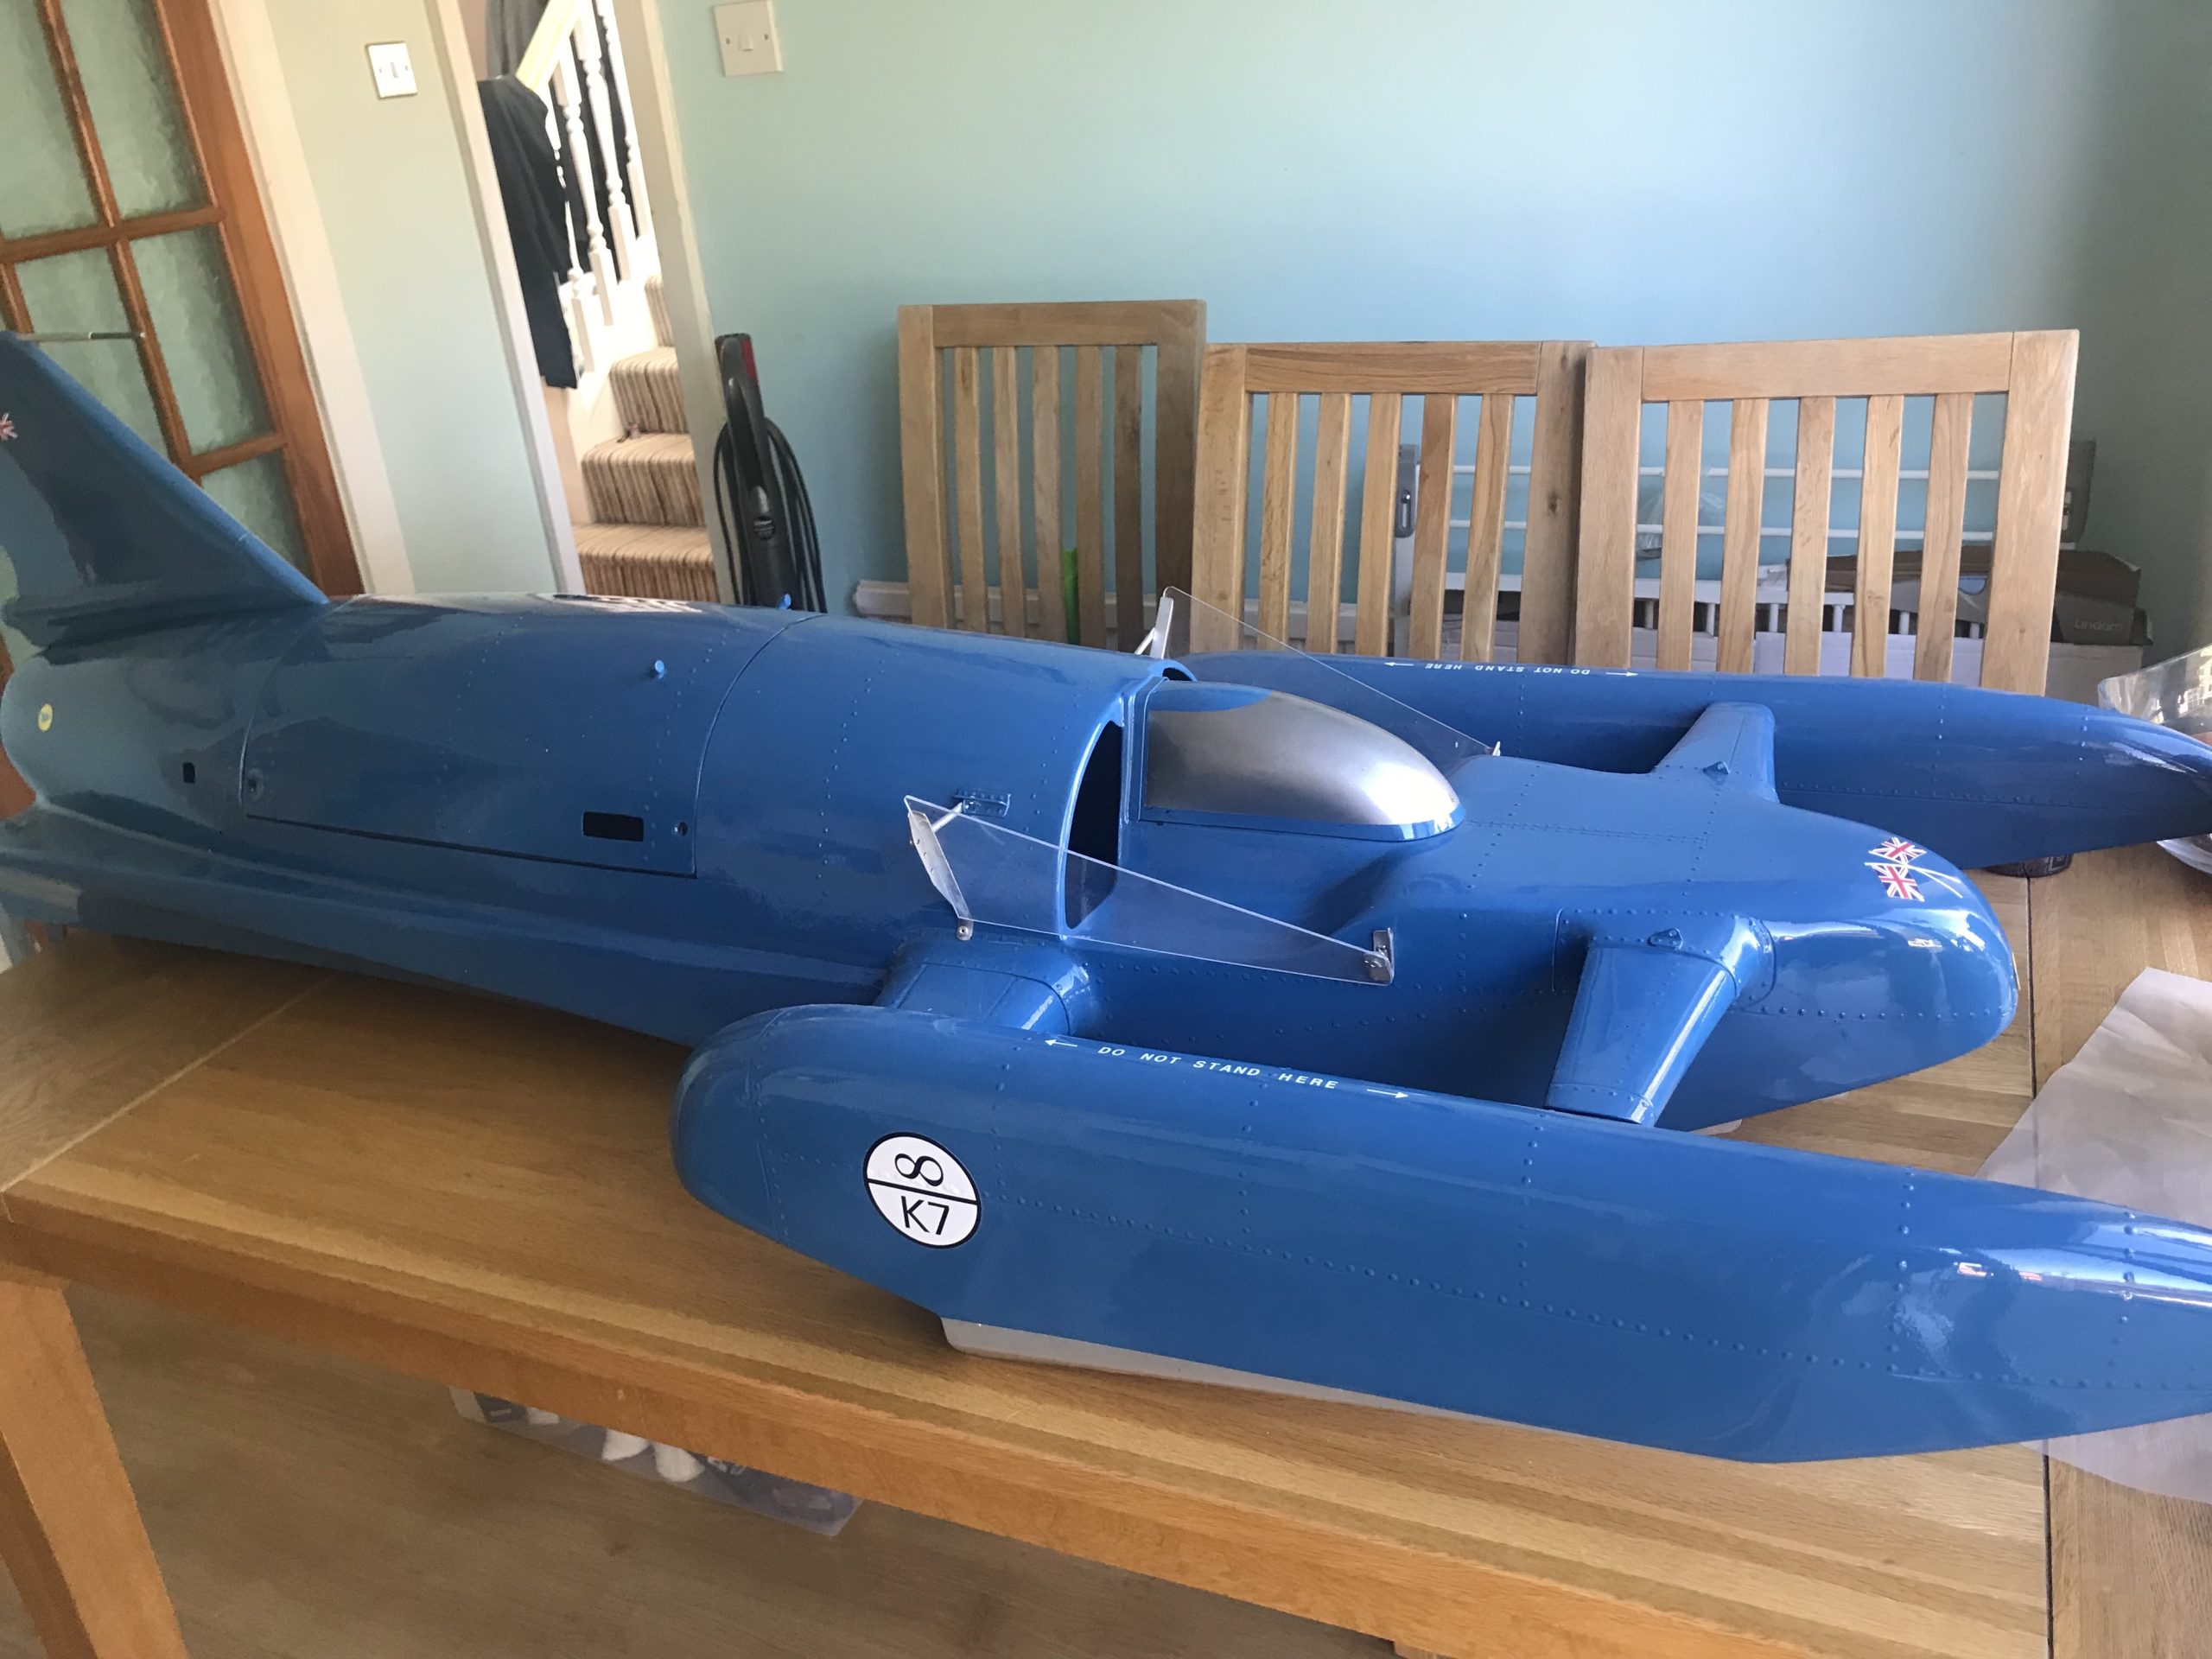
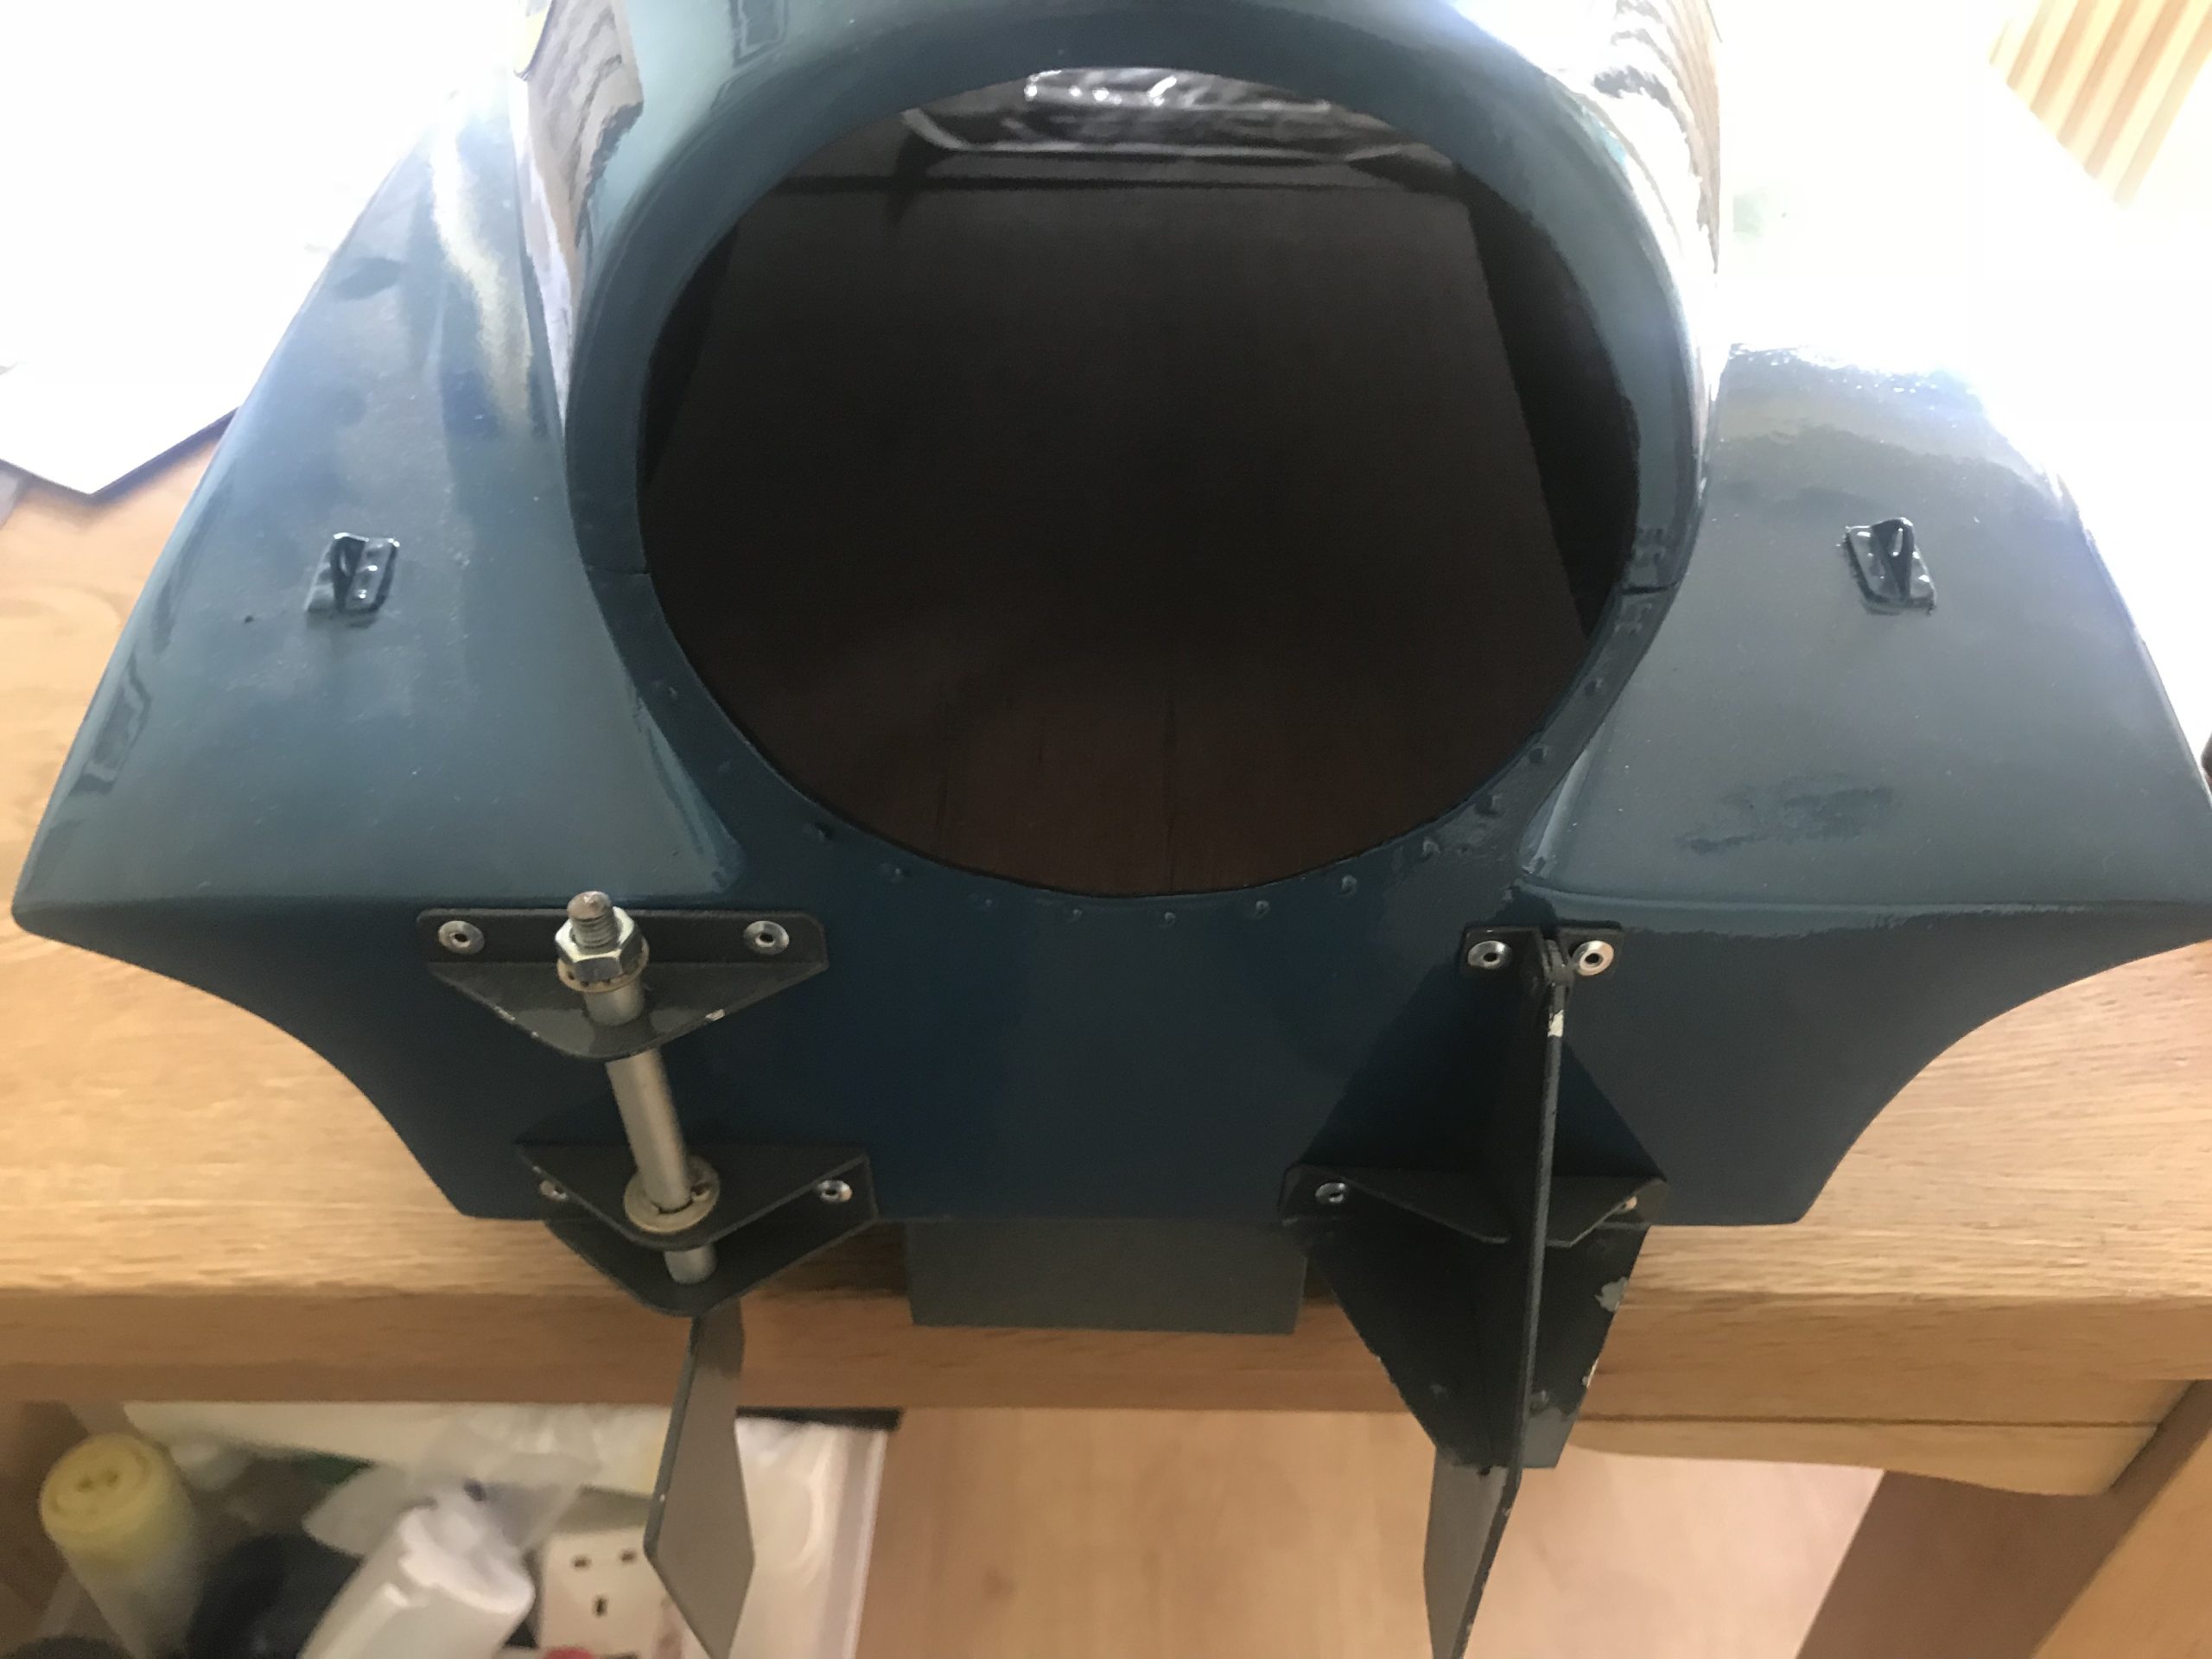
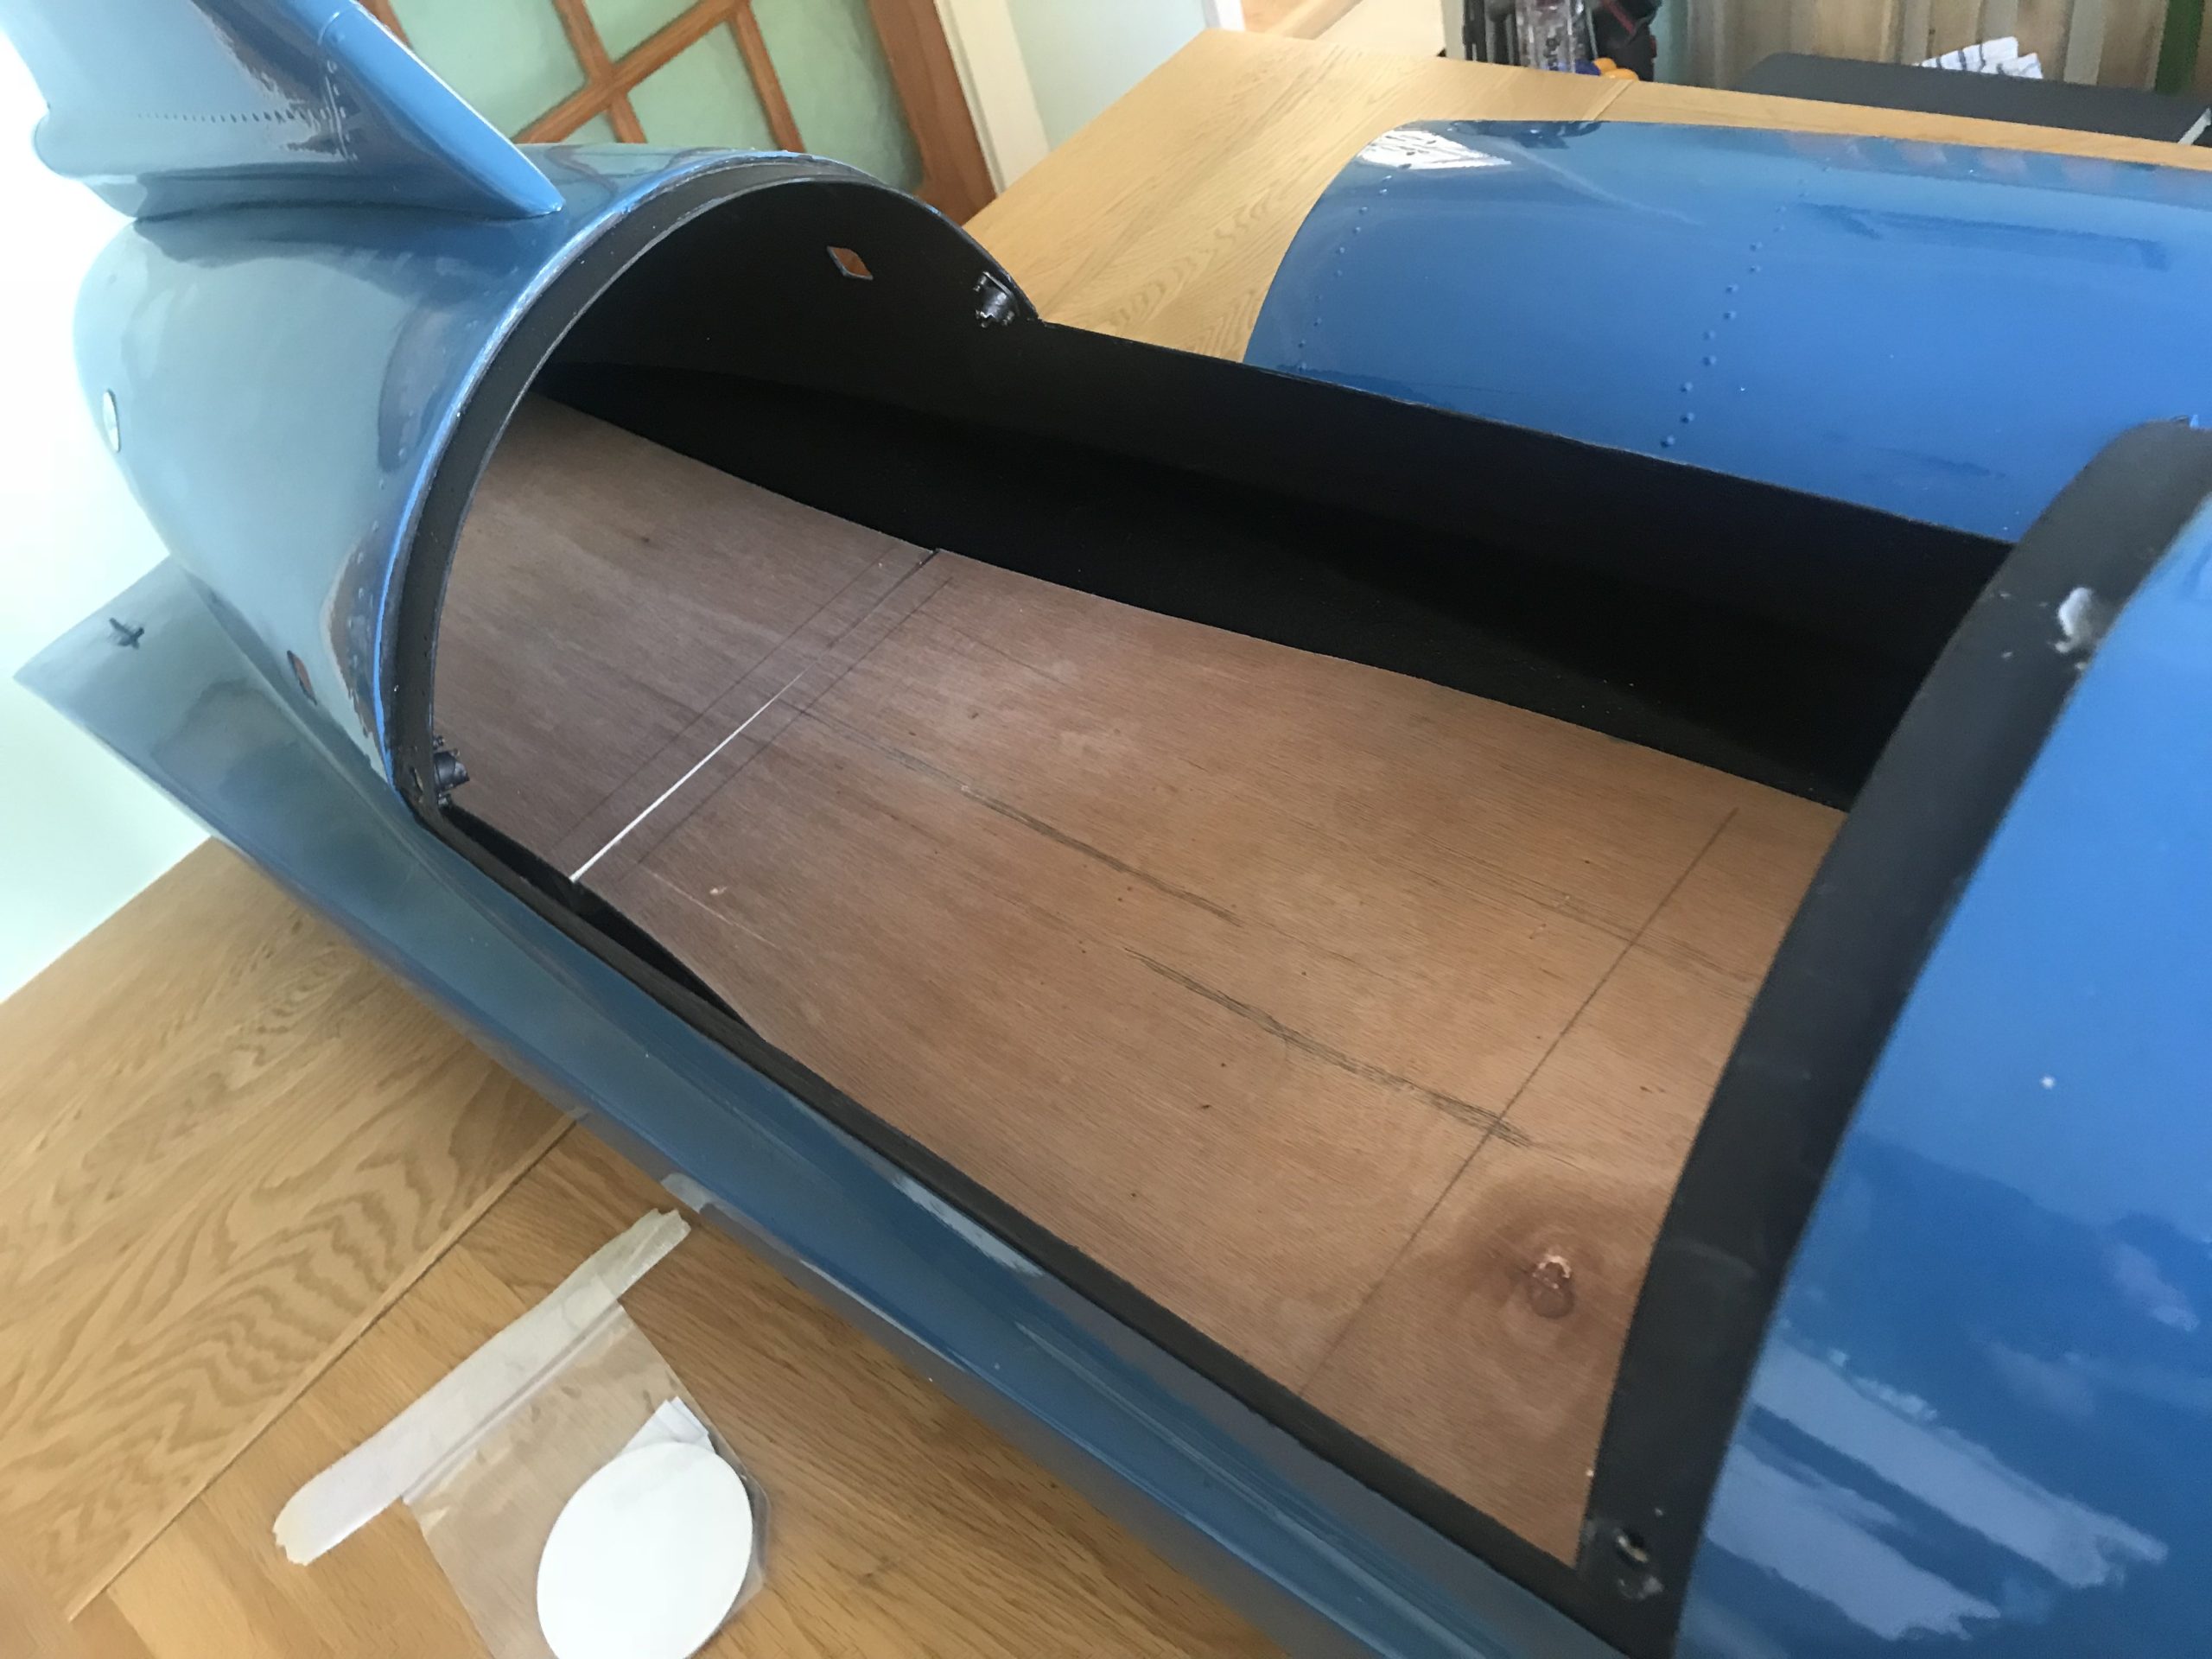
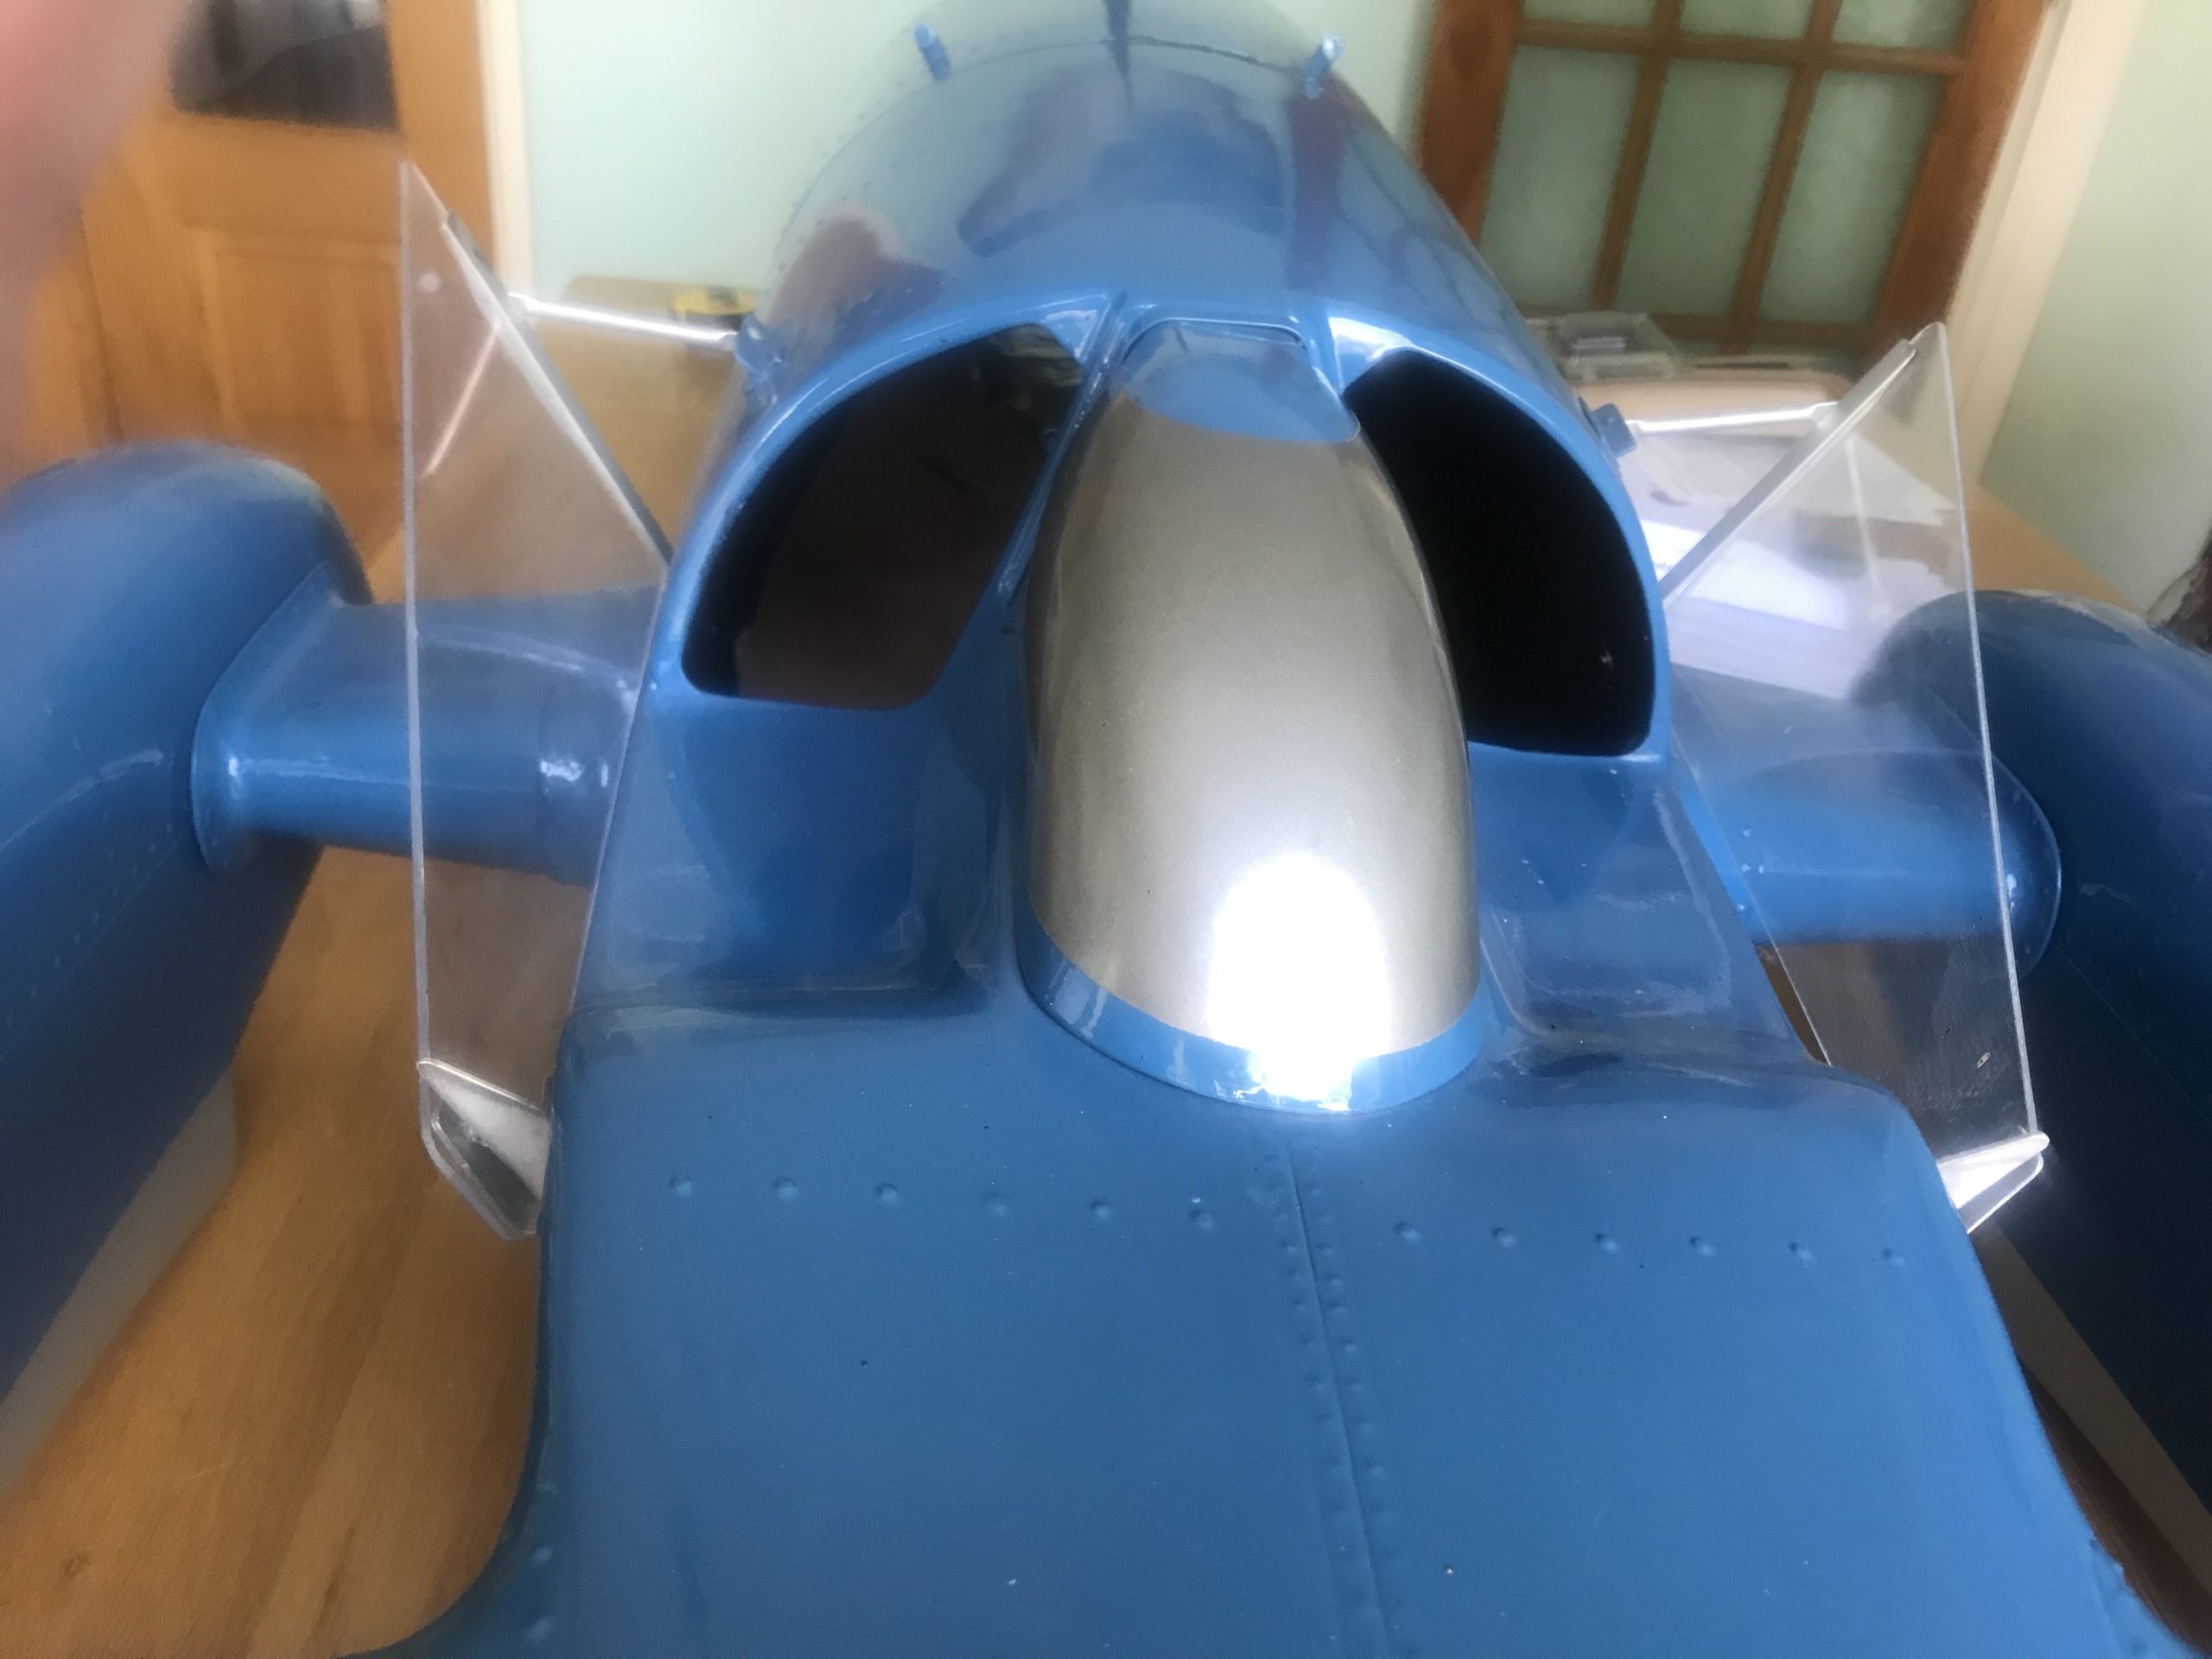
I had the basis of a great model but there were many things that needed to be sorted to firstly make the model capable of being powered on water and also to make it look more realistic.
- Full internal fit out with fuel tank, engine, RC equipment and ancillaries.
- New canopy
- Cockpit fit out
- Rudder control mechanism
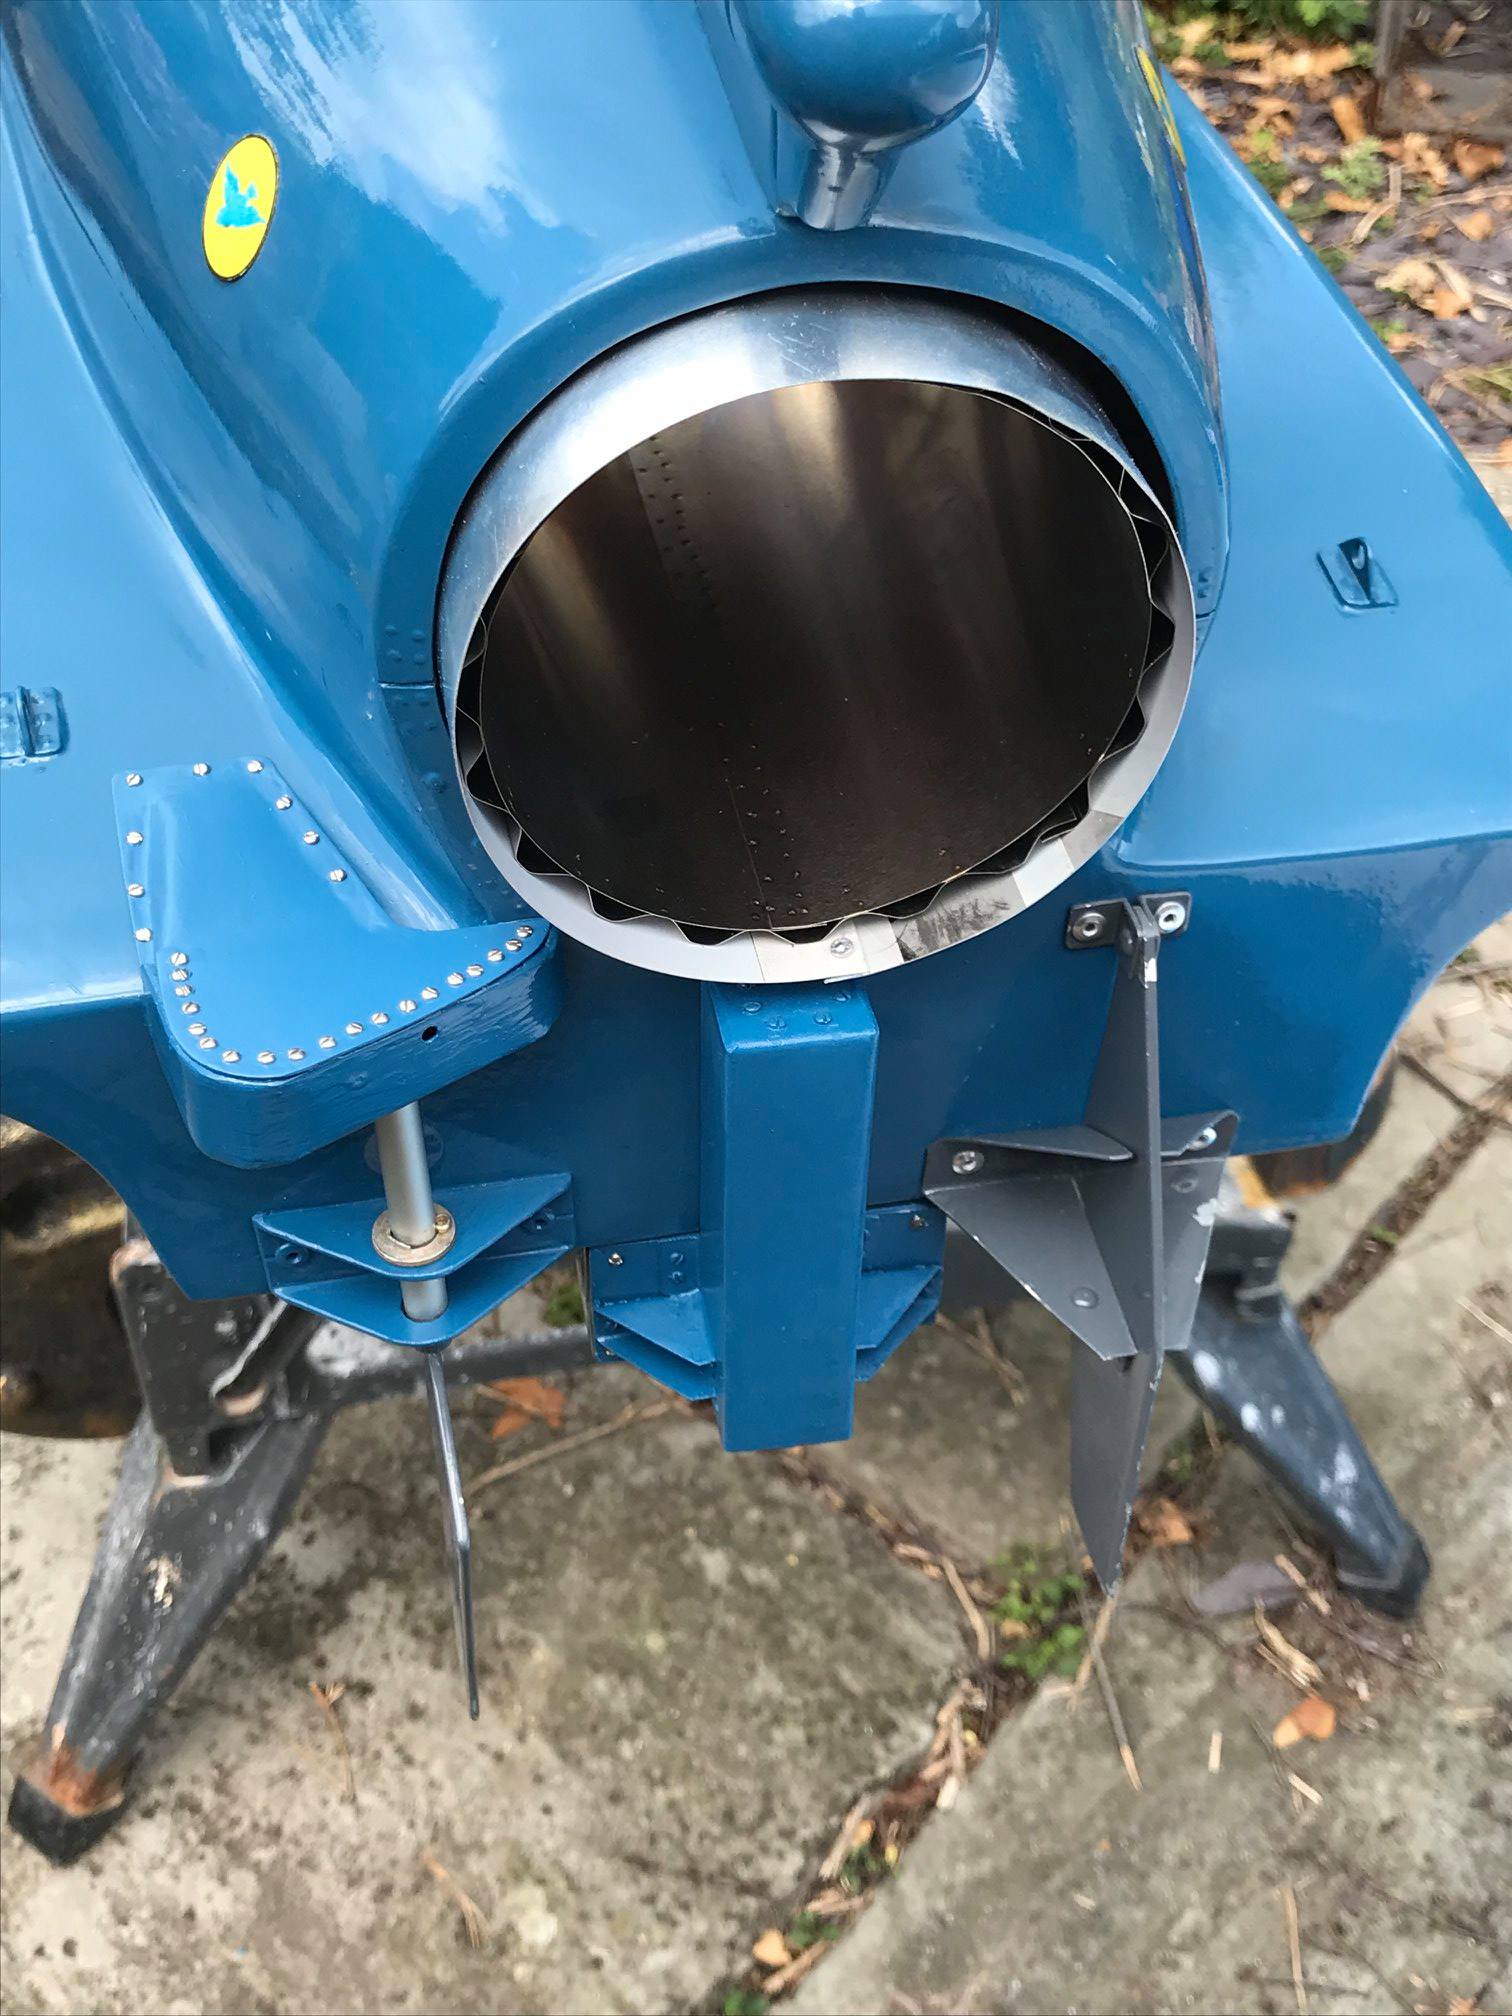
- Jet pipe
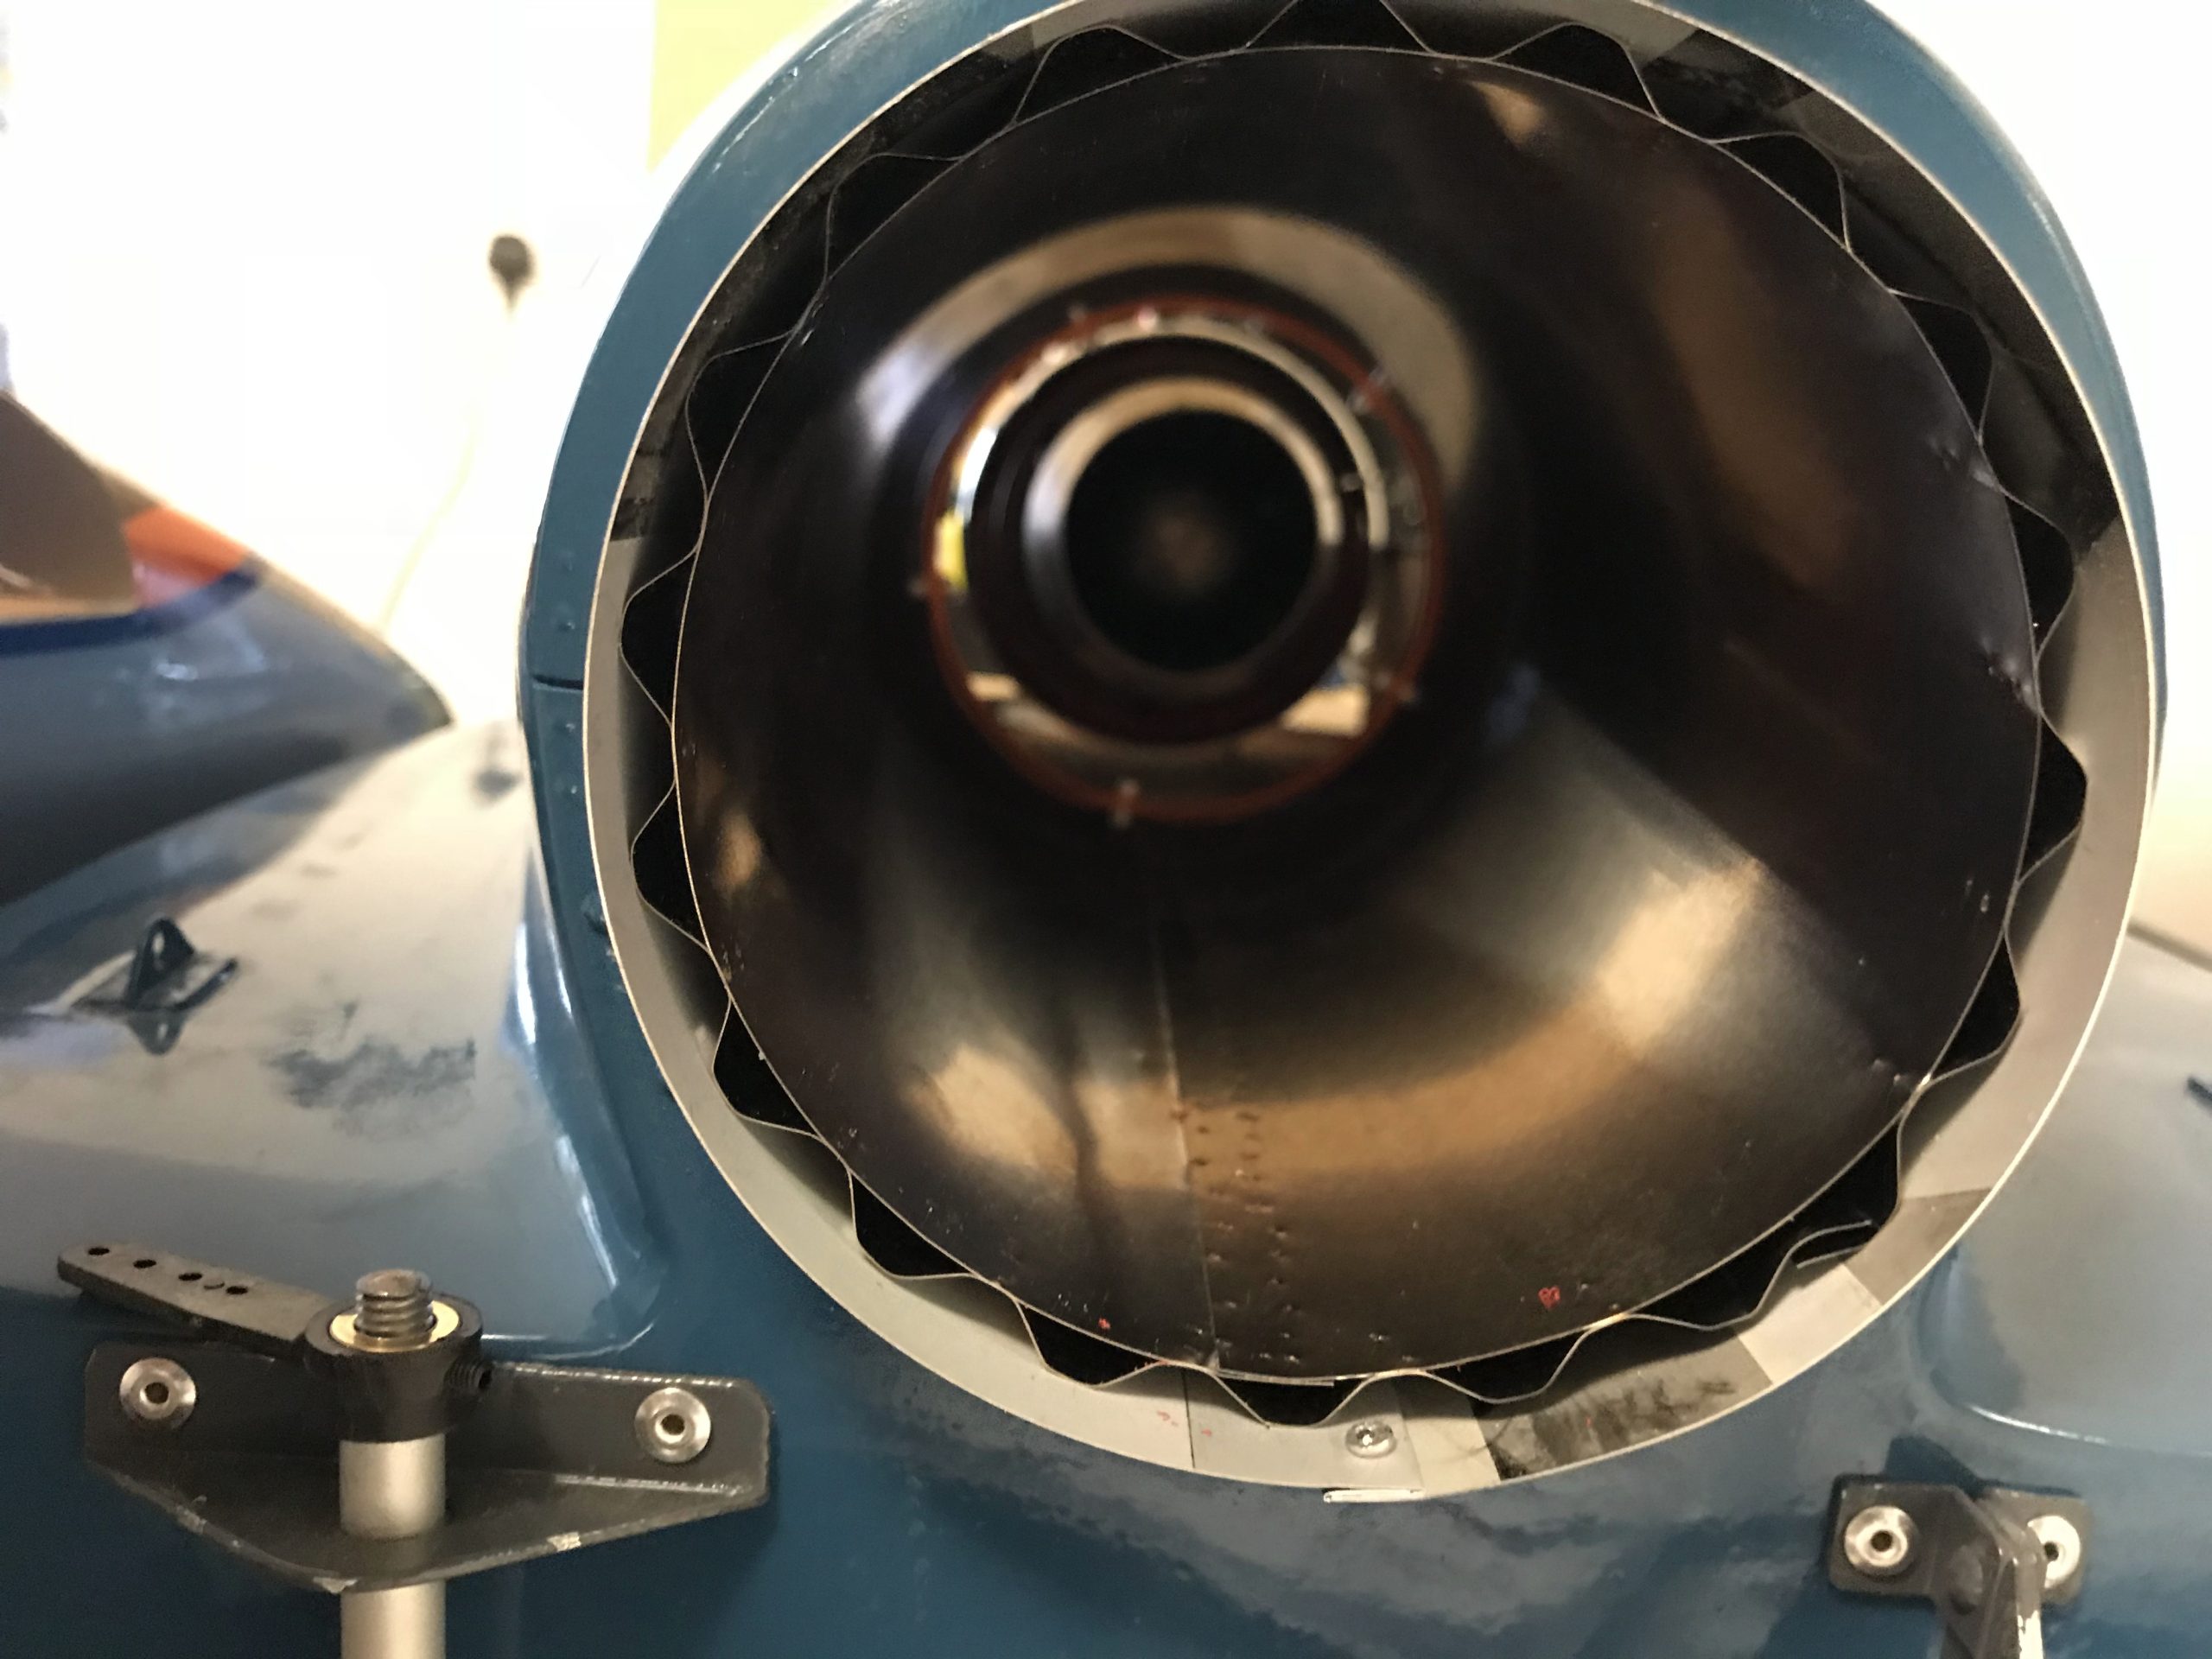
First job I did was to design and have a jet pipe made. I decided to have this made to order by a manufacturer who make model jet pipes for RC jet aircraft.
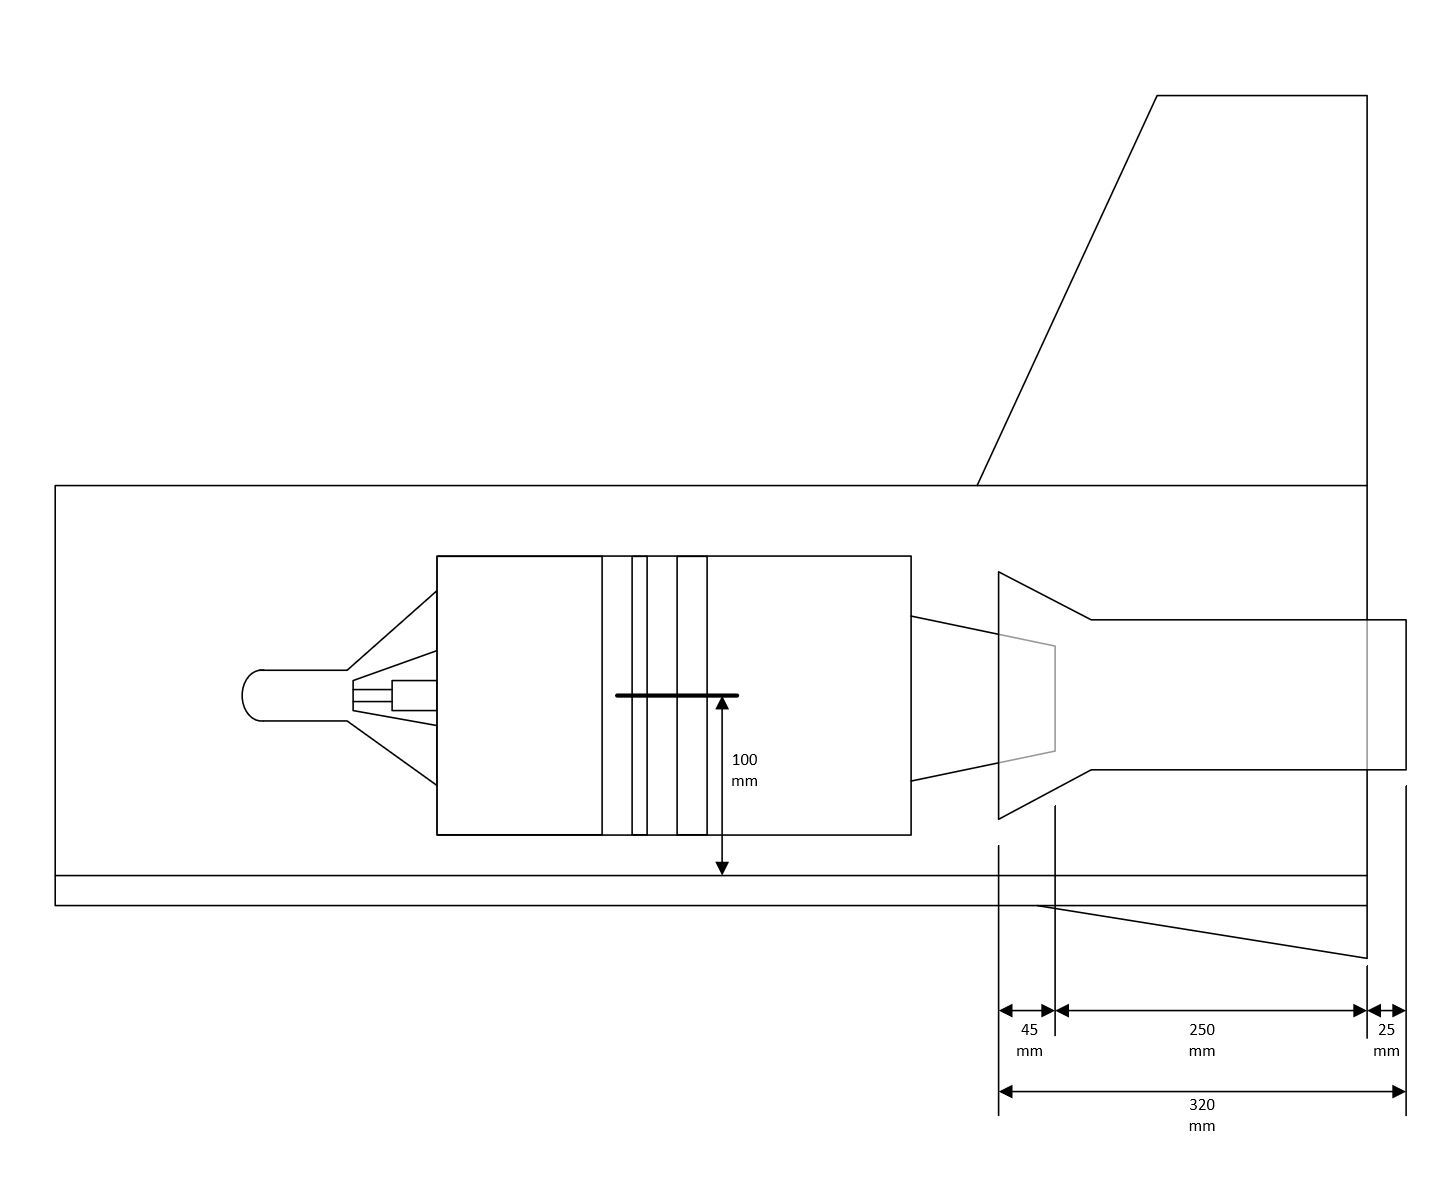
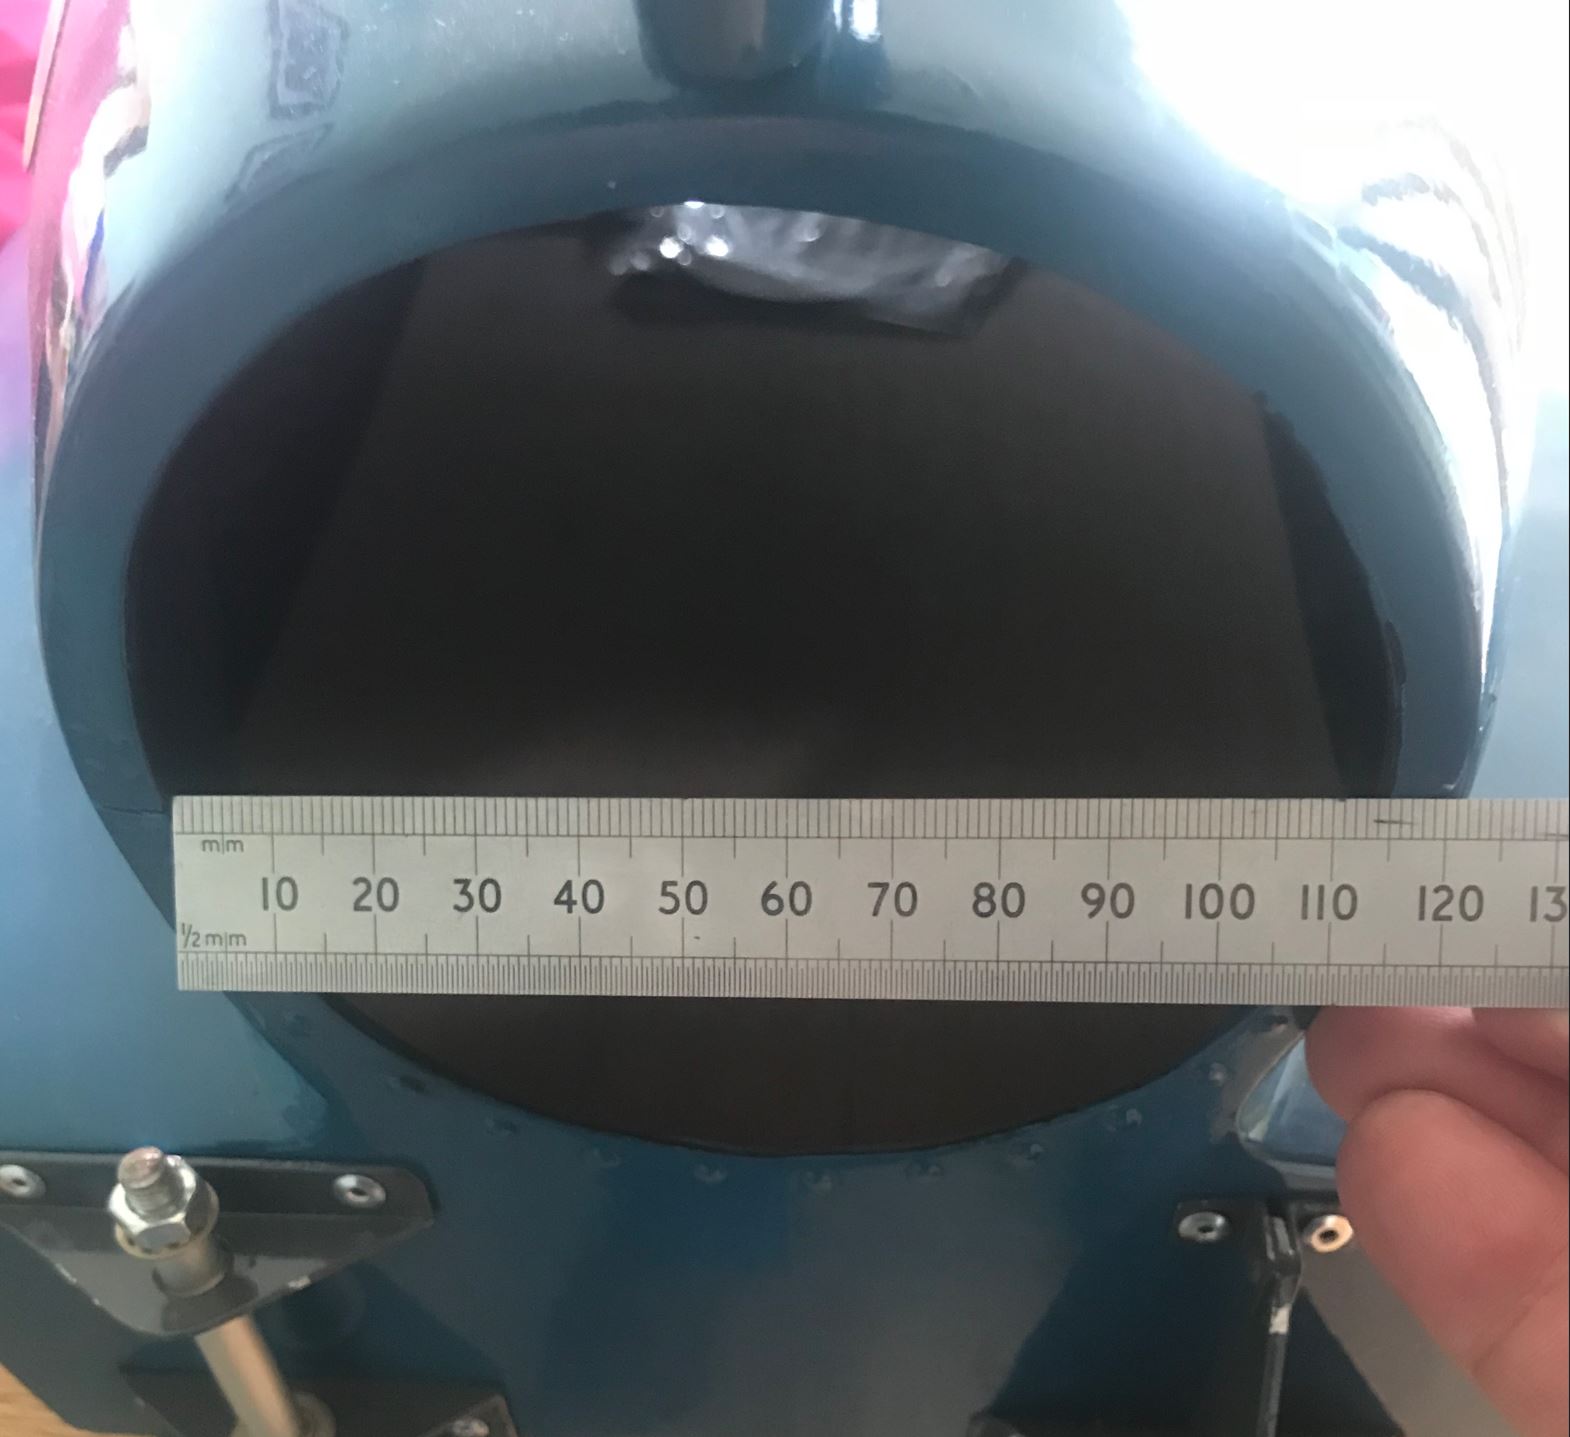
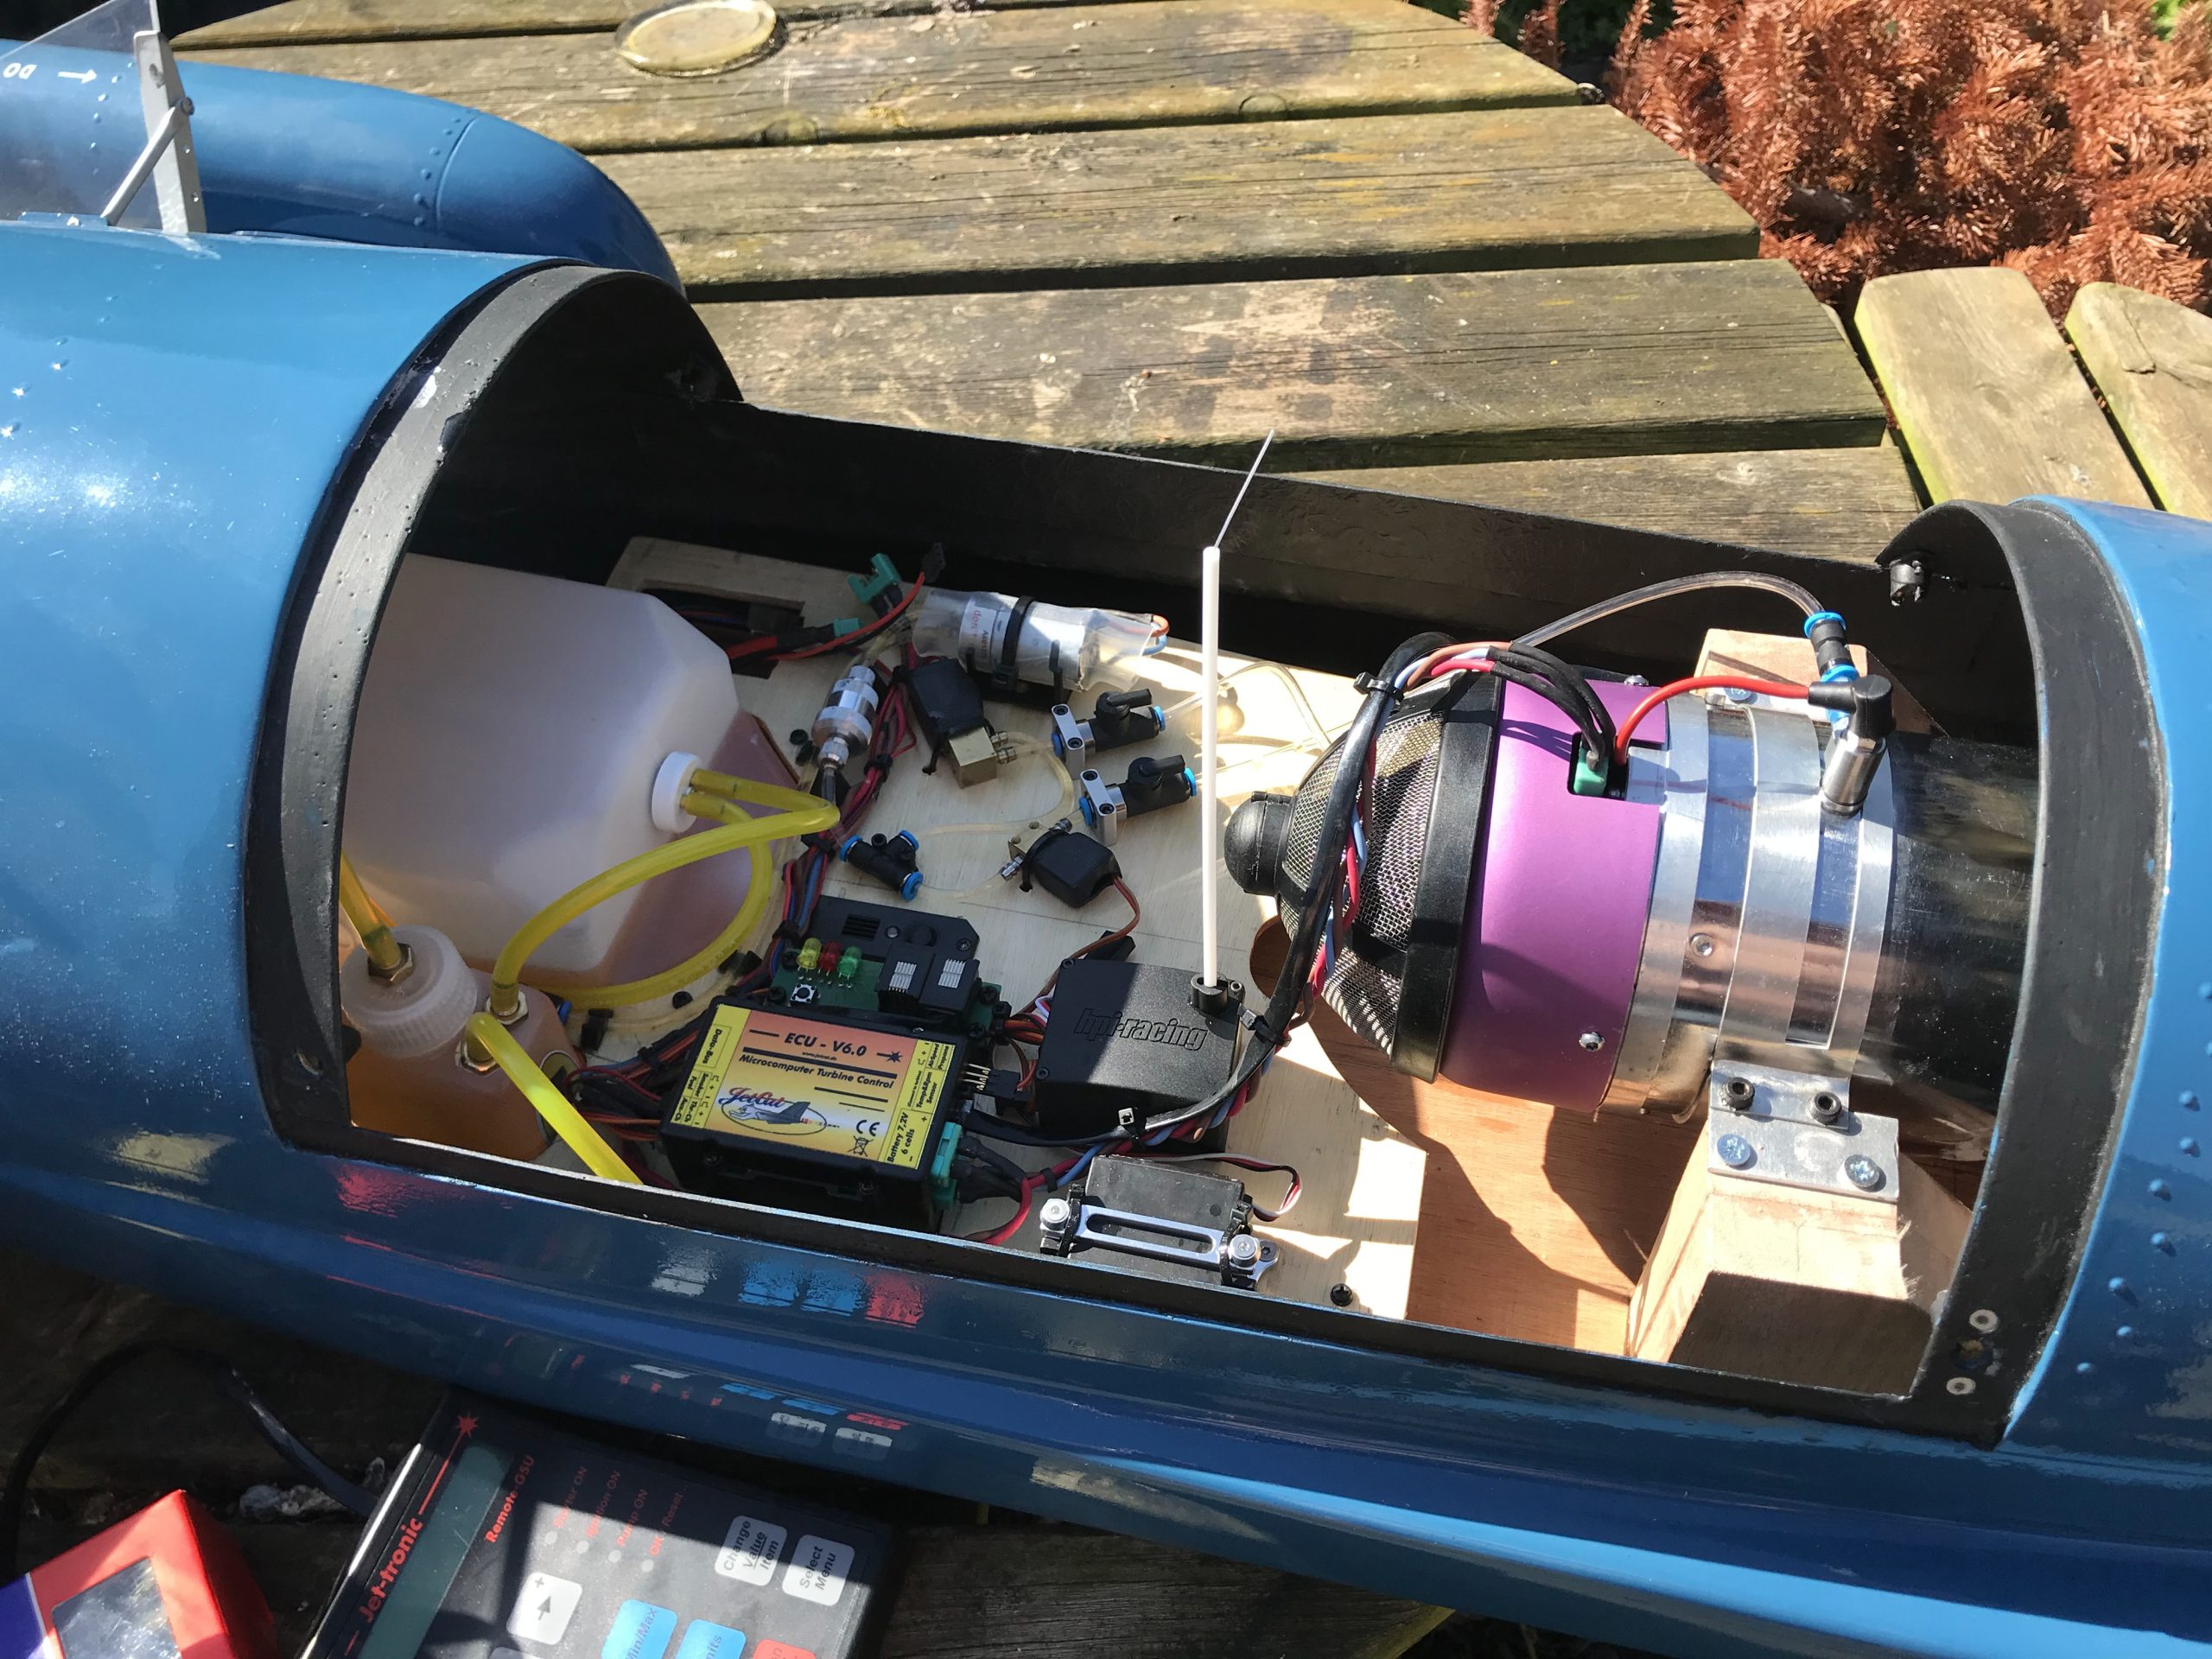
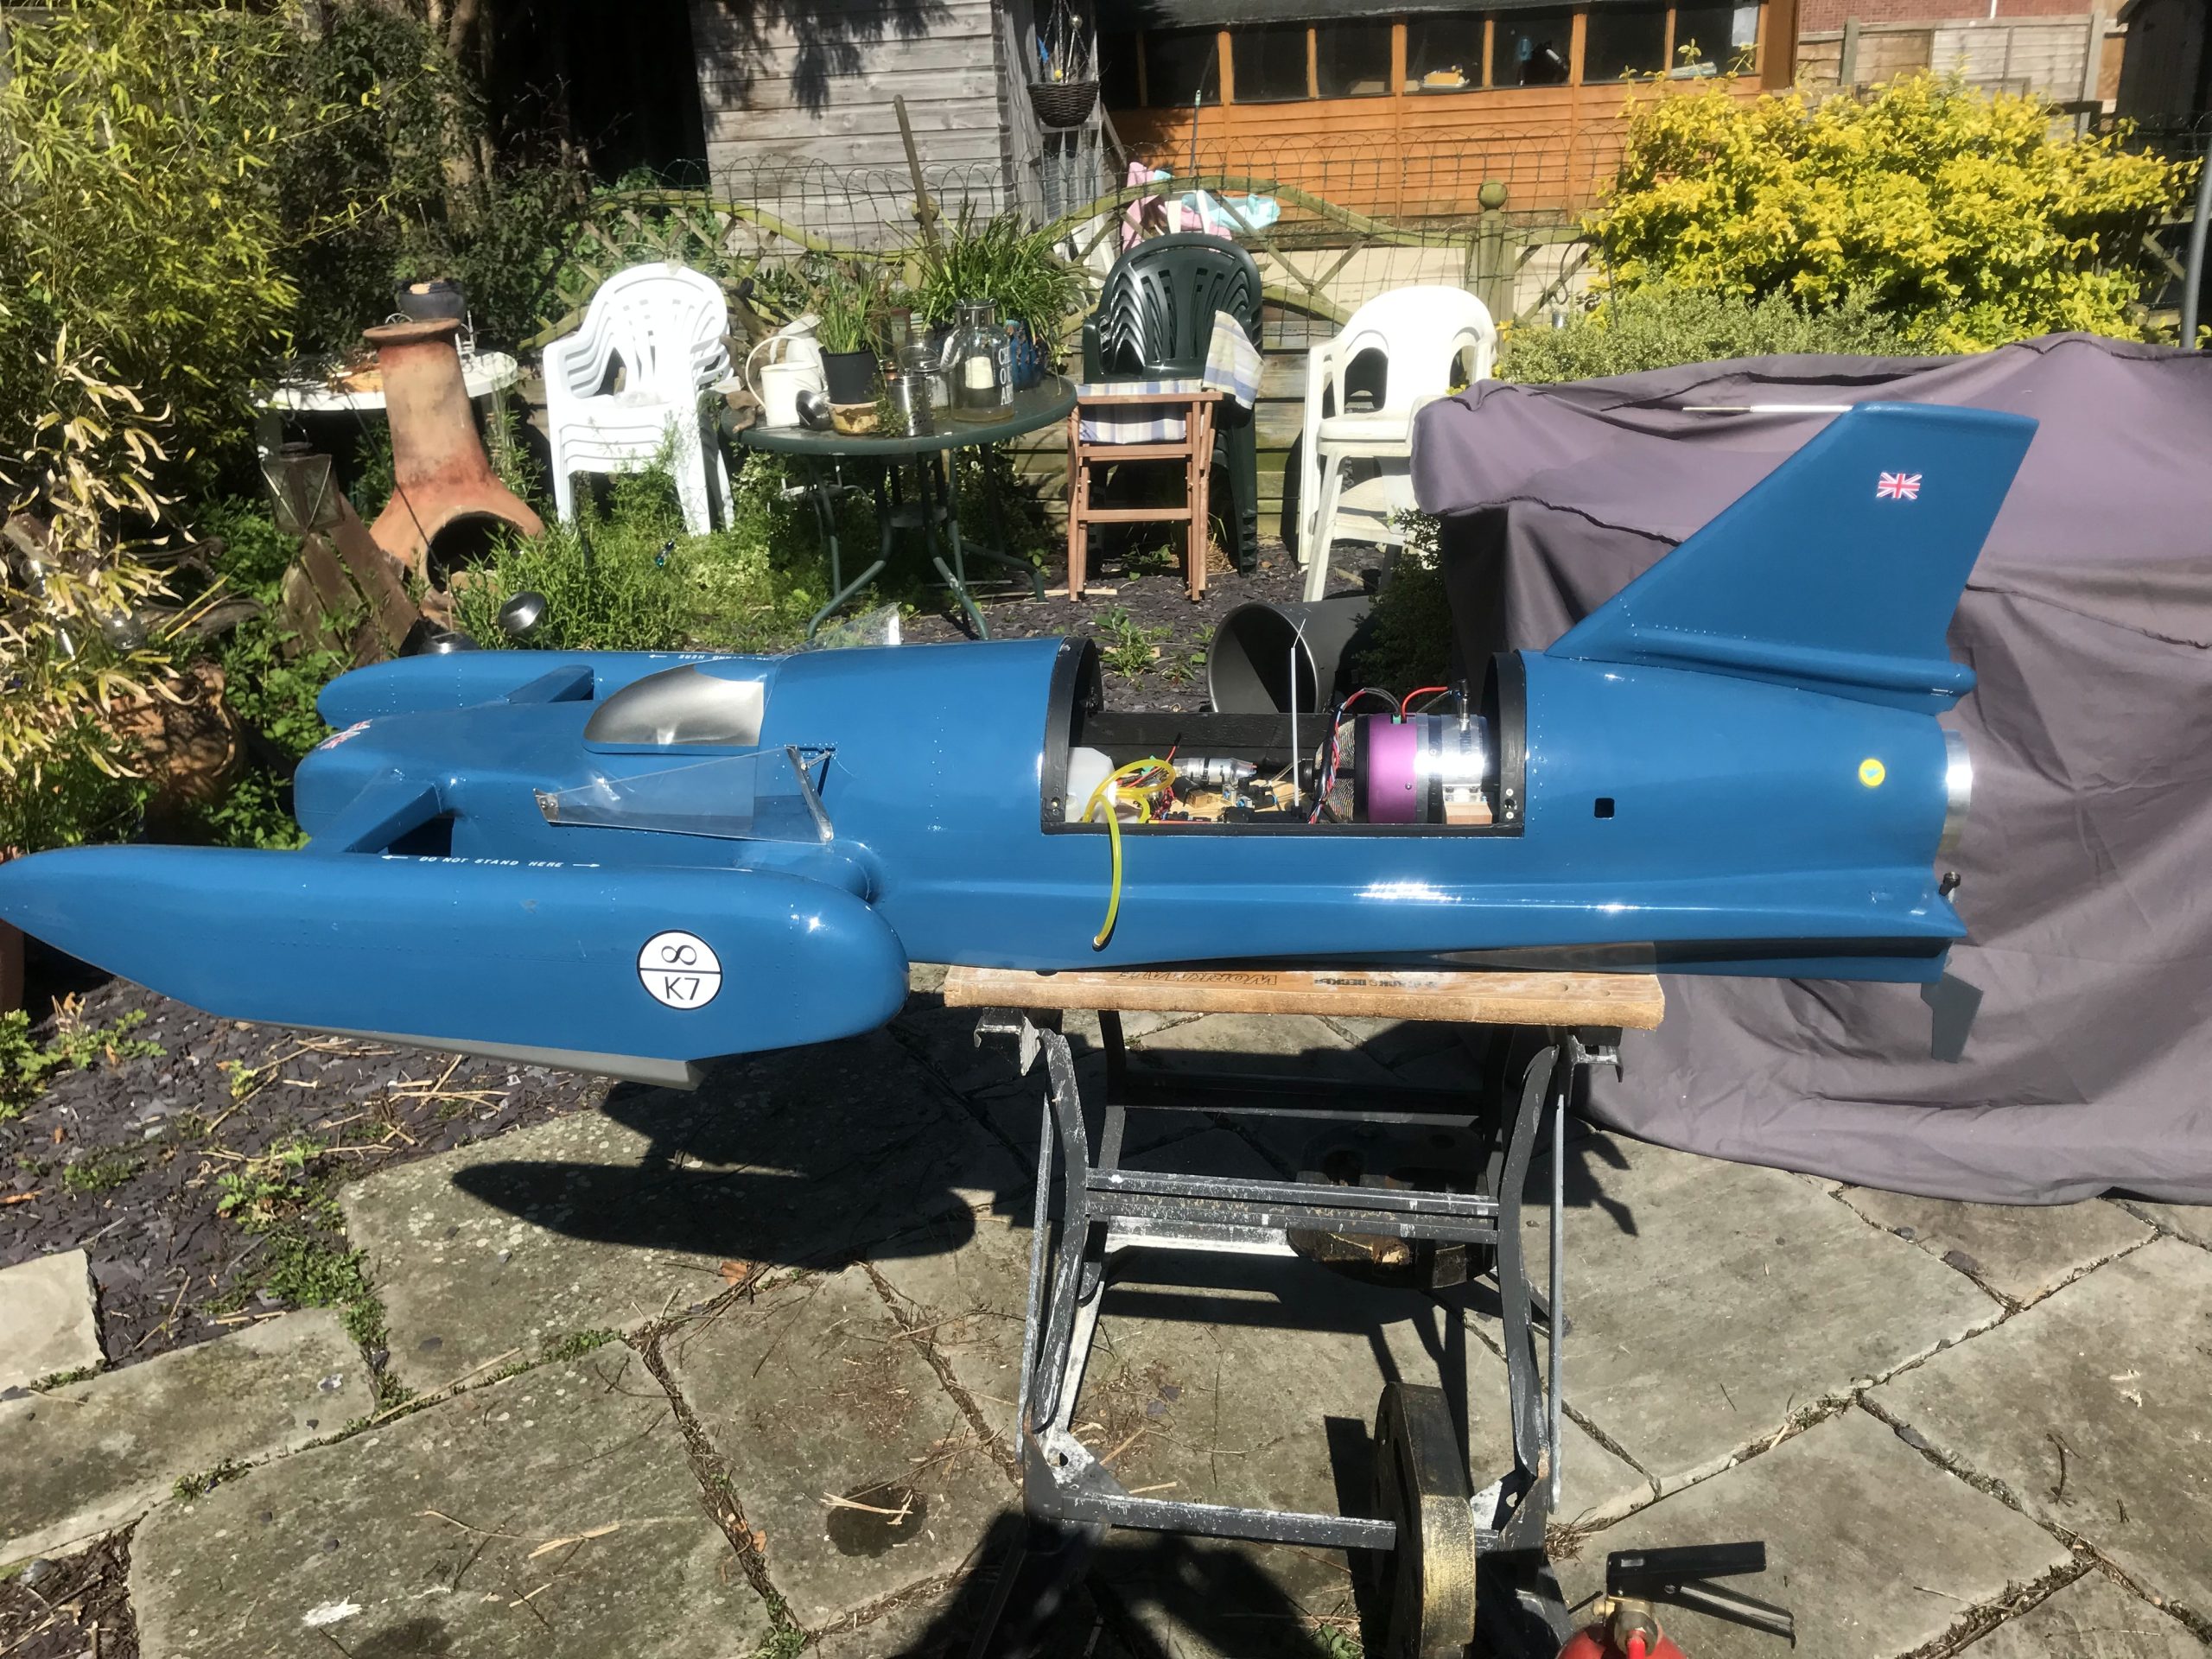
I decided to use a JetCat P160 jet engine, which generates around 163N of thrust which I estimated would give the finished model over 1:1 thrust ration which I understood was what I needed to generate sufficient thrust to plane successfully. I managed to get a 2nd hand P160SX originally fitted to a model aircraft, so I set about fitting out internally all the components required. Unfortunately I did not take that many pictures during this process so only have pictures once all of these items had been fitted.
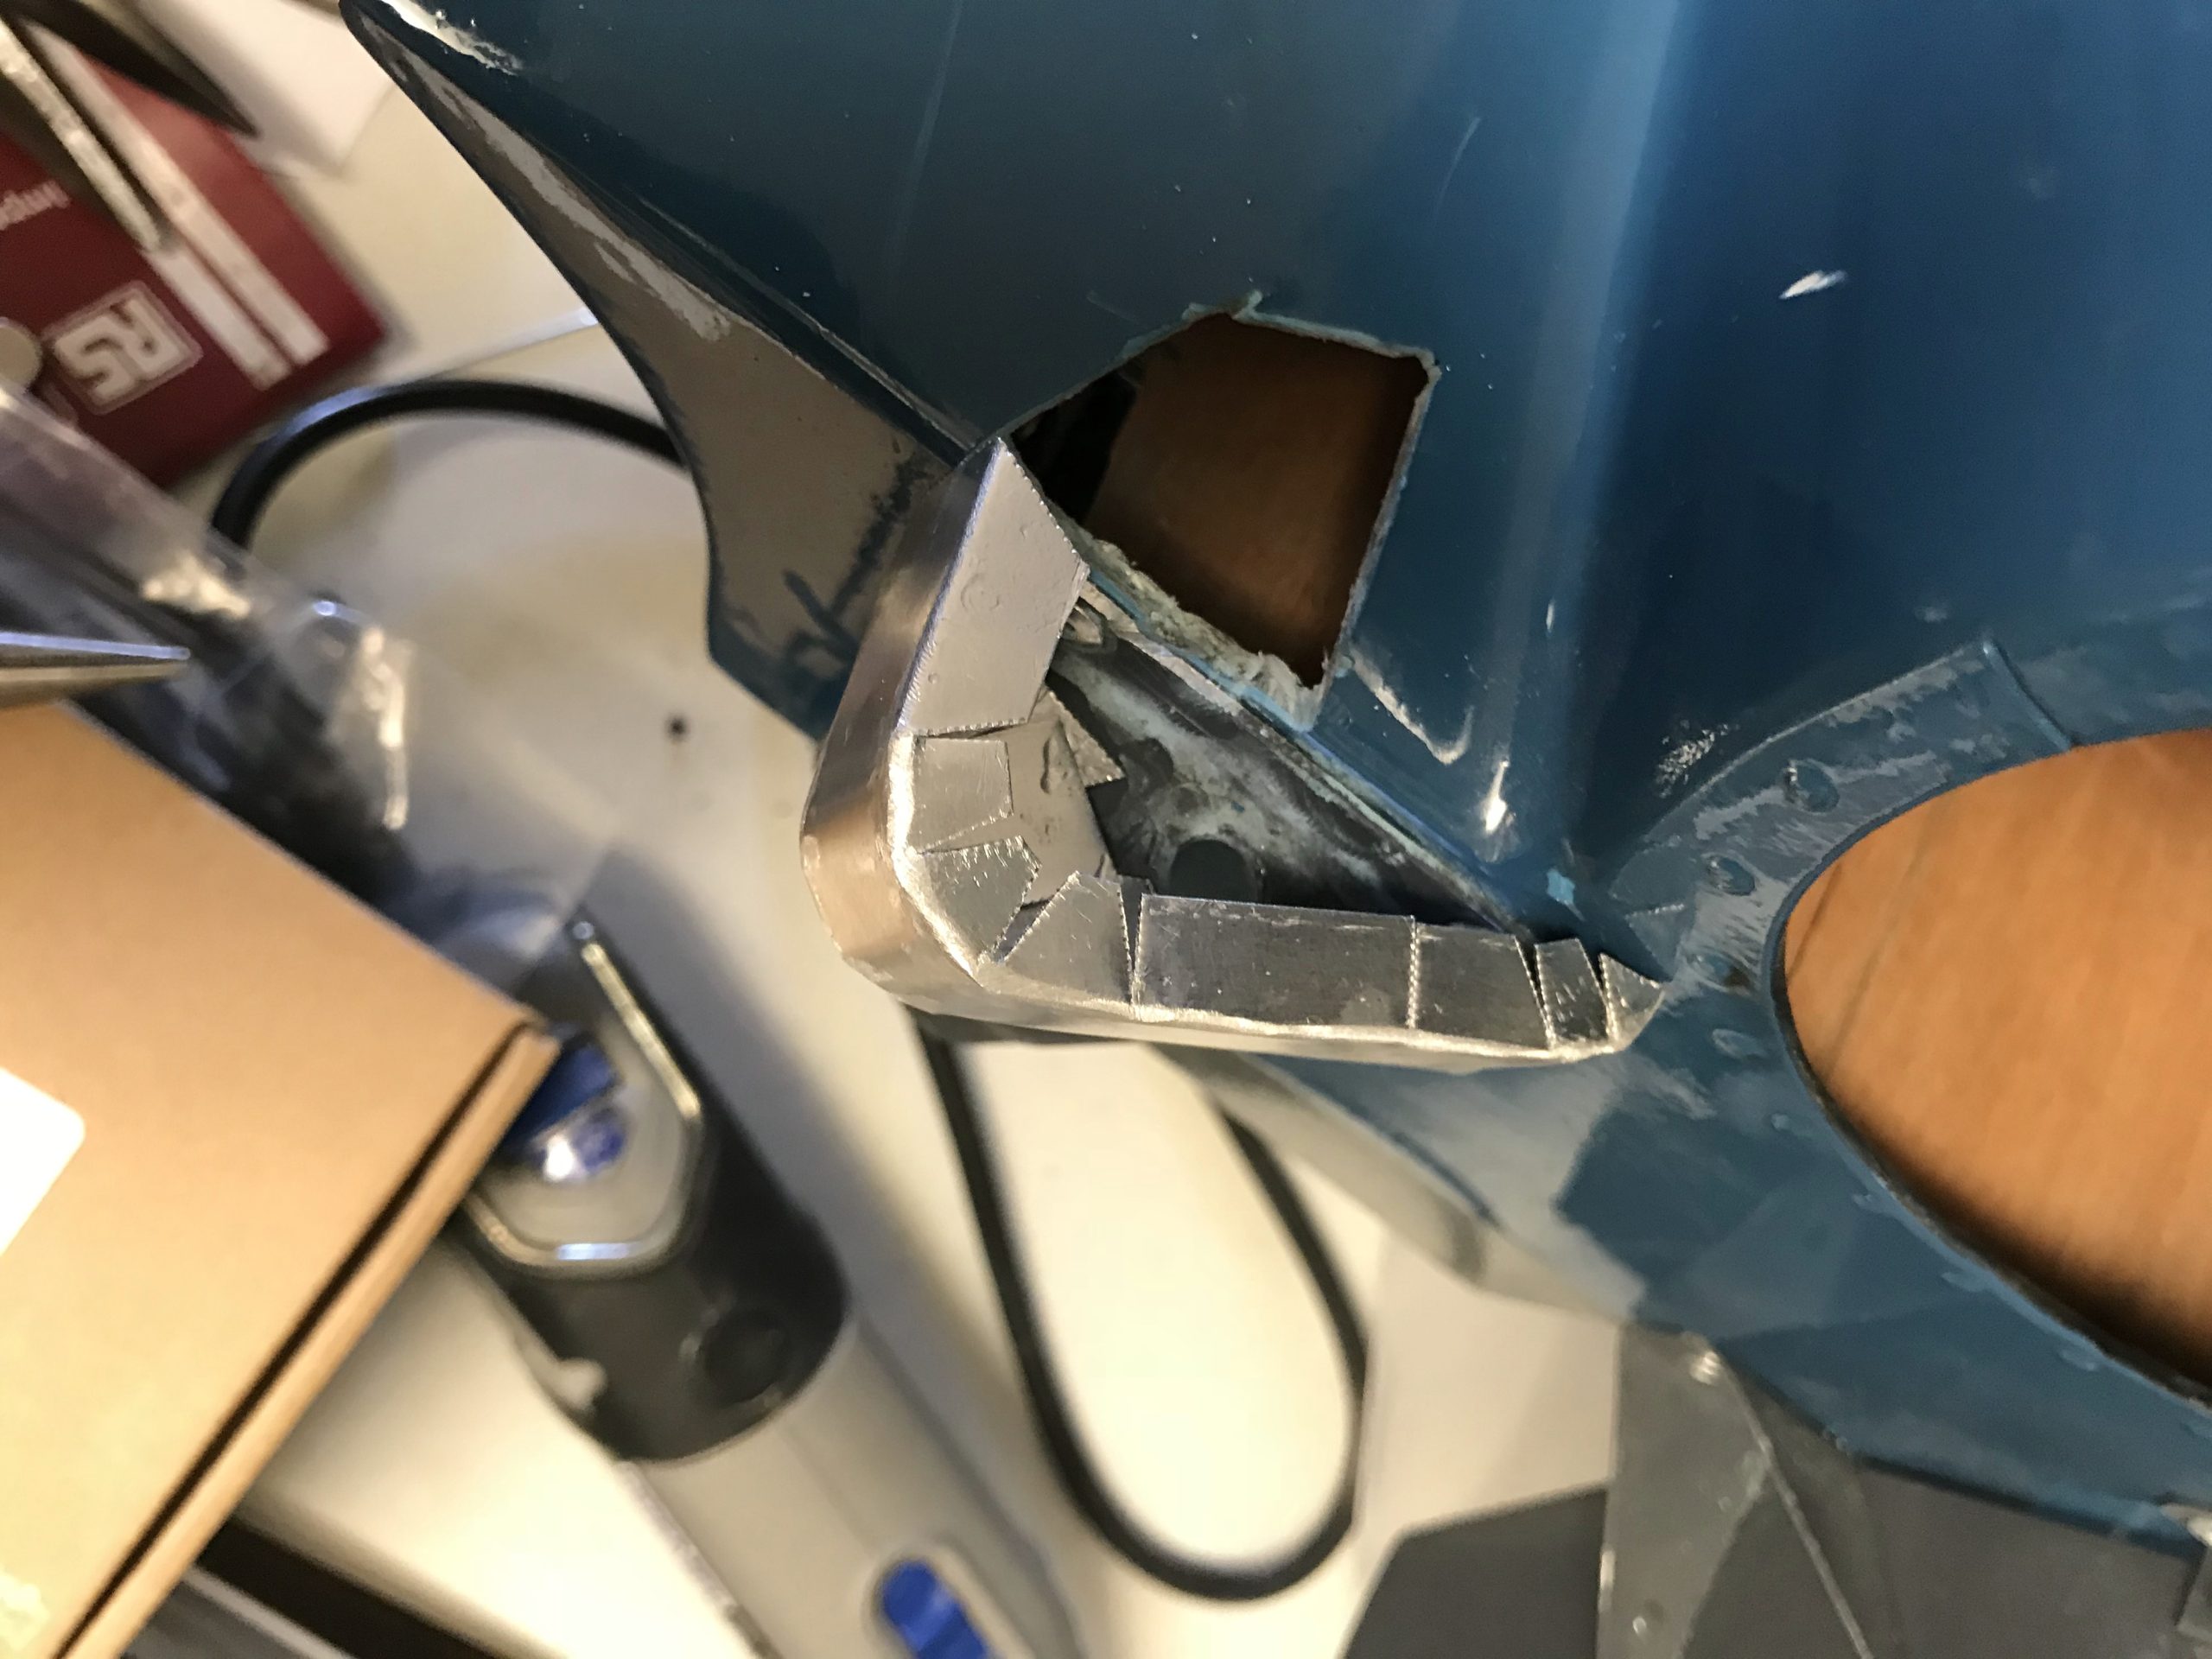
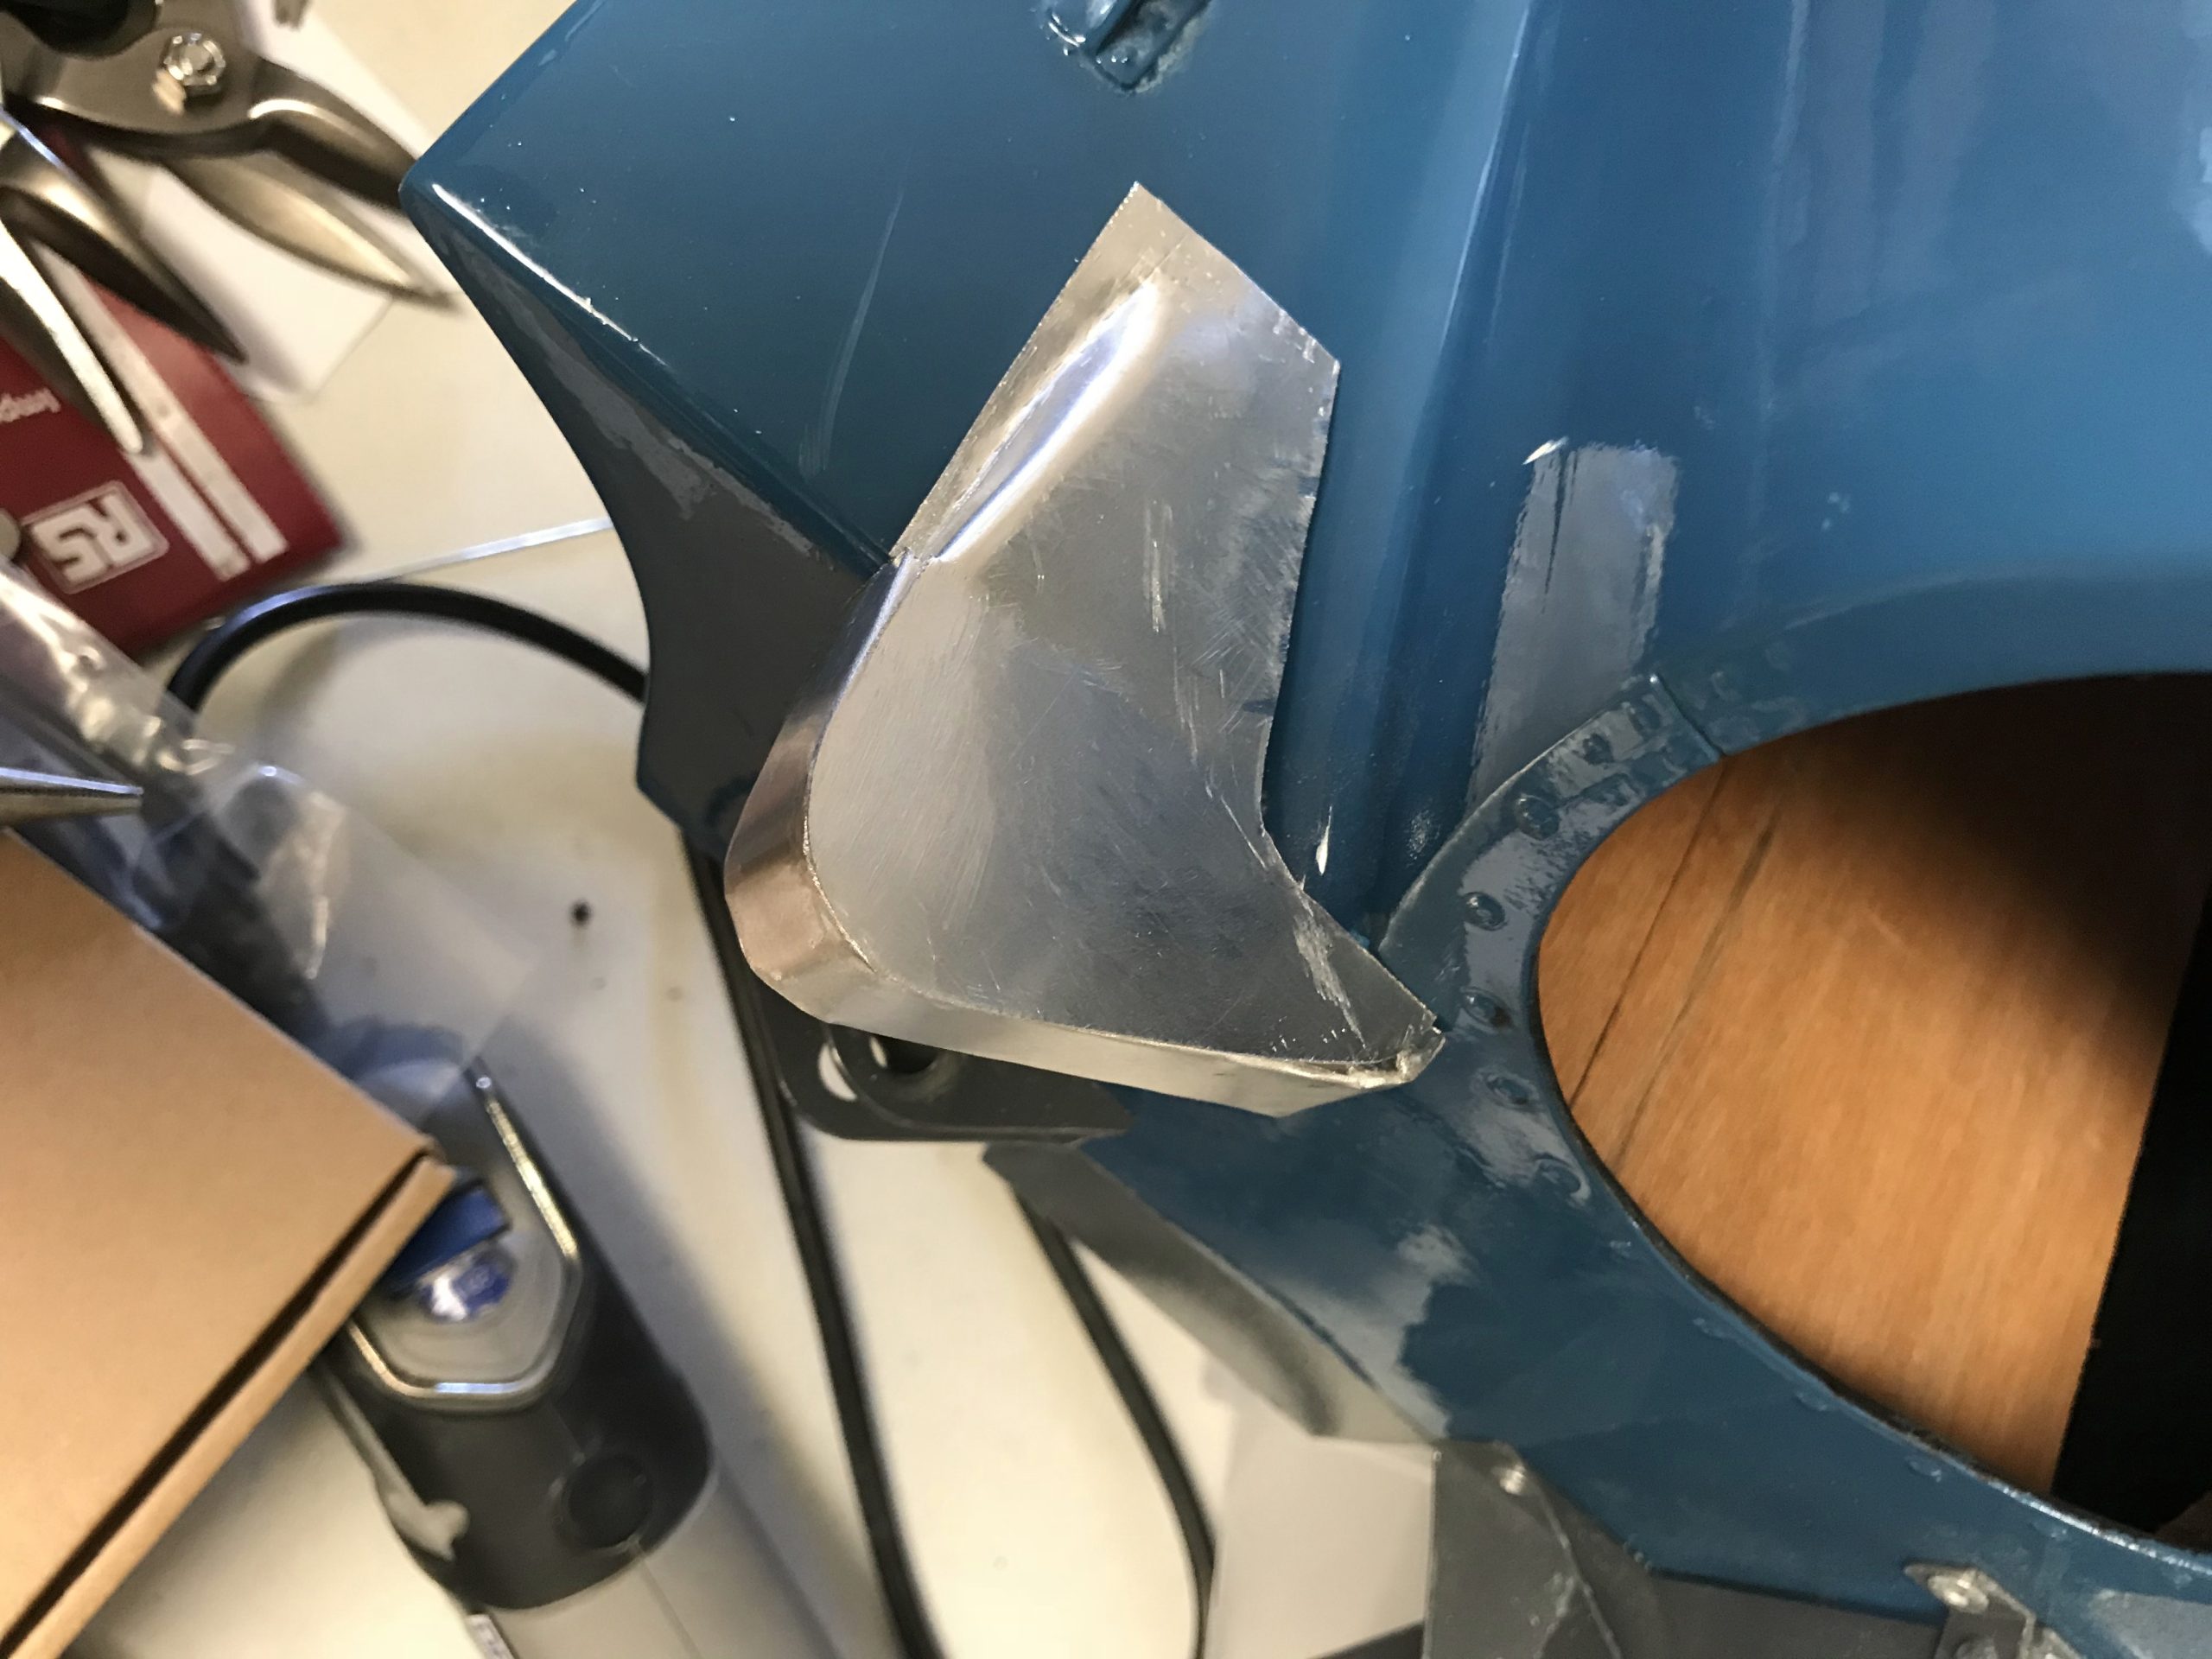
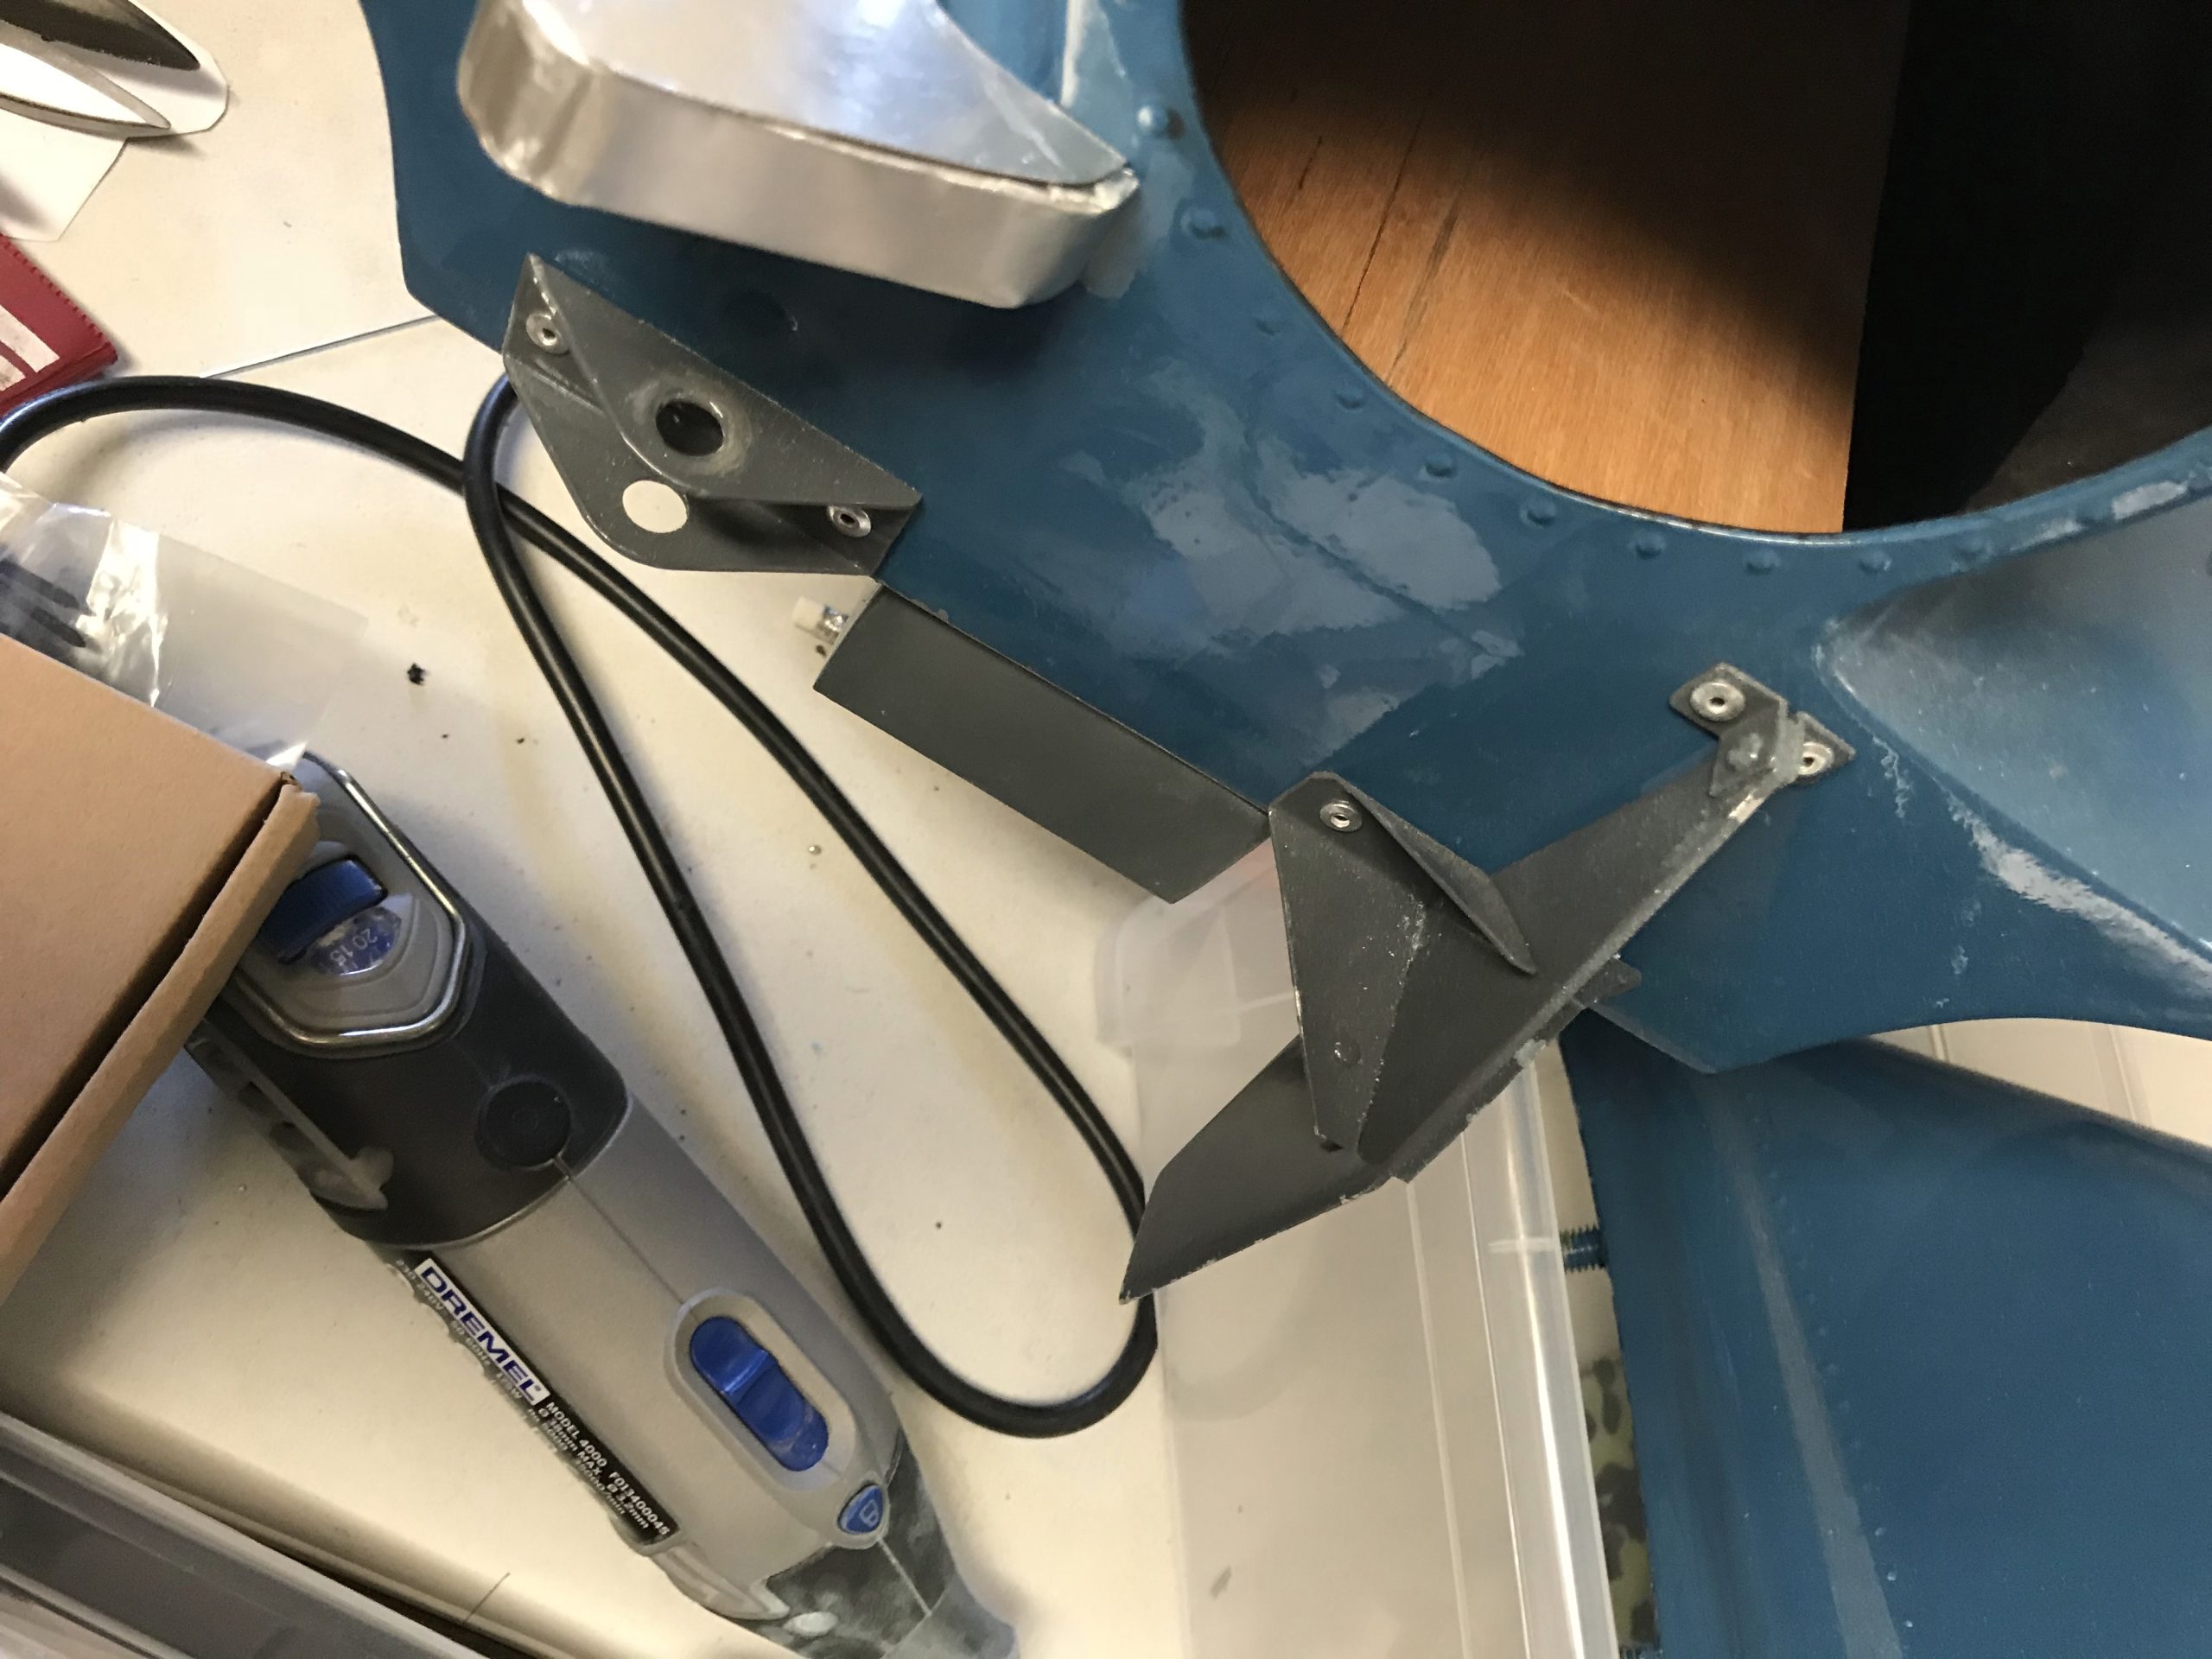
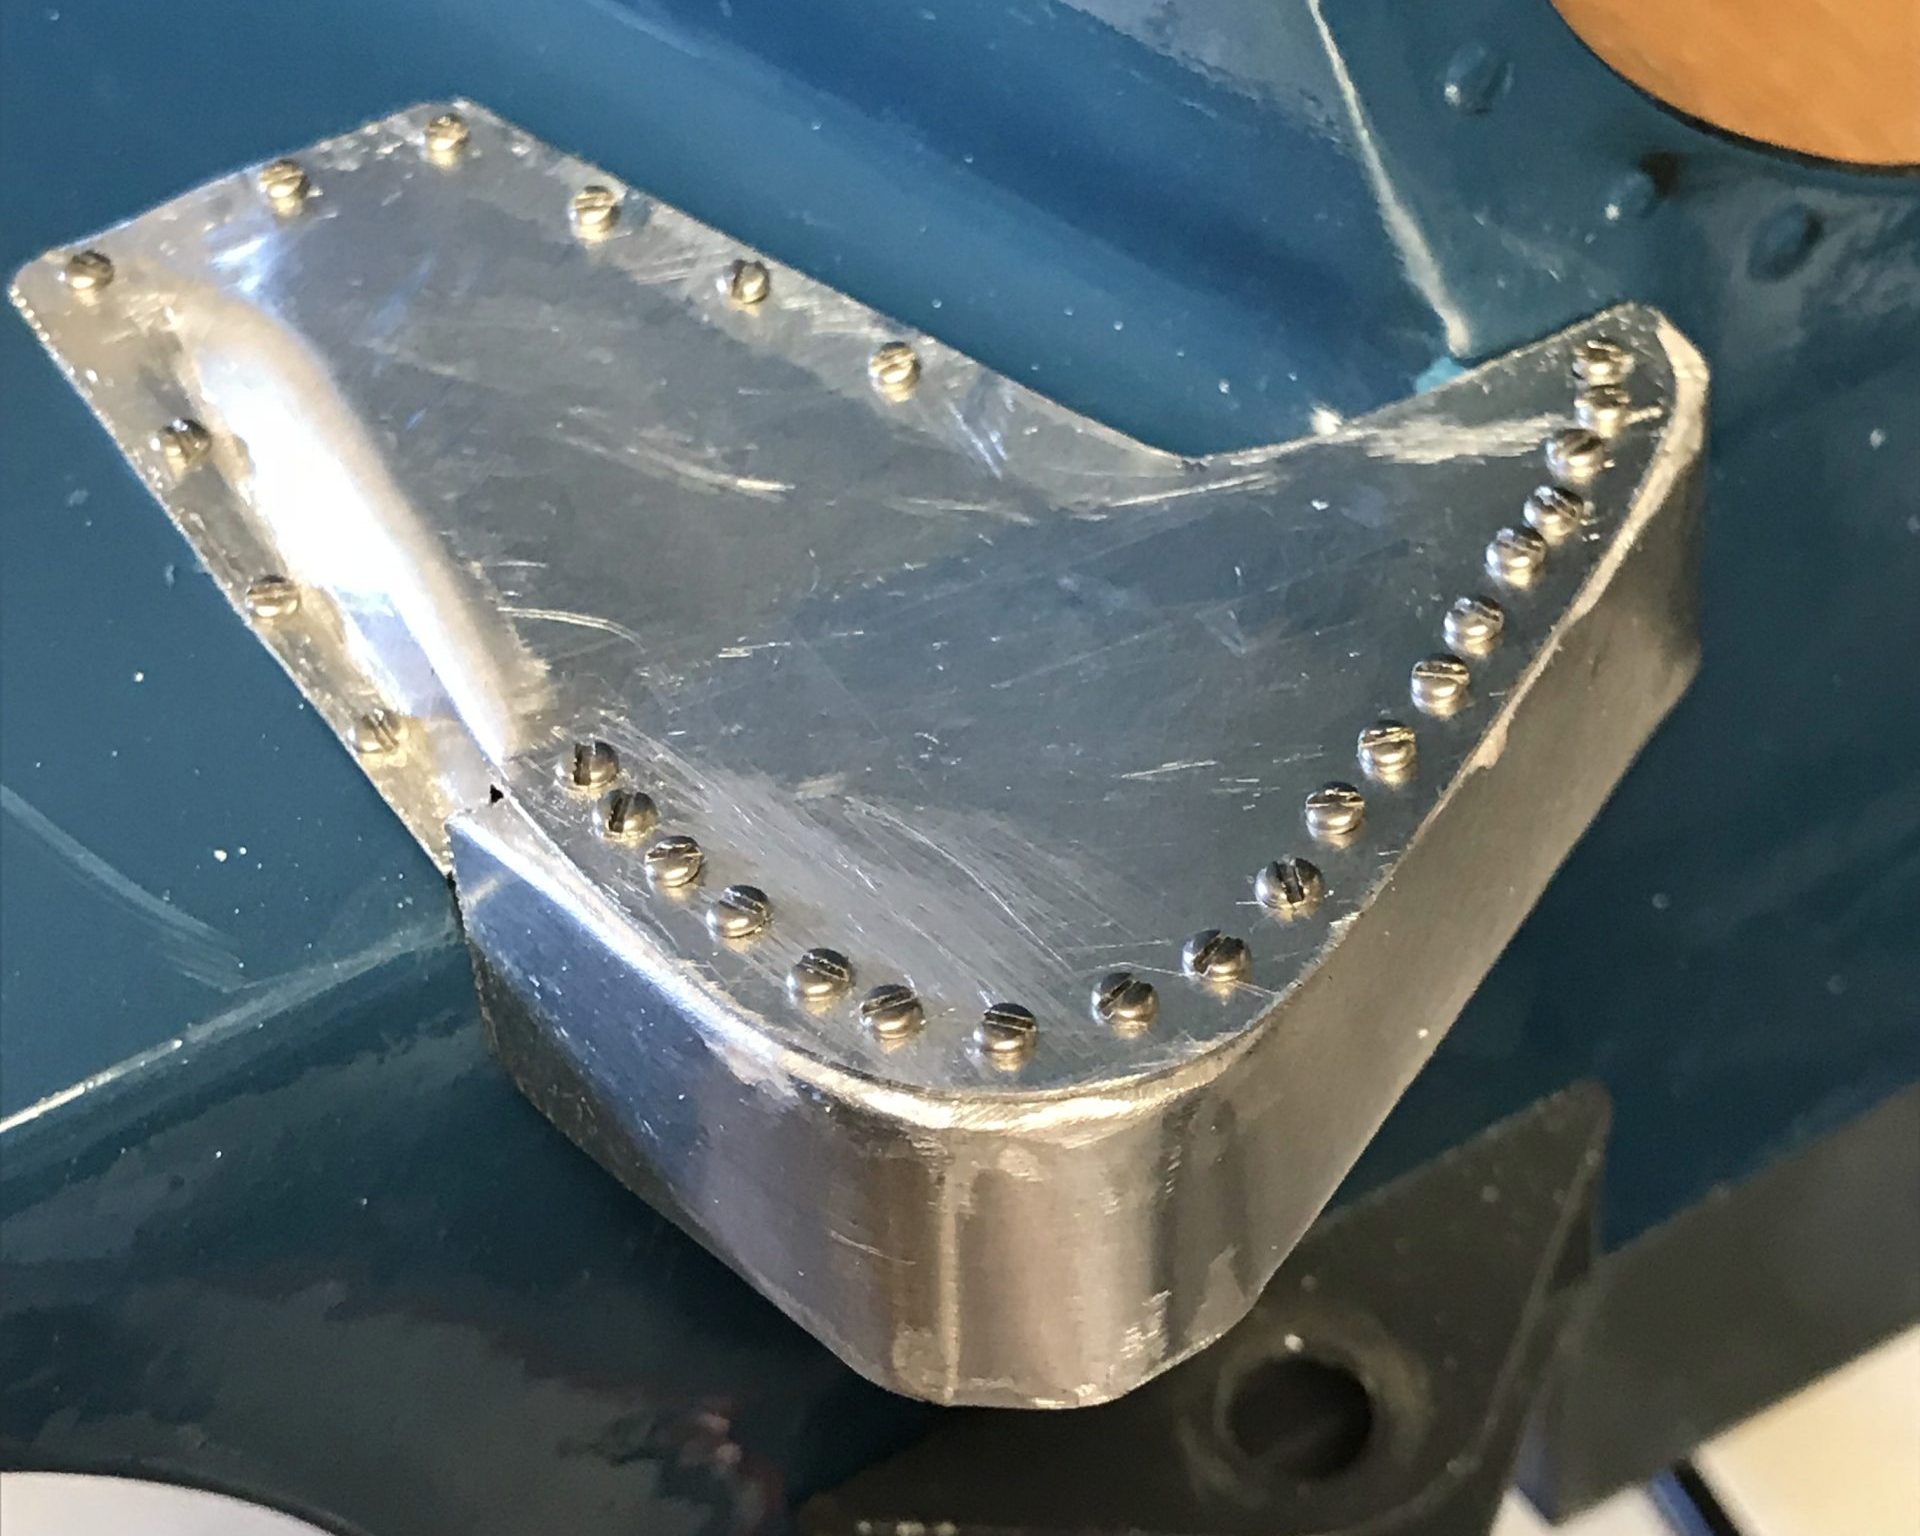
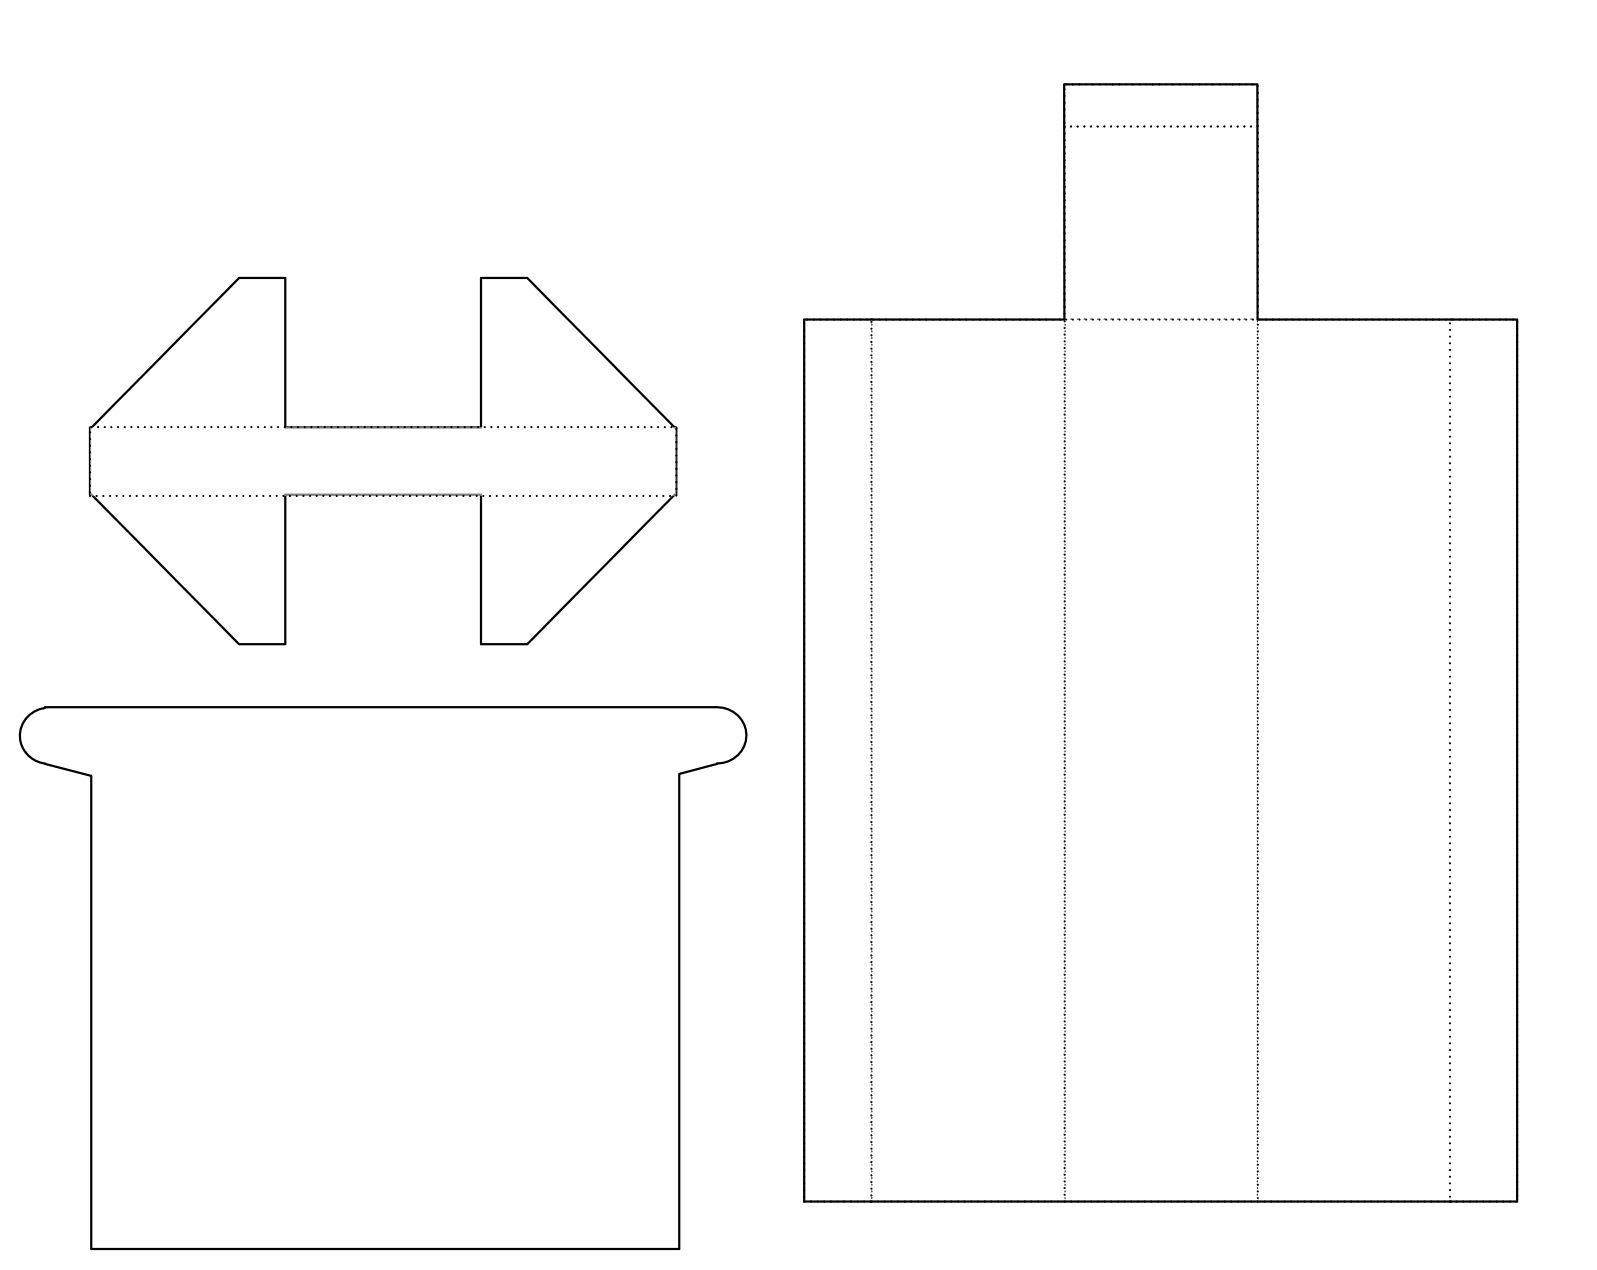
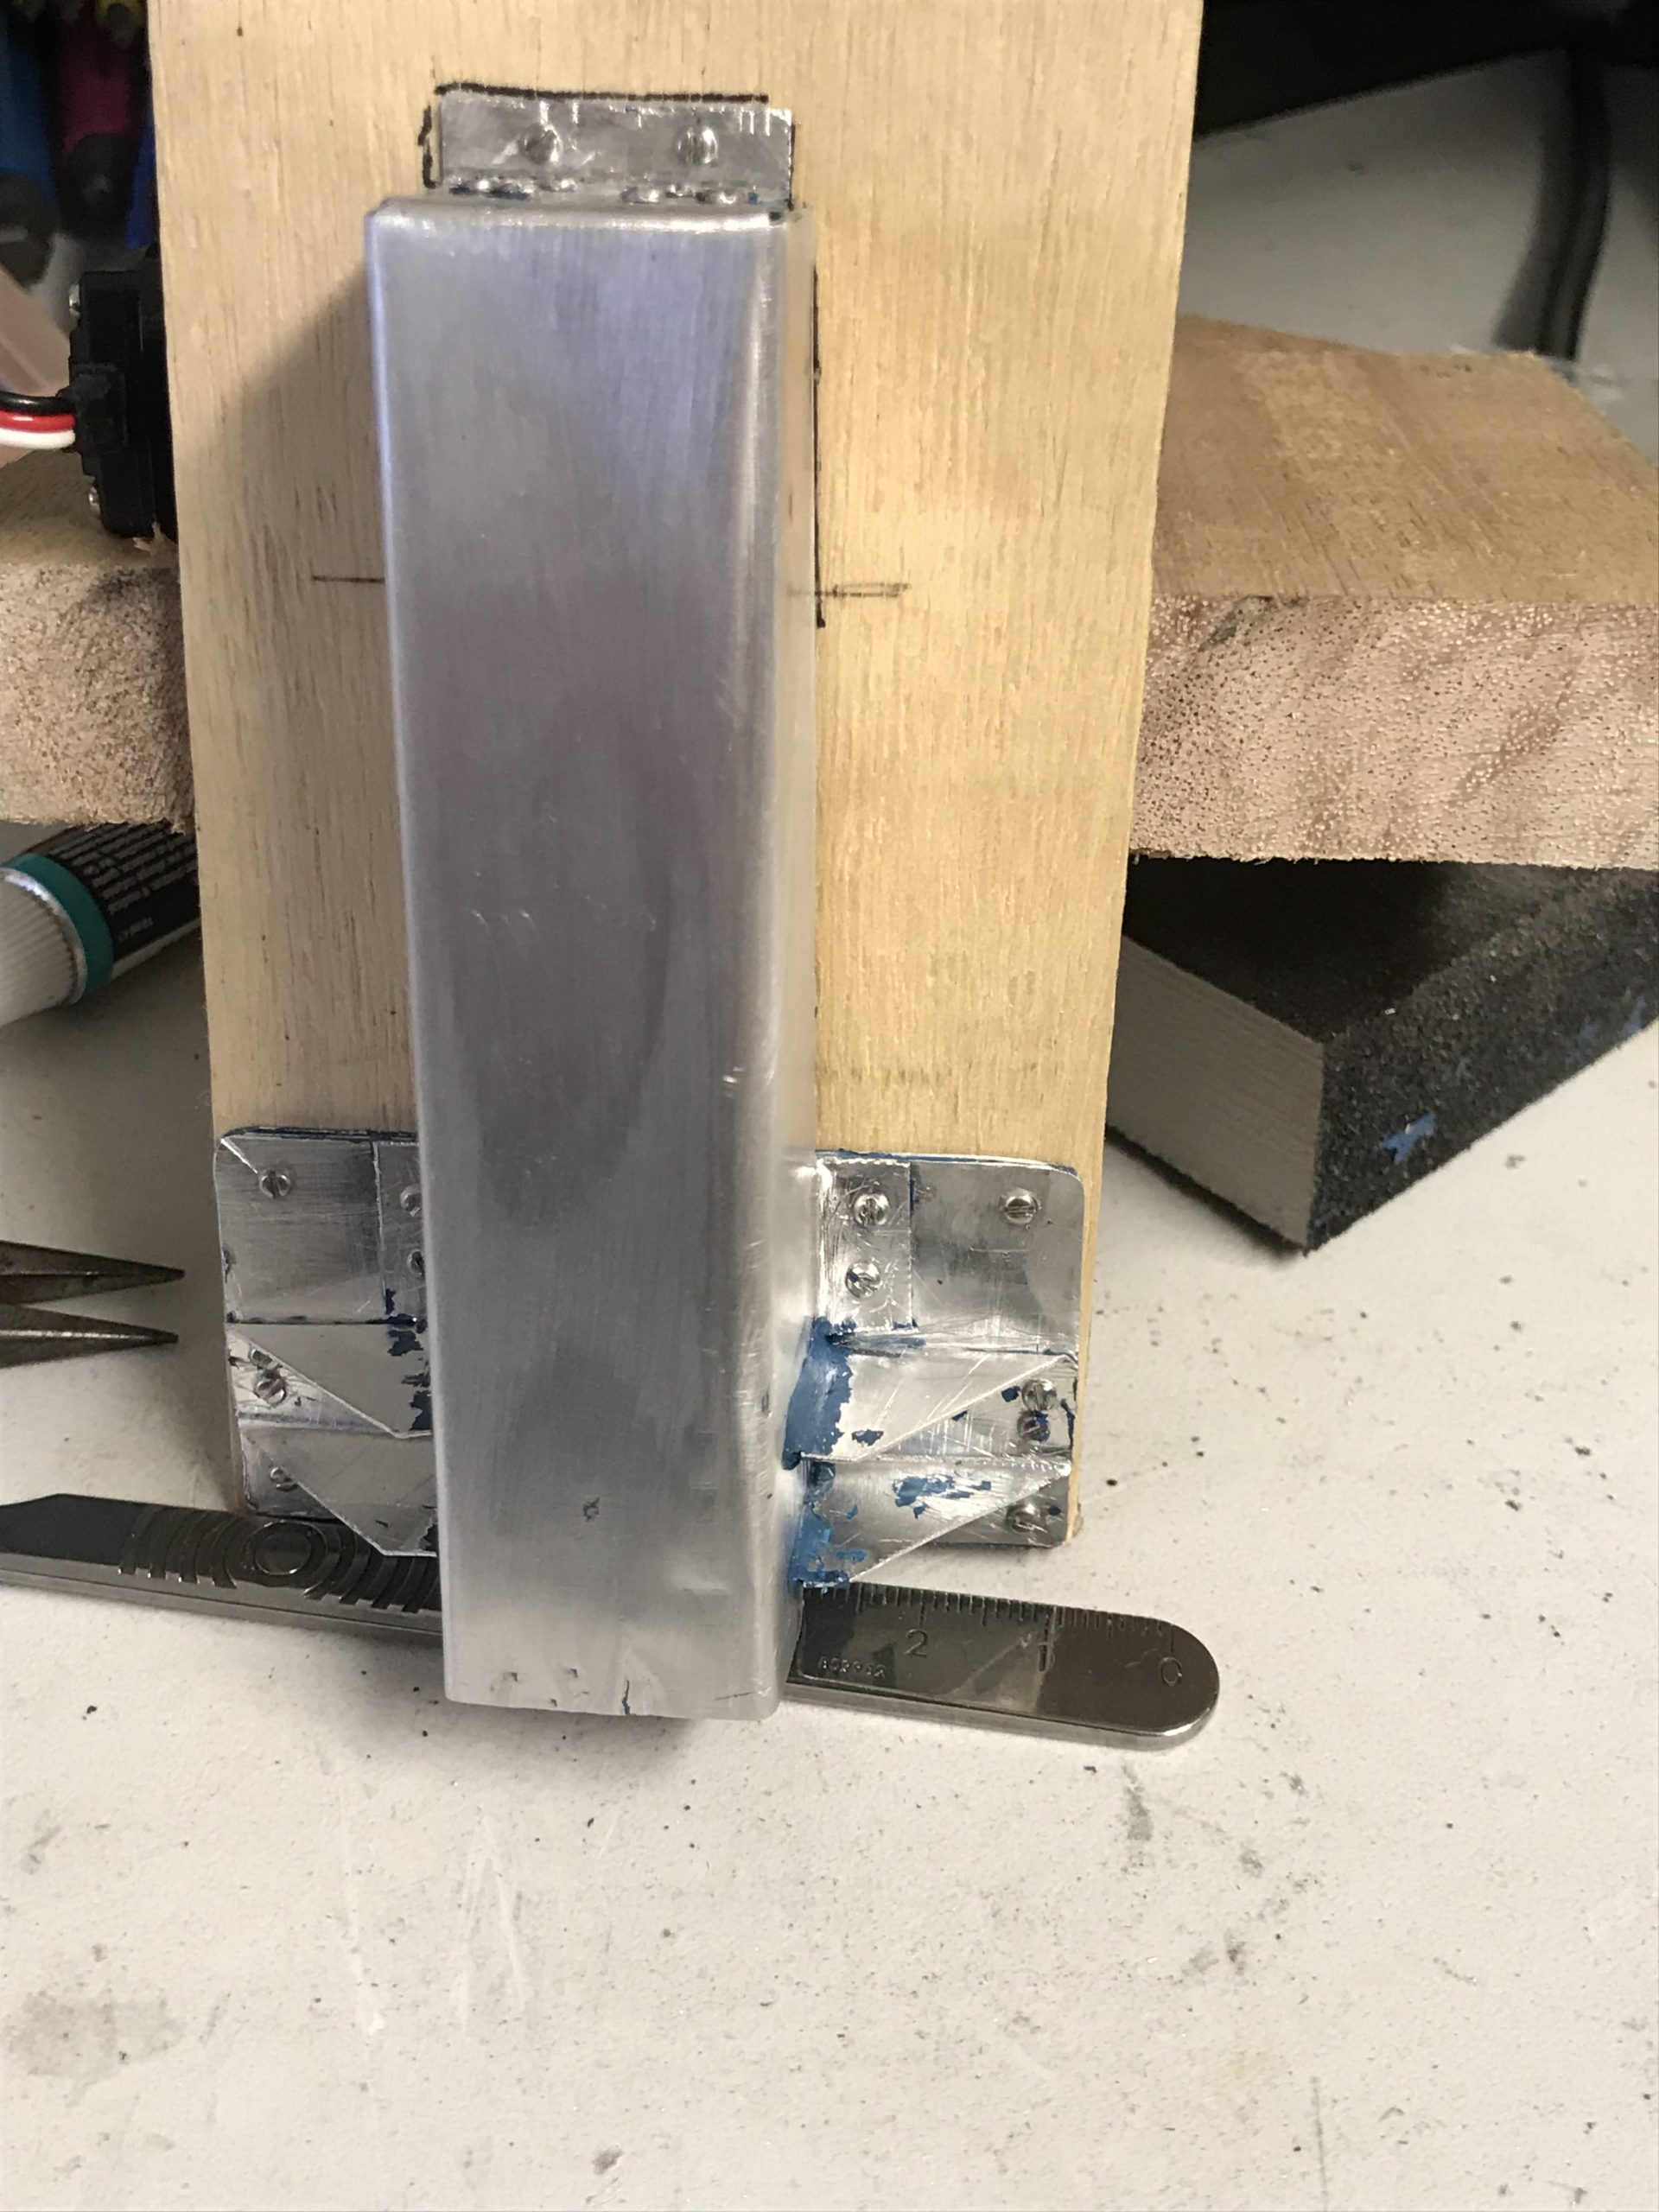
I had fitted a servo to control the rudder but had not yet tackled the job of the mechanism required to control the rudder. So I cut a hole in the stern of the boat and made the control housing from sheet aluminium.
I realised that I had not actually established if the model even floated, so I decided to fill the fuel tank and check that it floated OK and also to see how it sat in the water.
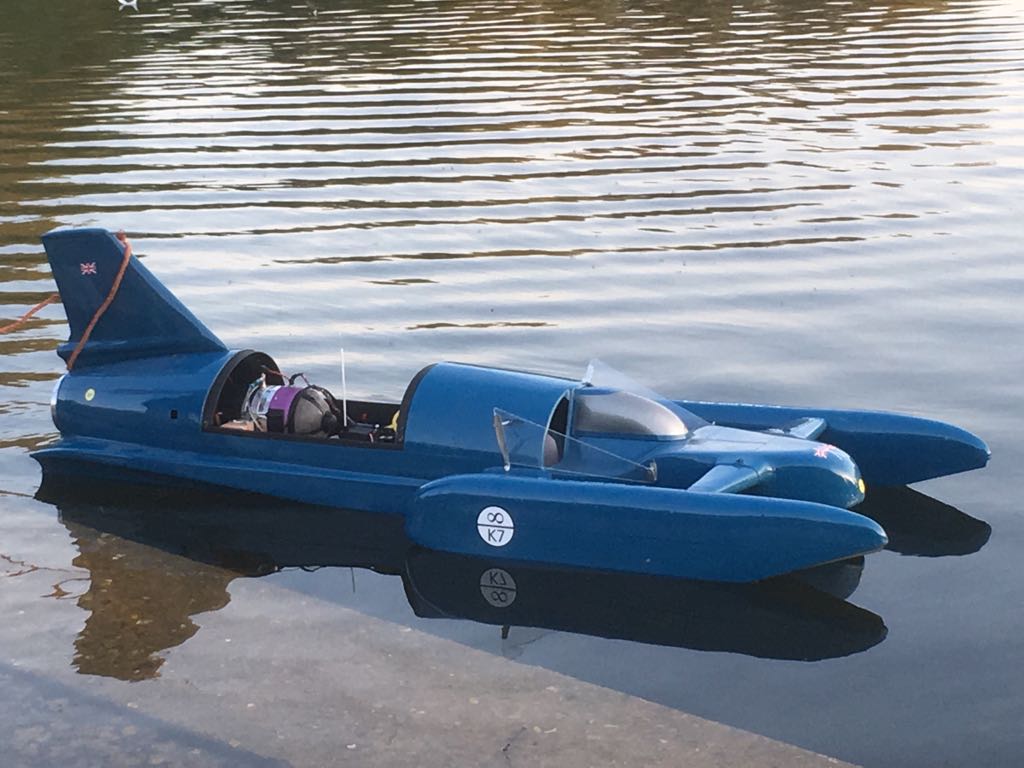
As far as I could tell I did not have any major leaks, but I felt it was not sitting right in the water and after checking the centre of gravity I decided to put some additional weight in the front, by way of some lead sheeting glued into the inside of the nose. This I now believe was a mistake, but at the time I had not done any powered testing so did not know this. The next job was to start work on the canopy and interior of cockpit.
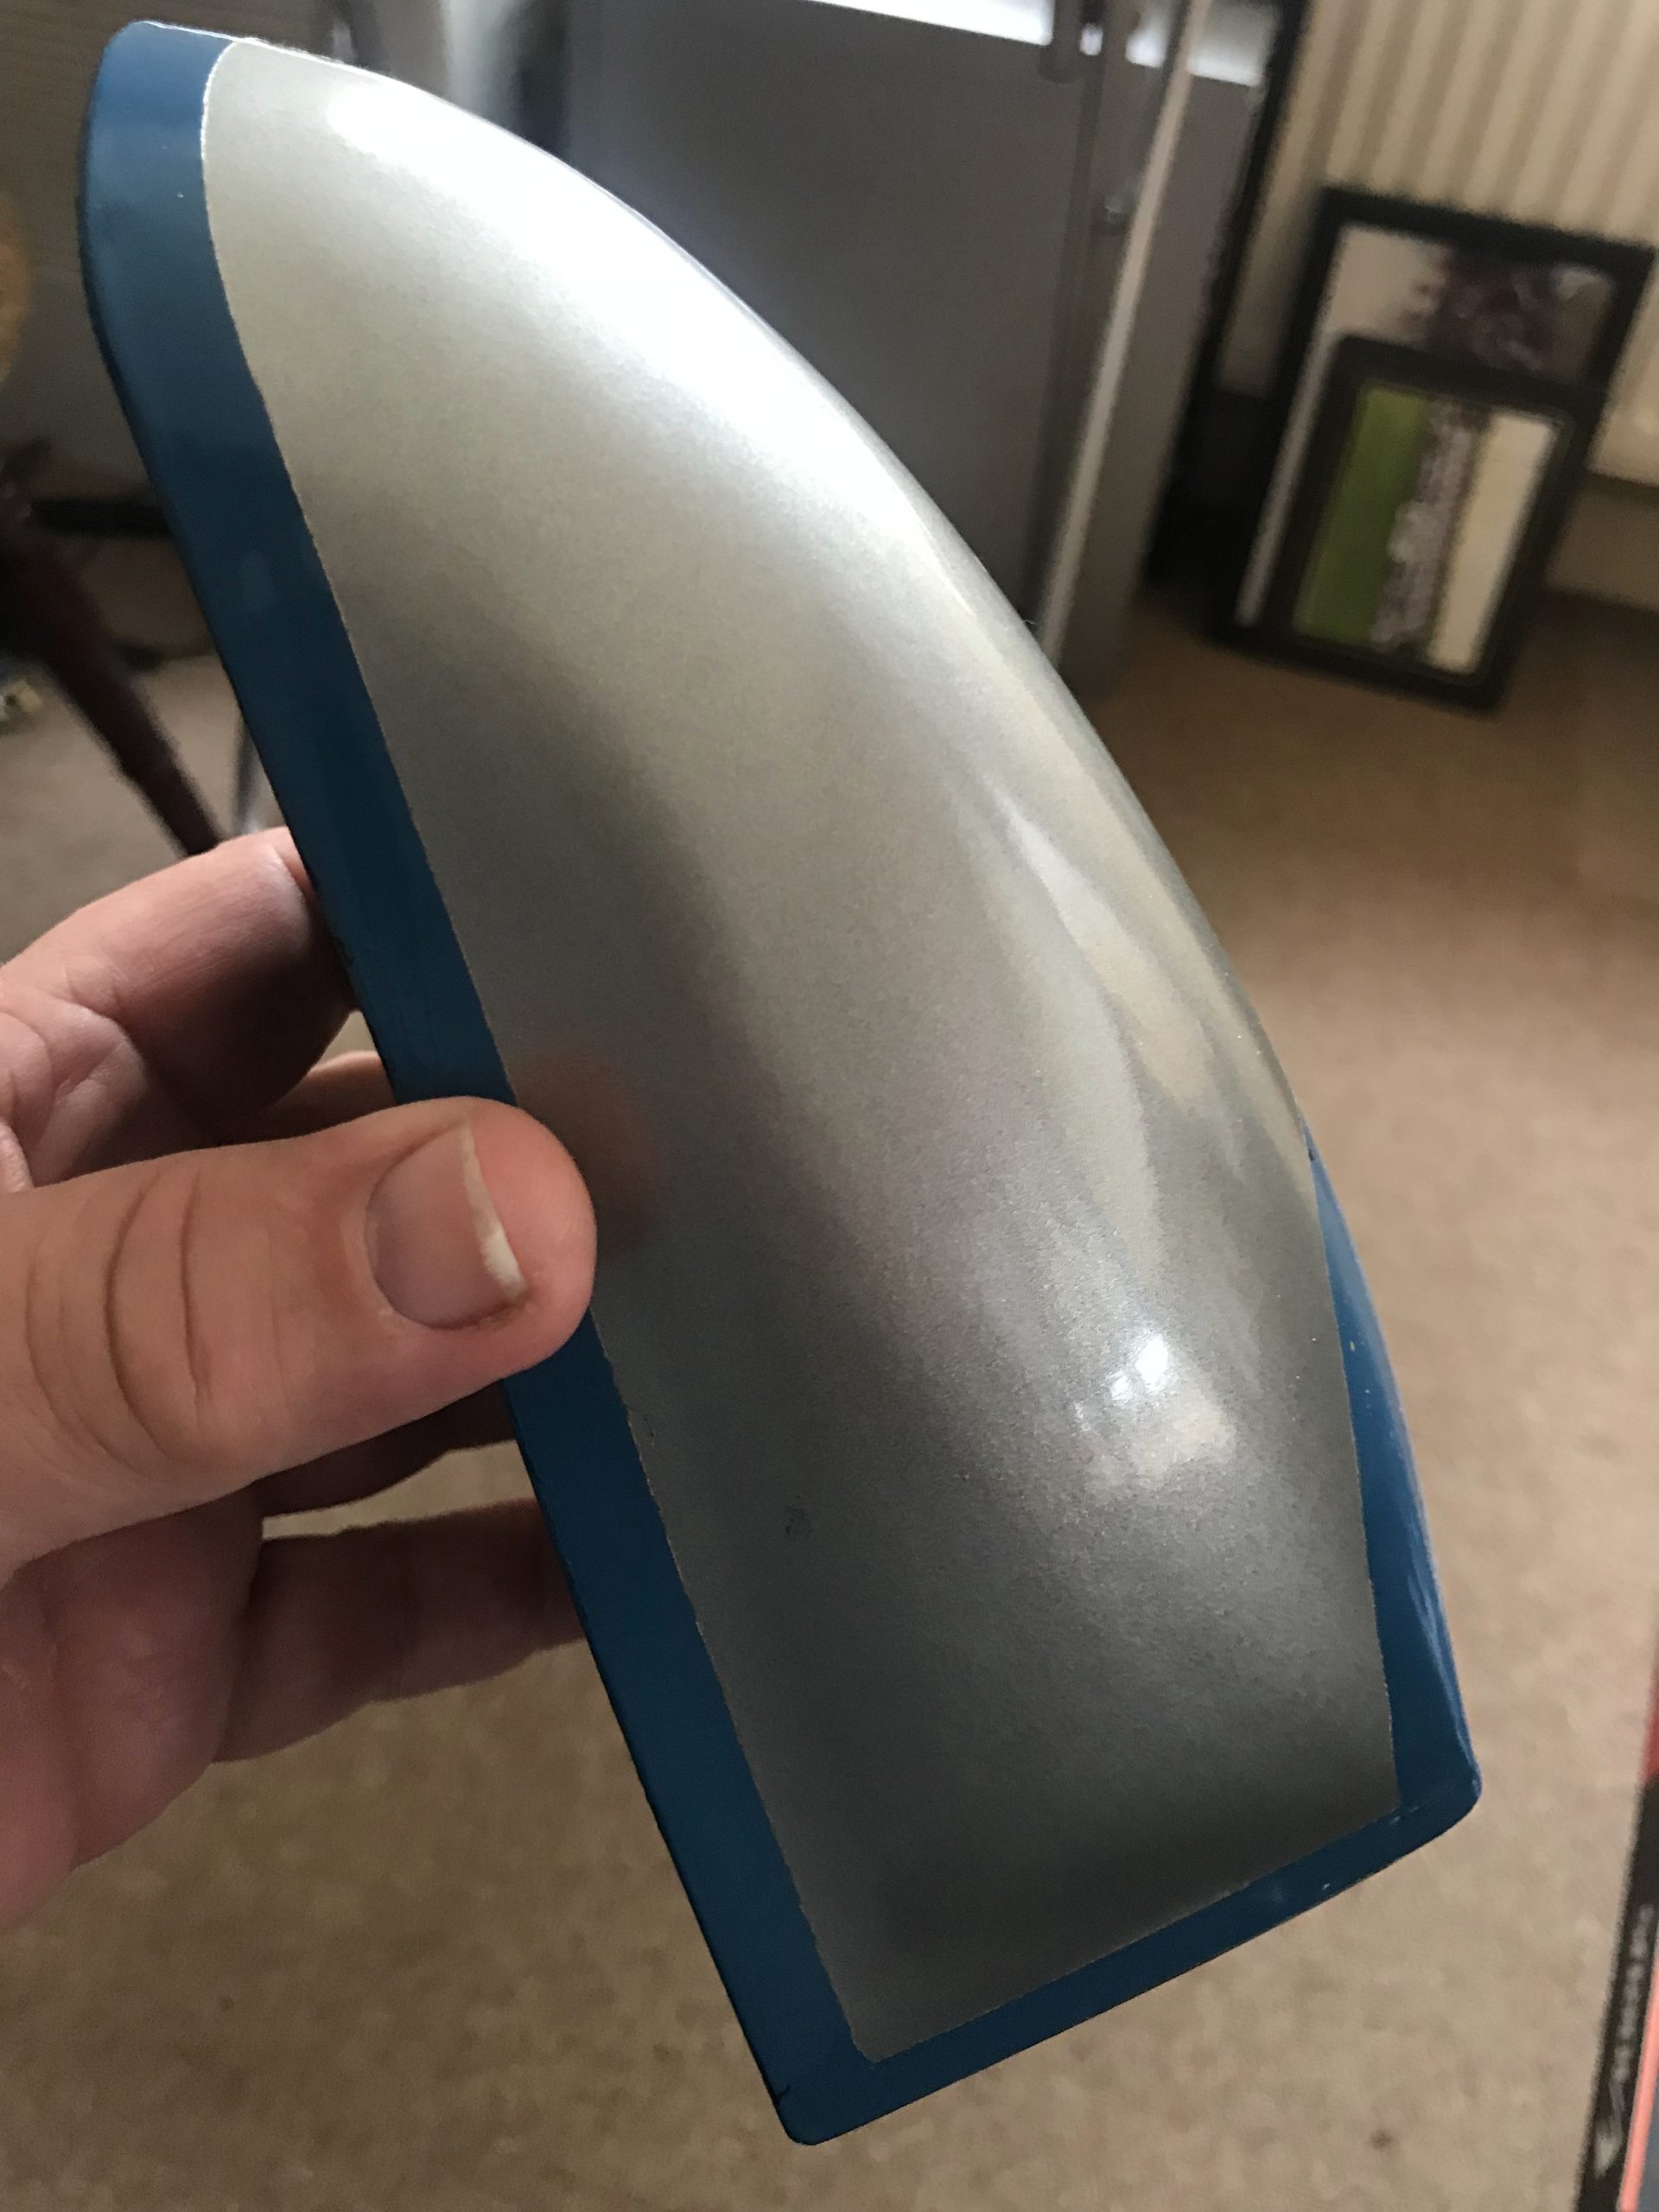
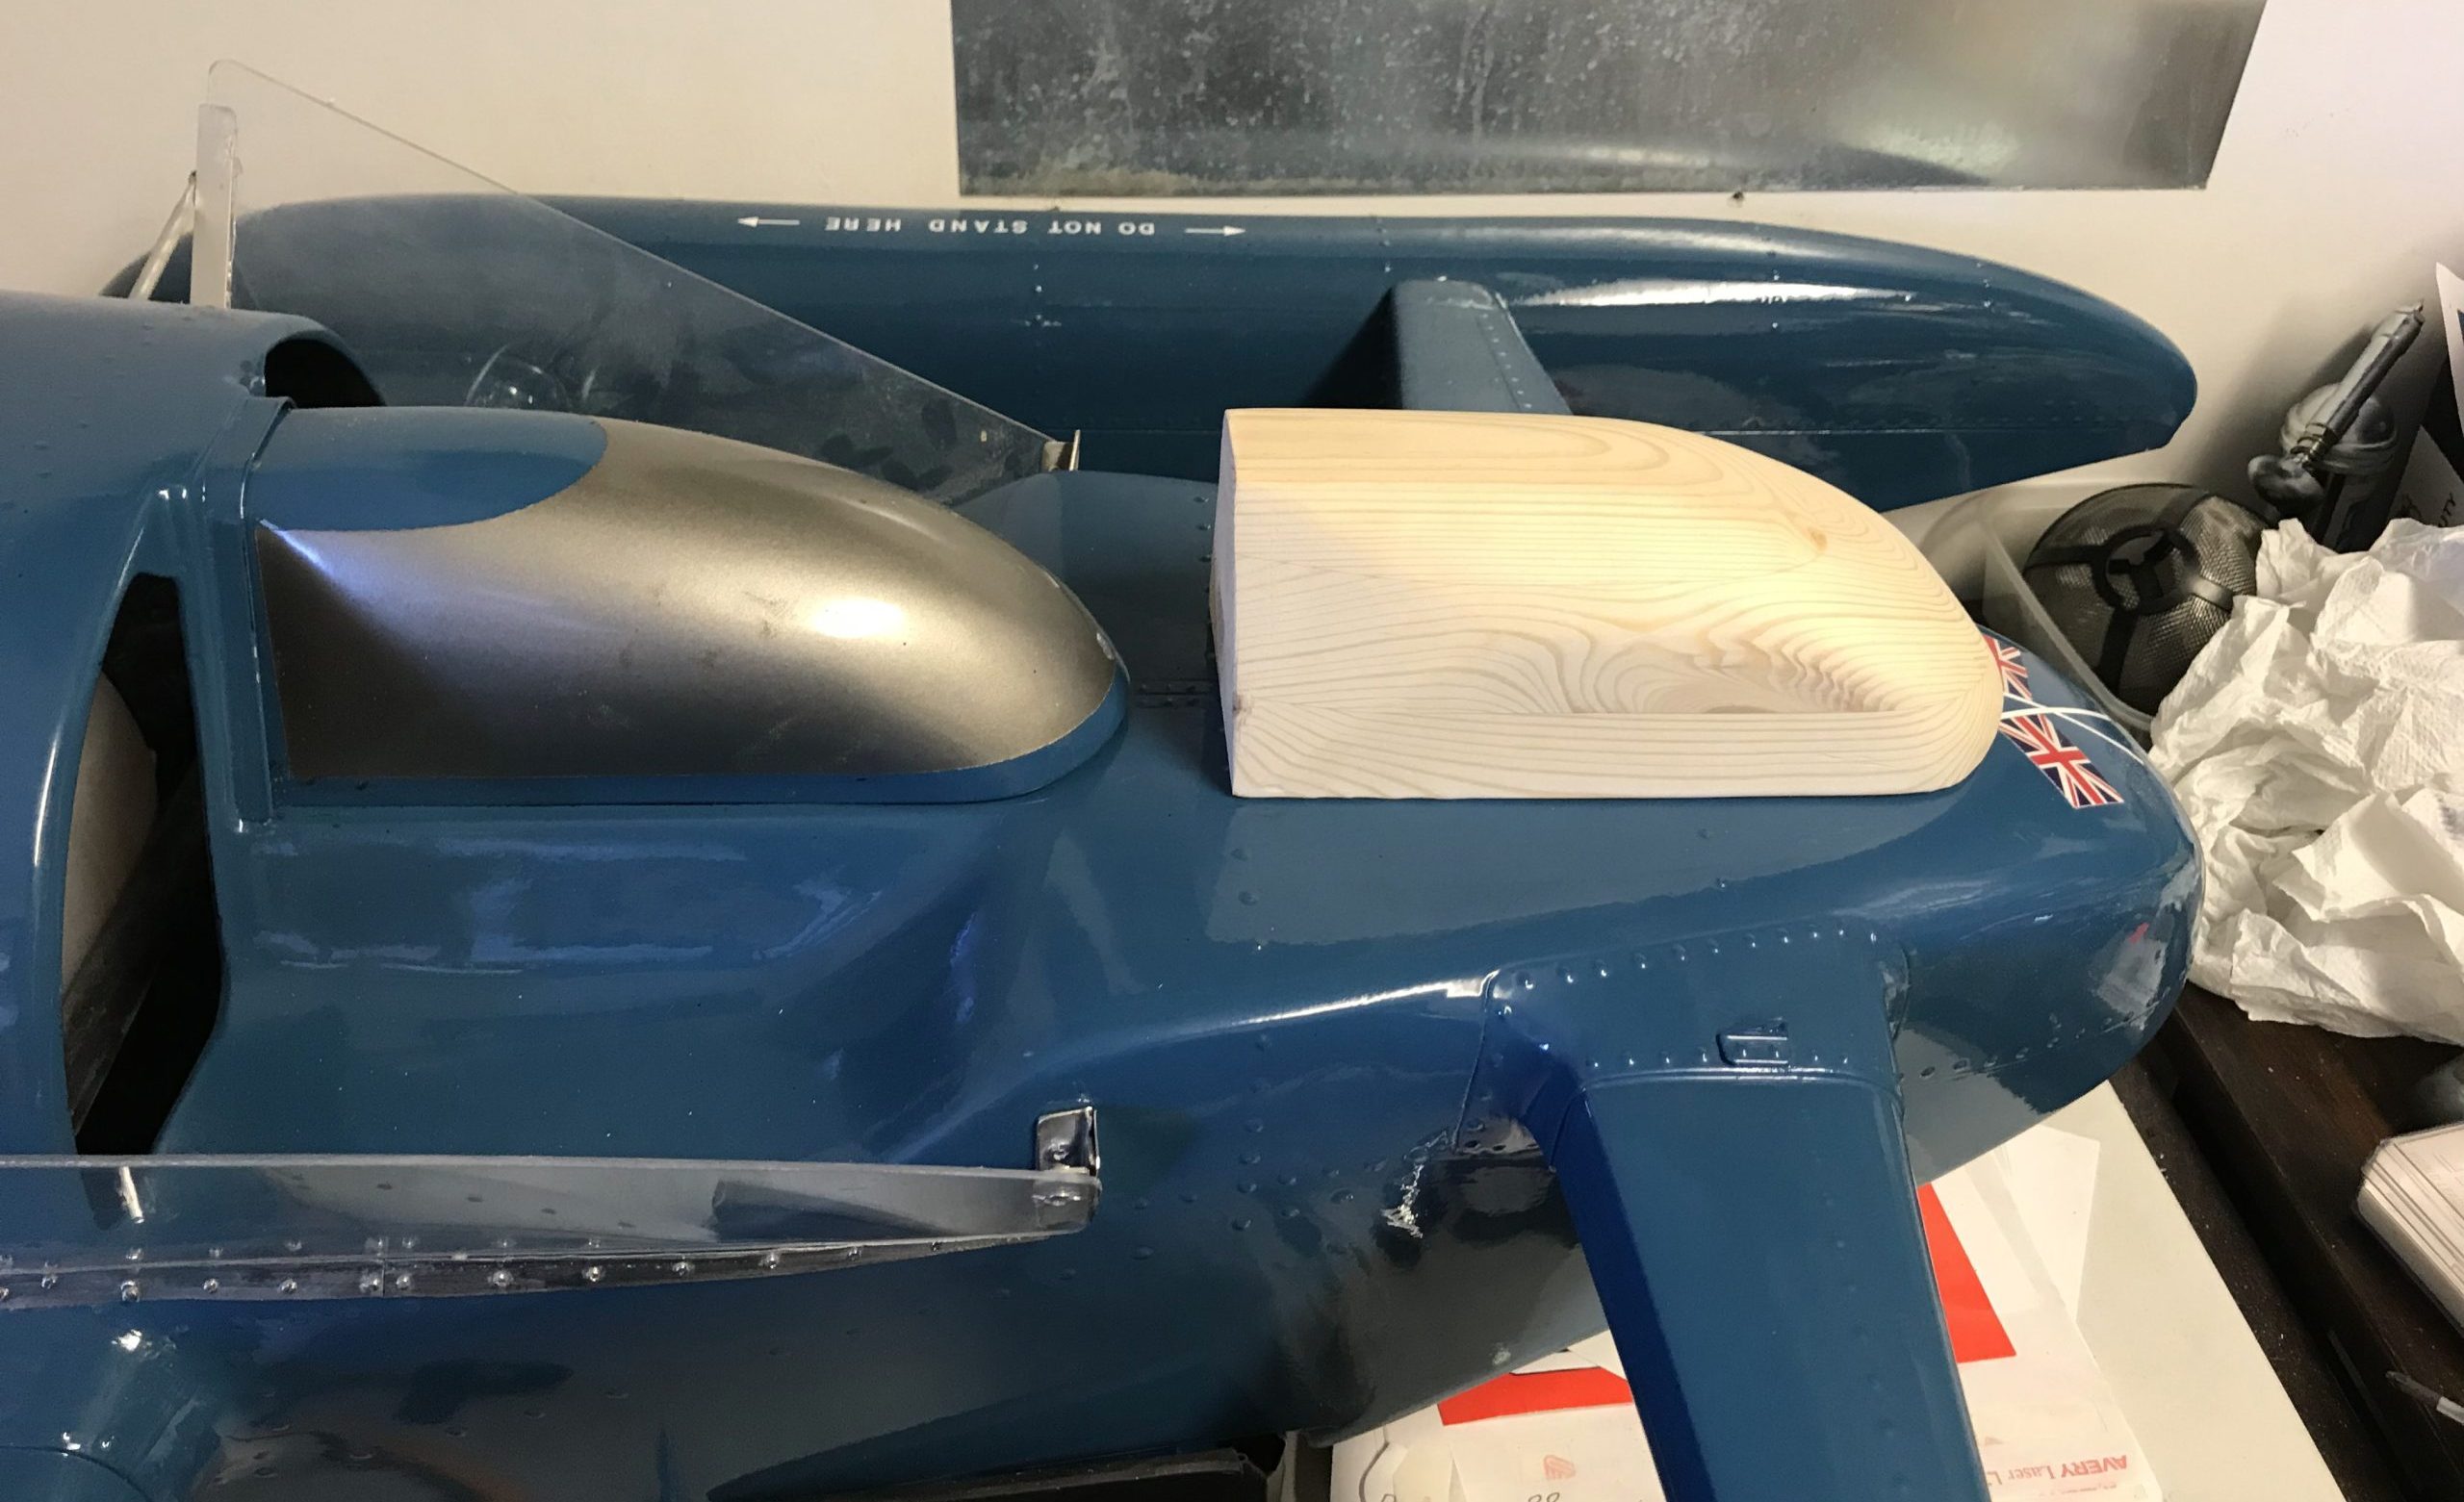
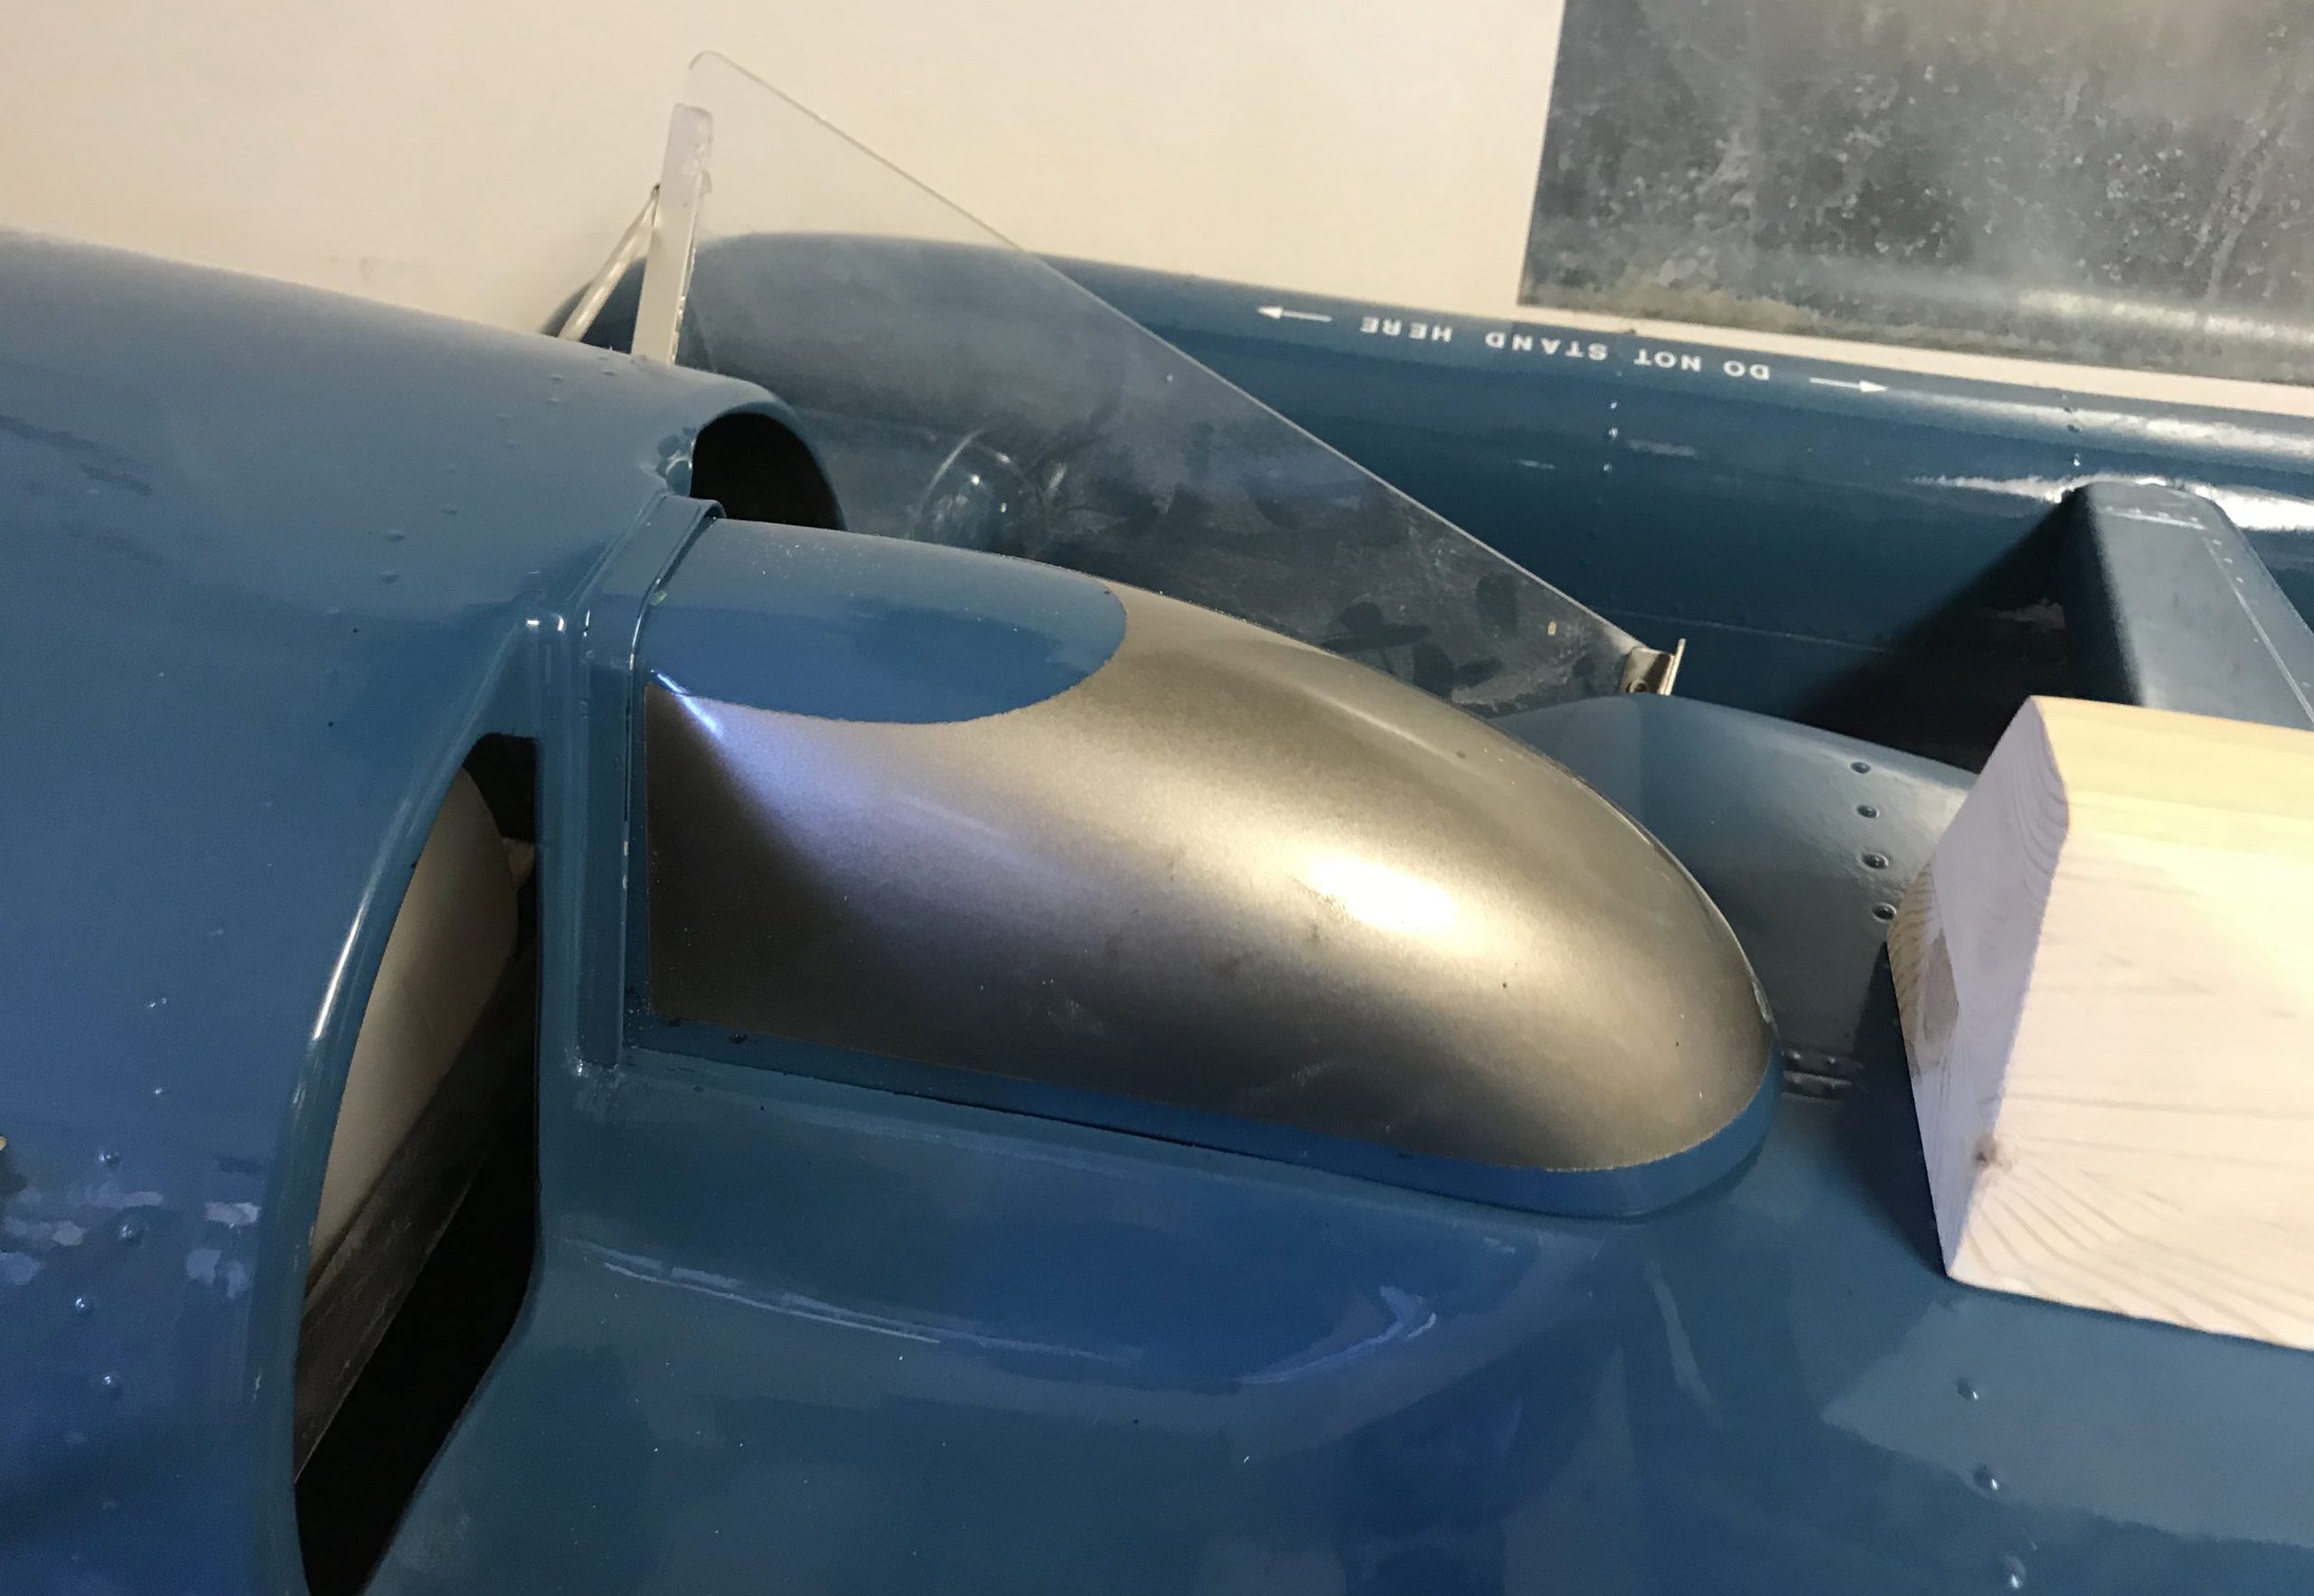
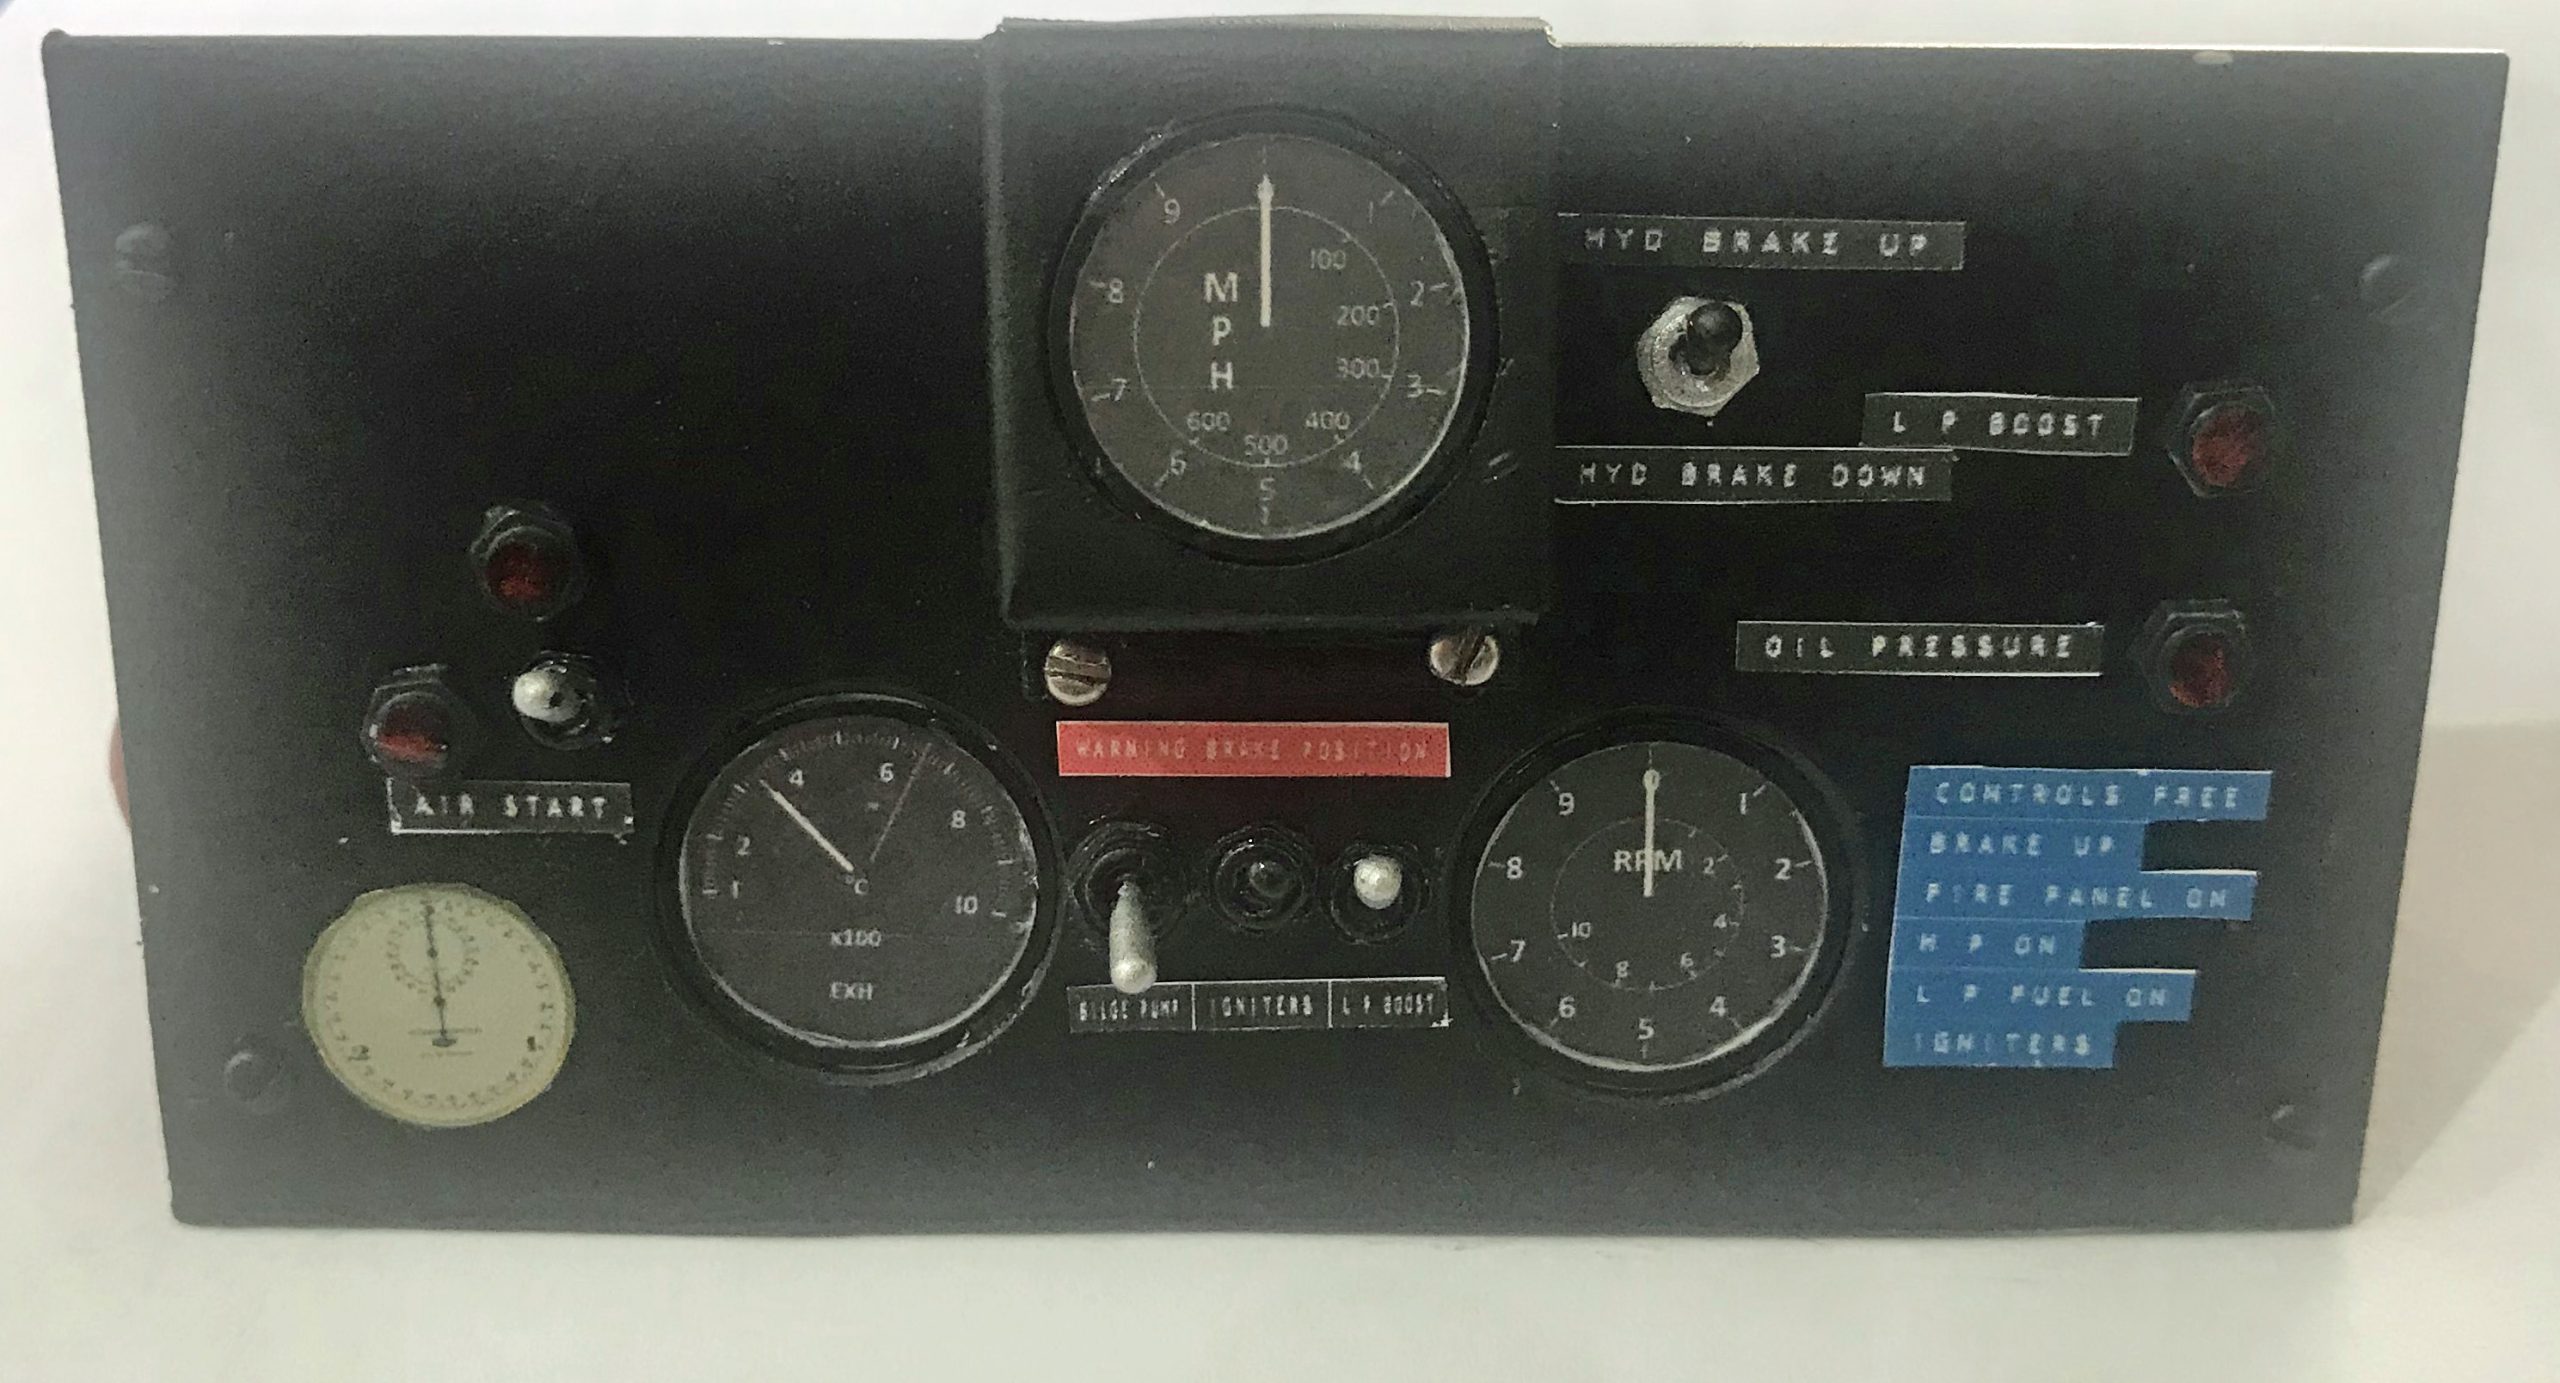
The canopy was vacuum formed after a suitable plug was made from a section of wooden newel post. The canopy was vacuum formed for me. I decided to fully fit out the cockpit as close as possible to the original. Firstly I made a replica of the control panel with a combination of 3D printed switches, printed gauges and Dymo print printed on self adhesive vinyl. Below is photo of the finished control panel before it was fitted into the cockpit.
It turned out that the scale of the model was a perfect size for Action Man as a pilot
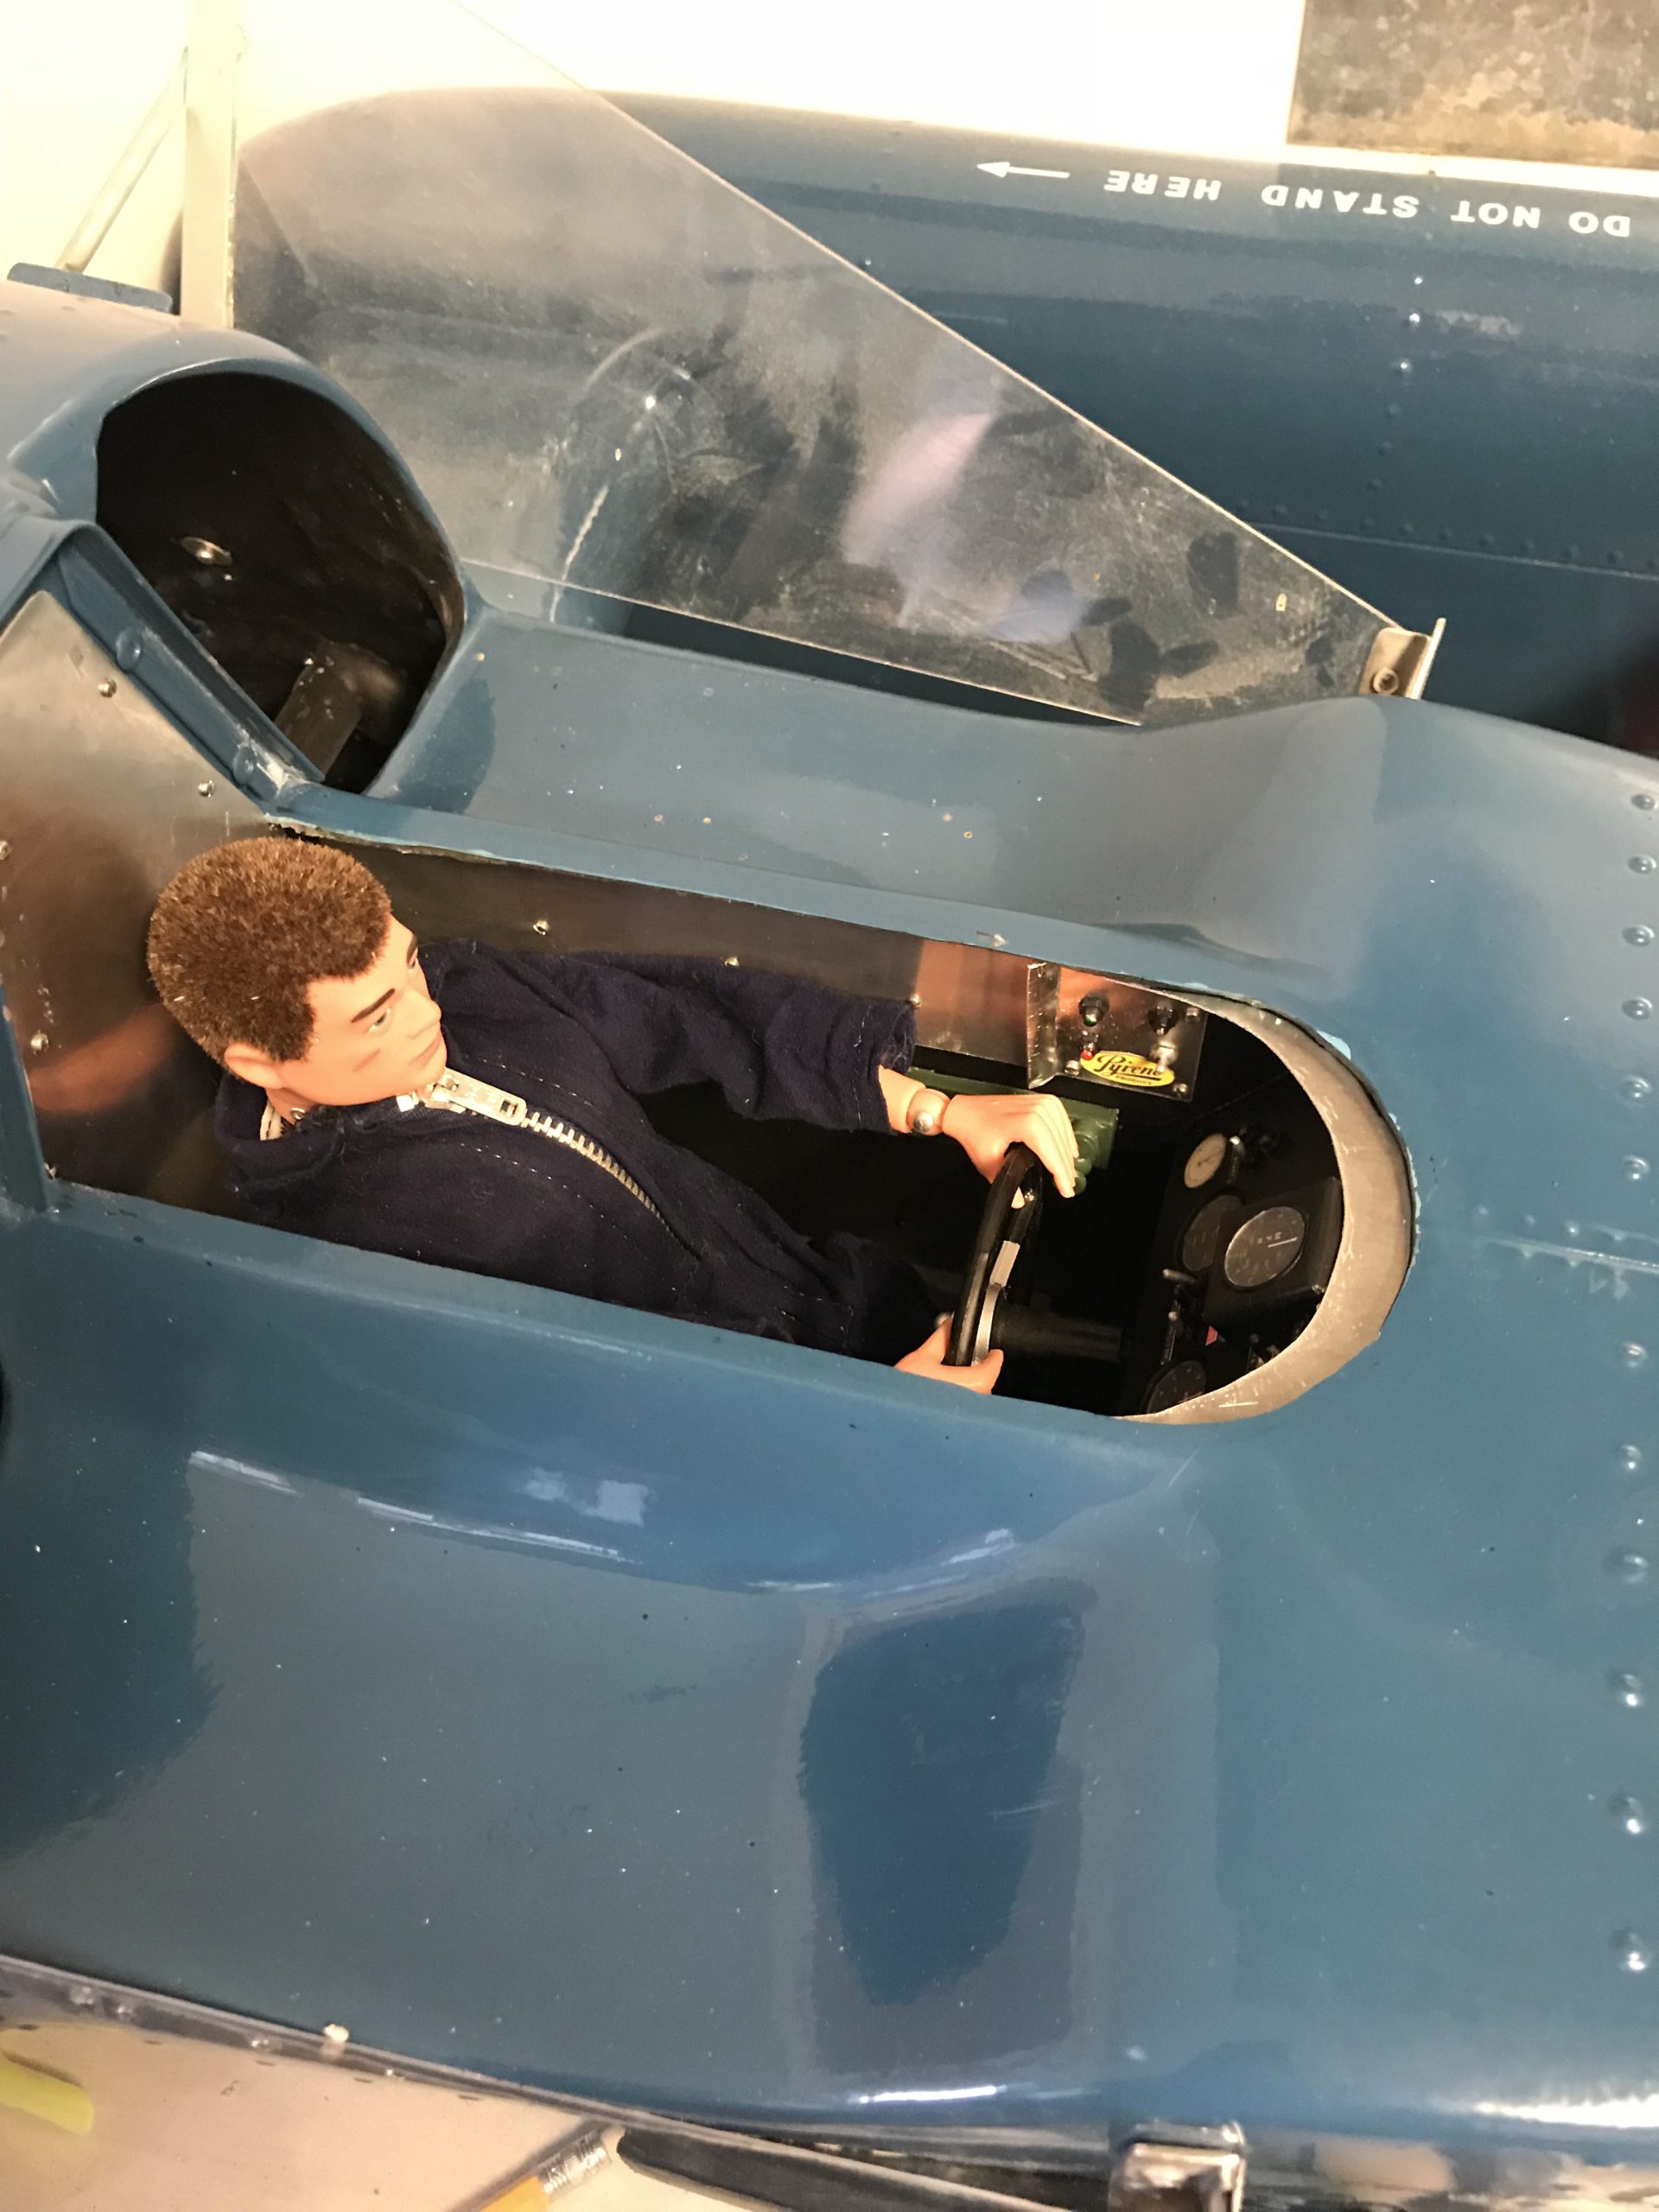
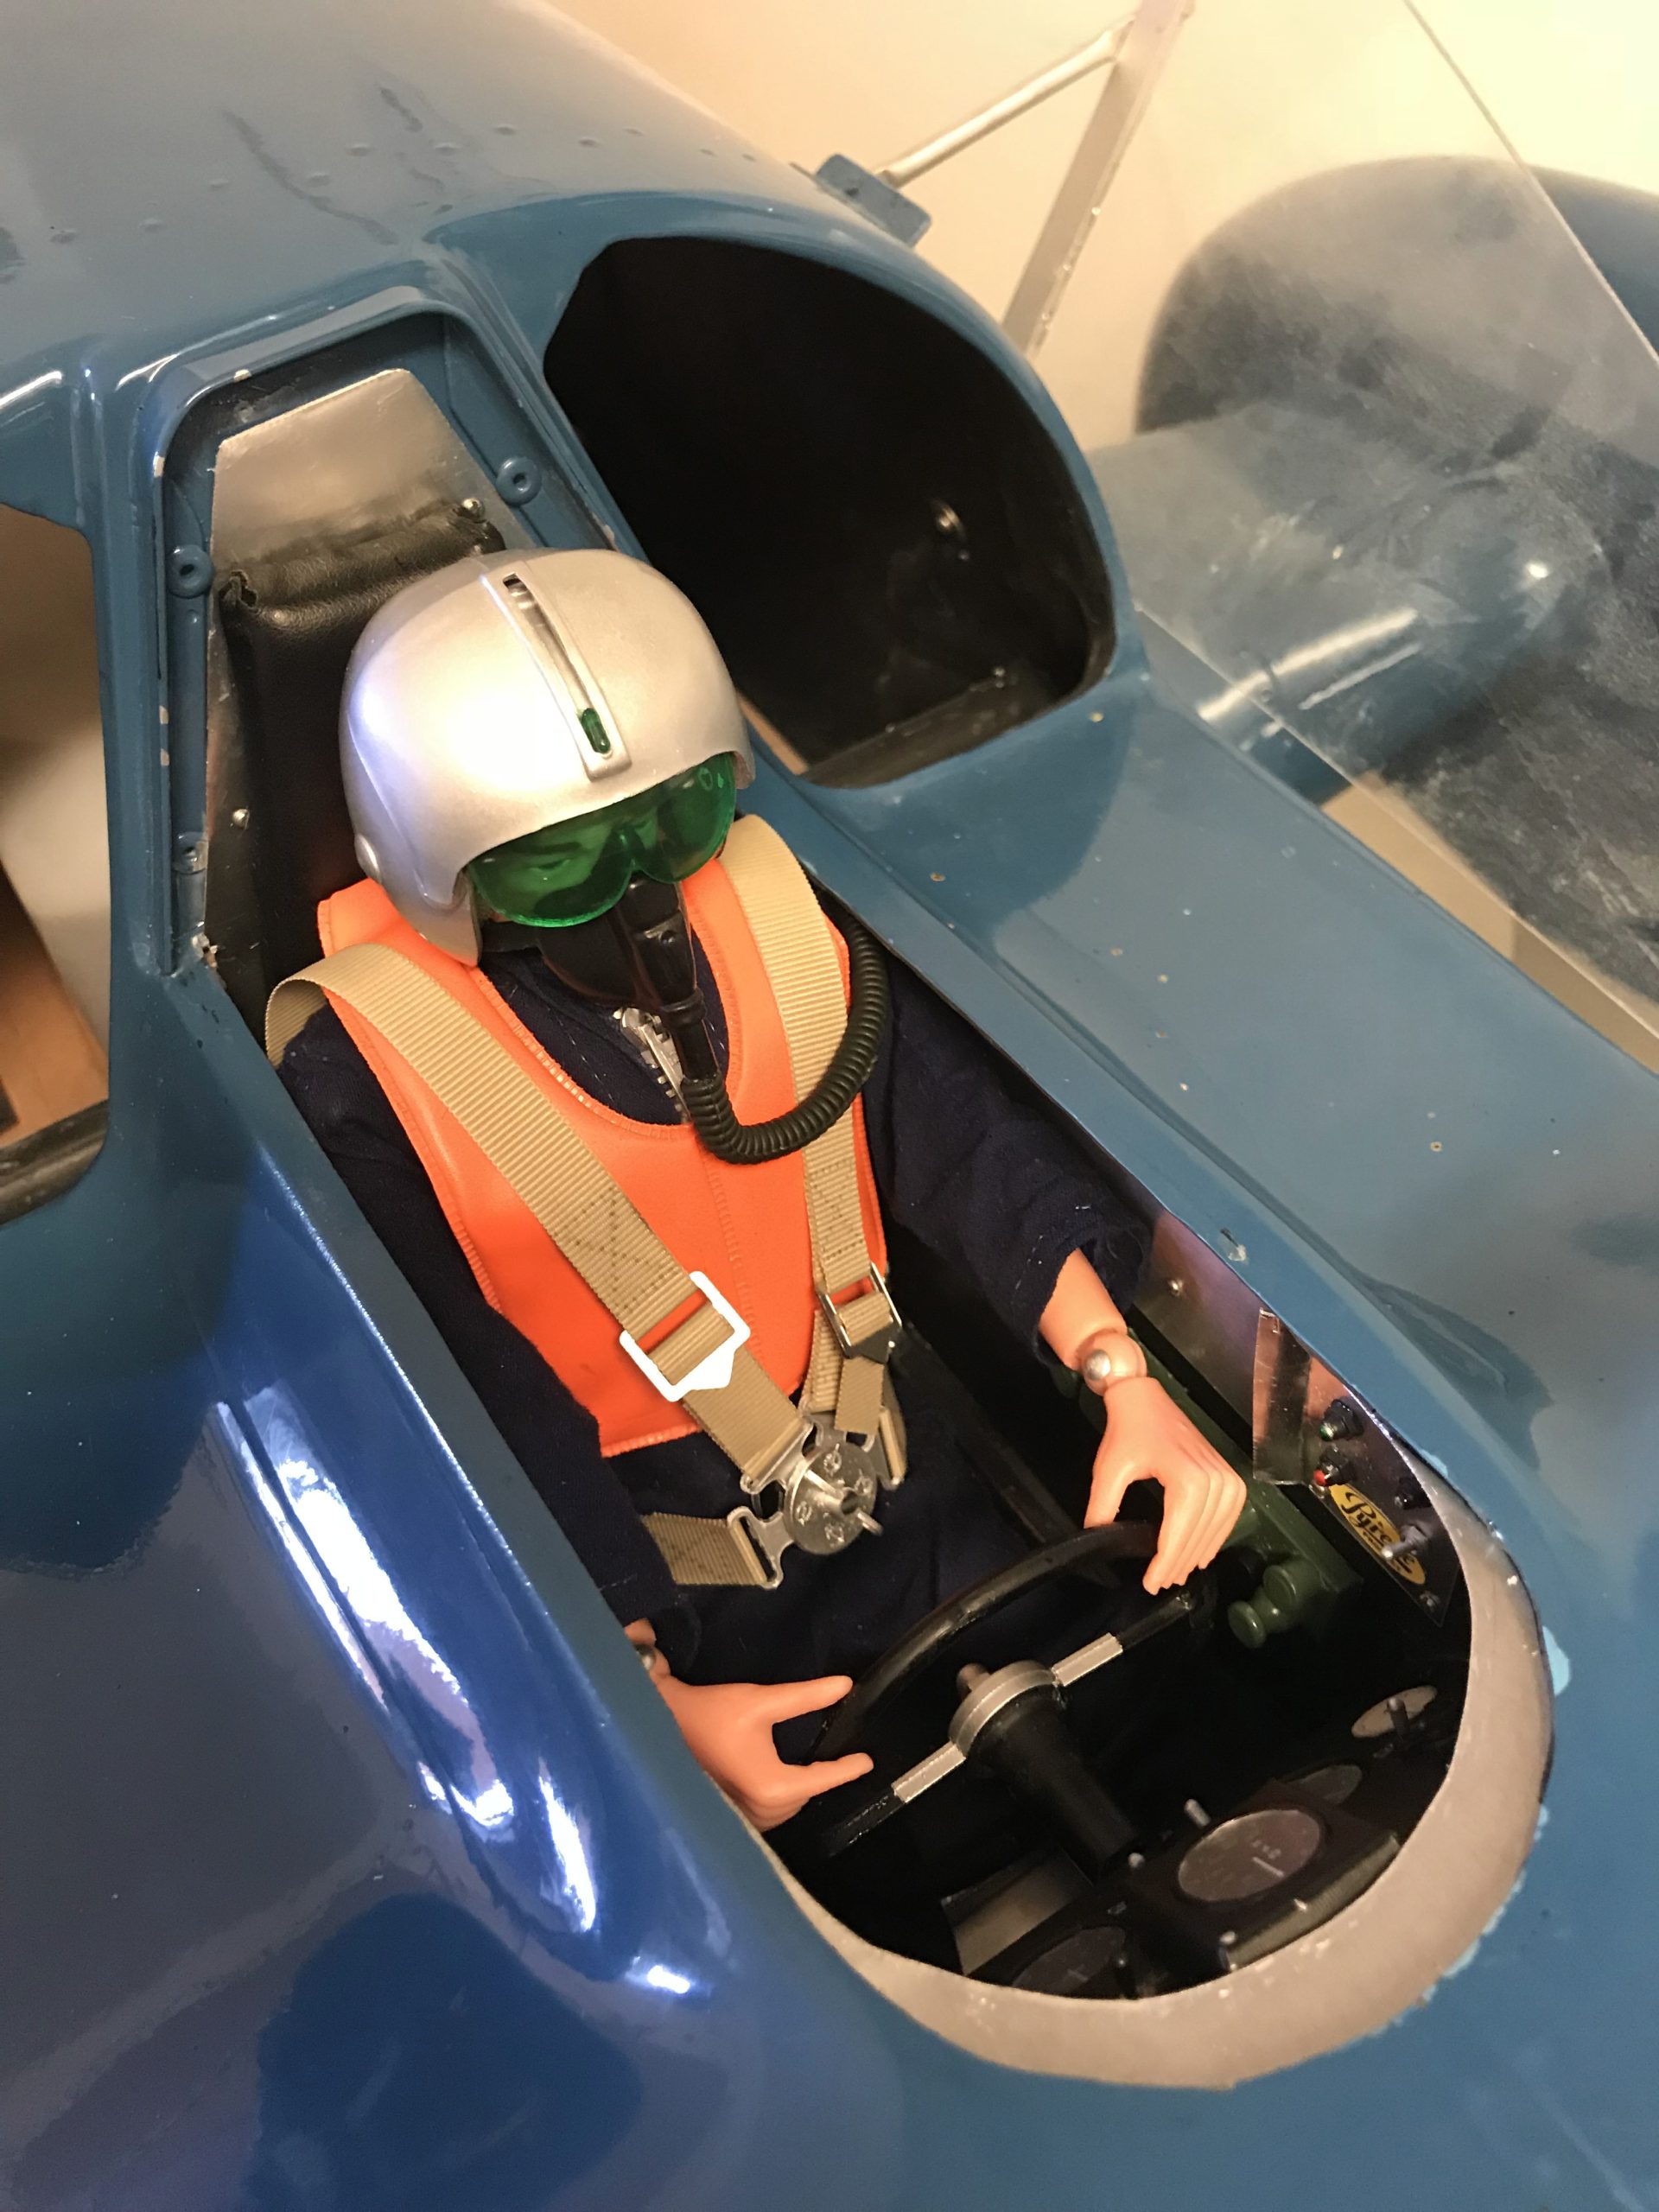
Some of the other parts for the cockpit were 3D printed. The steering wheel was also an Action Man part from a Land Rover. The seat and cushions and headrest etc. were all scratch built.
The vacuum formed canopy arrived which fitted well over the cockpit all that was needed was some aluminium parts to finish this off then the aluminium trim parts were sprayed the correct Azure Blue.
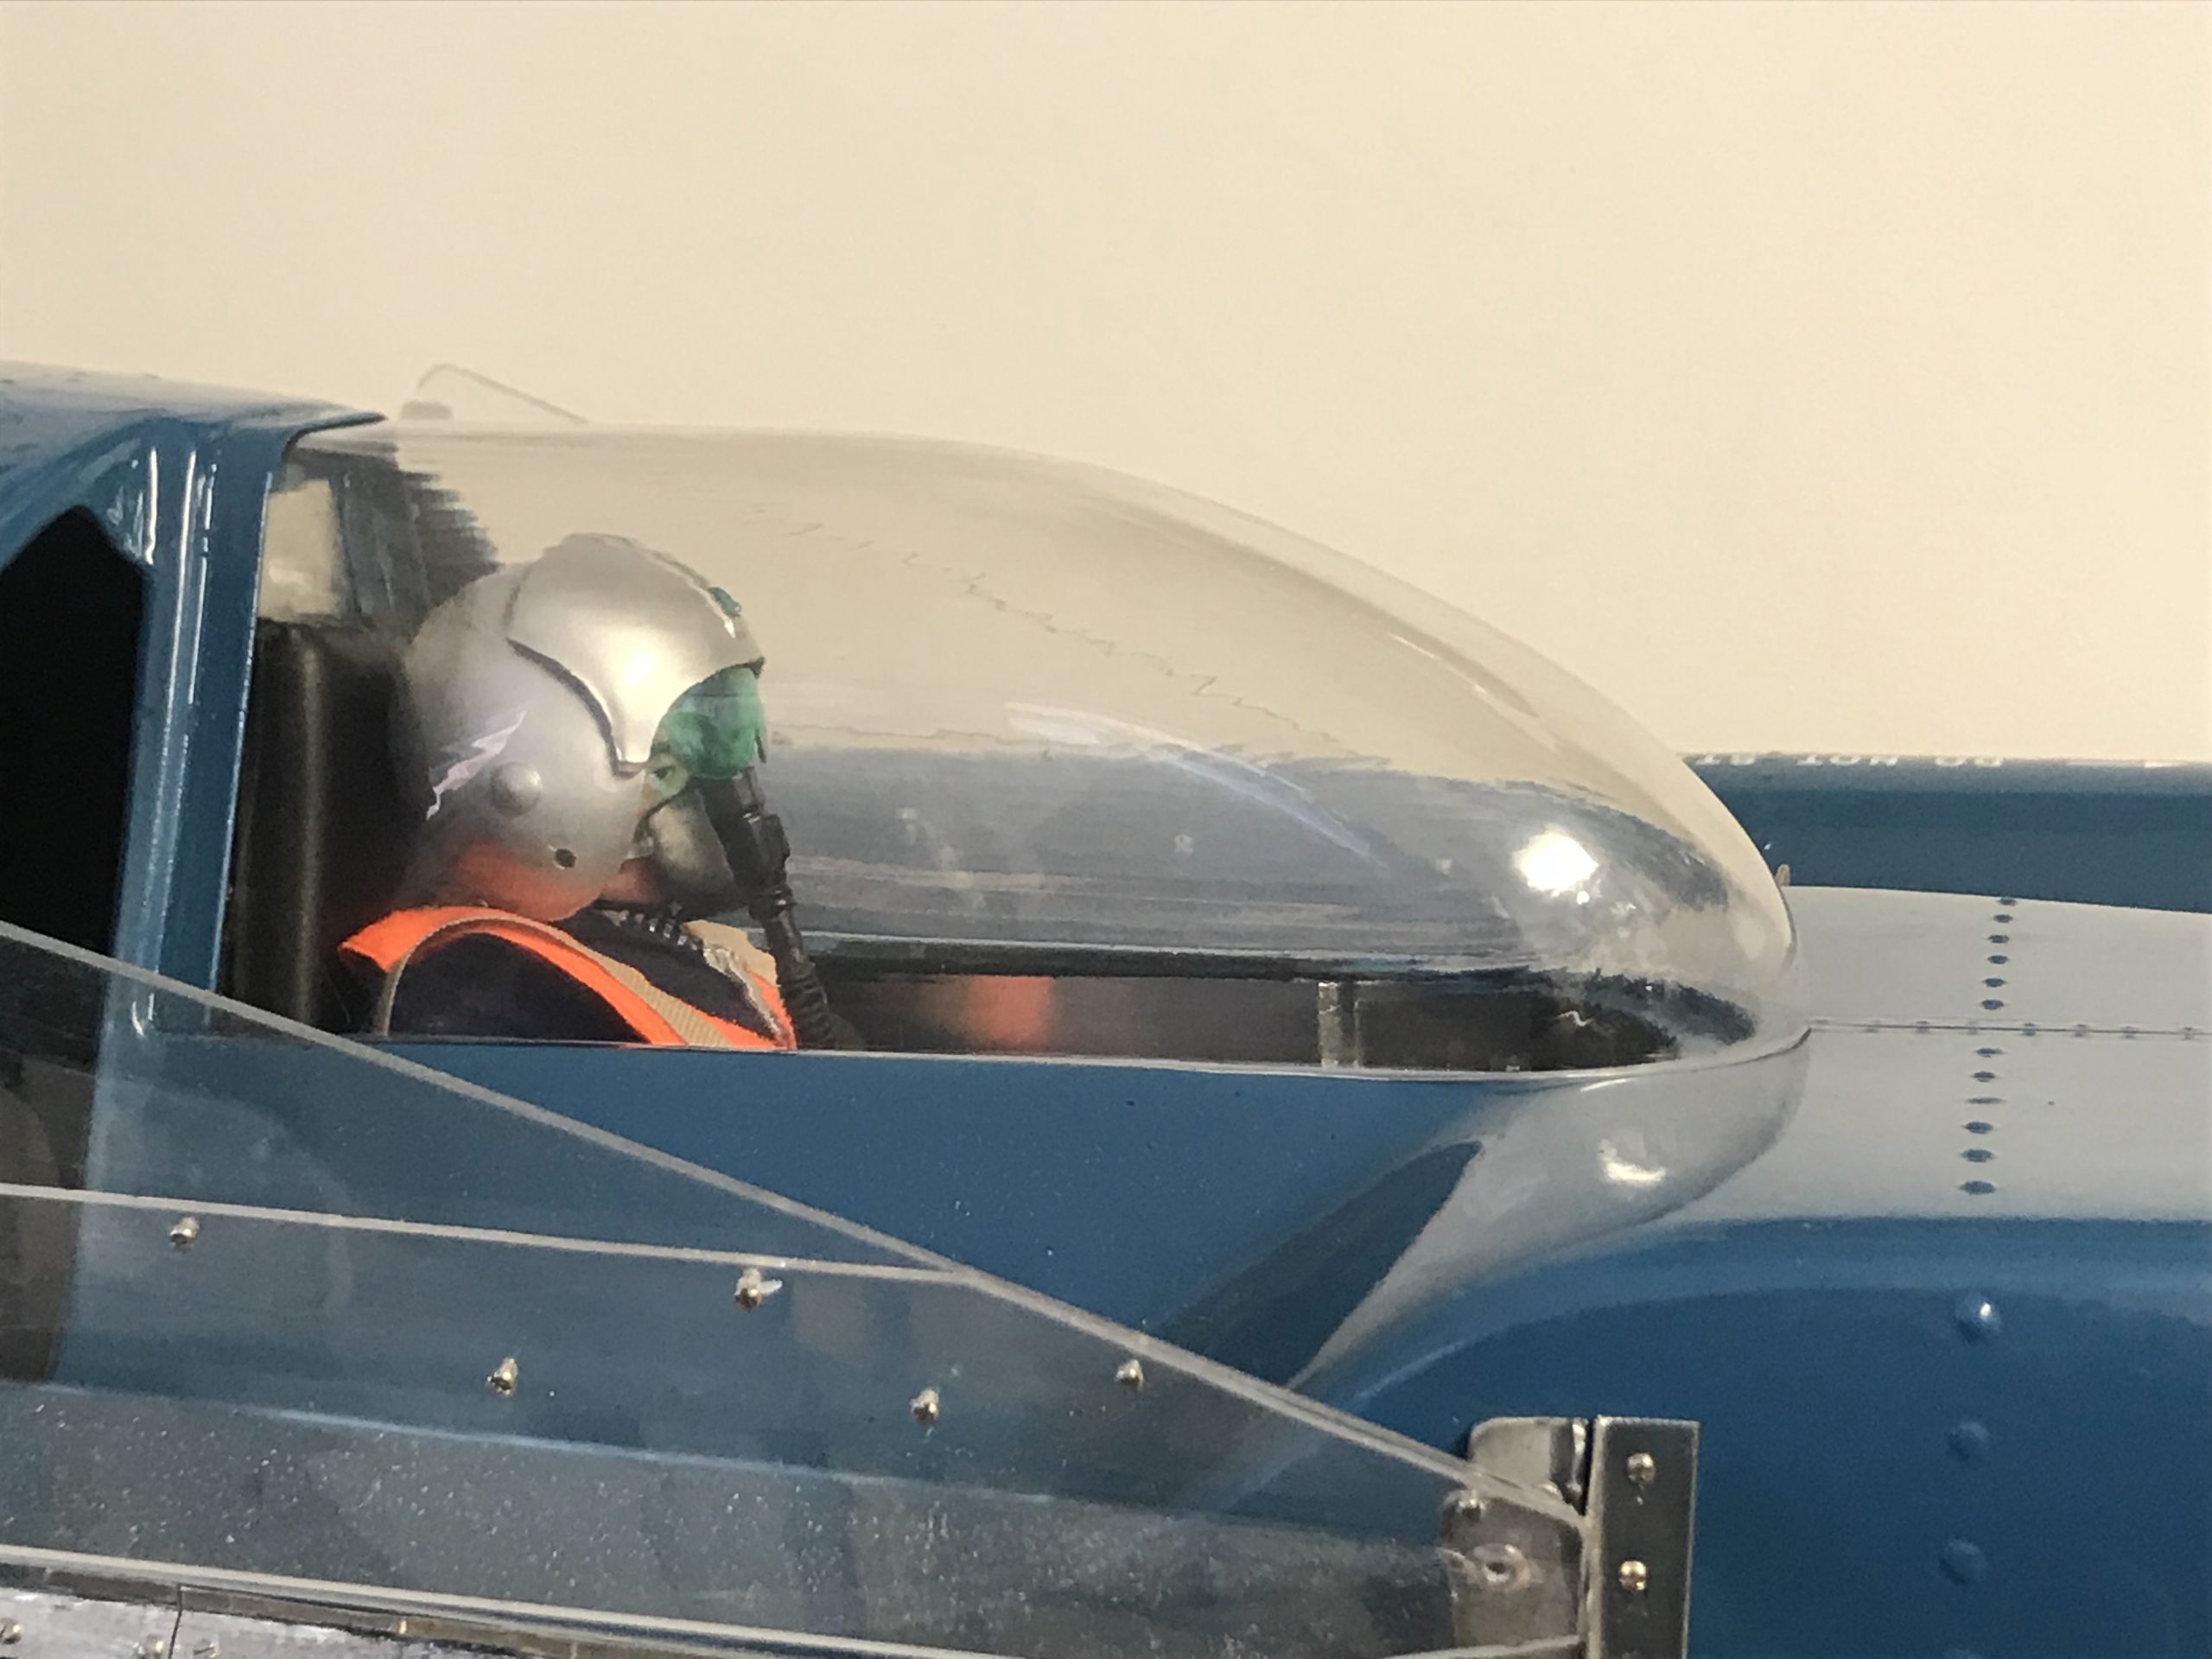
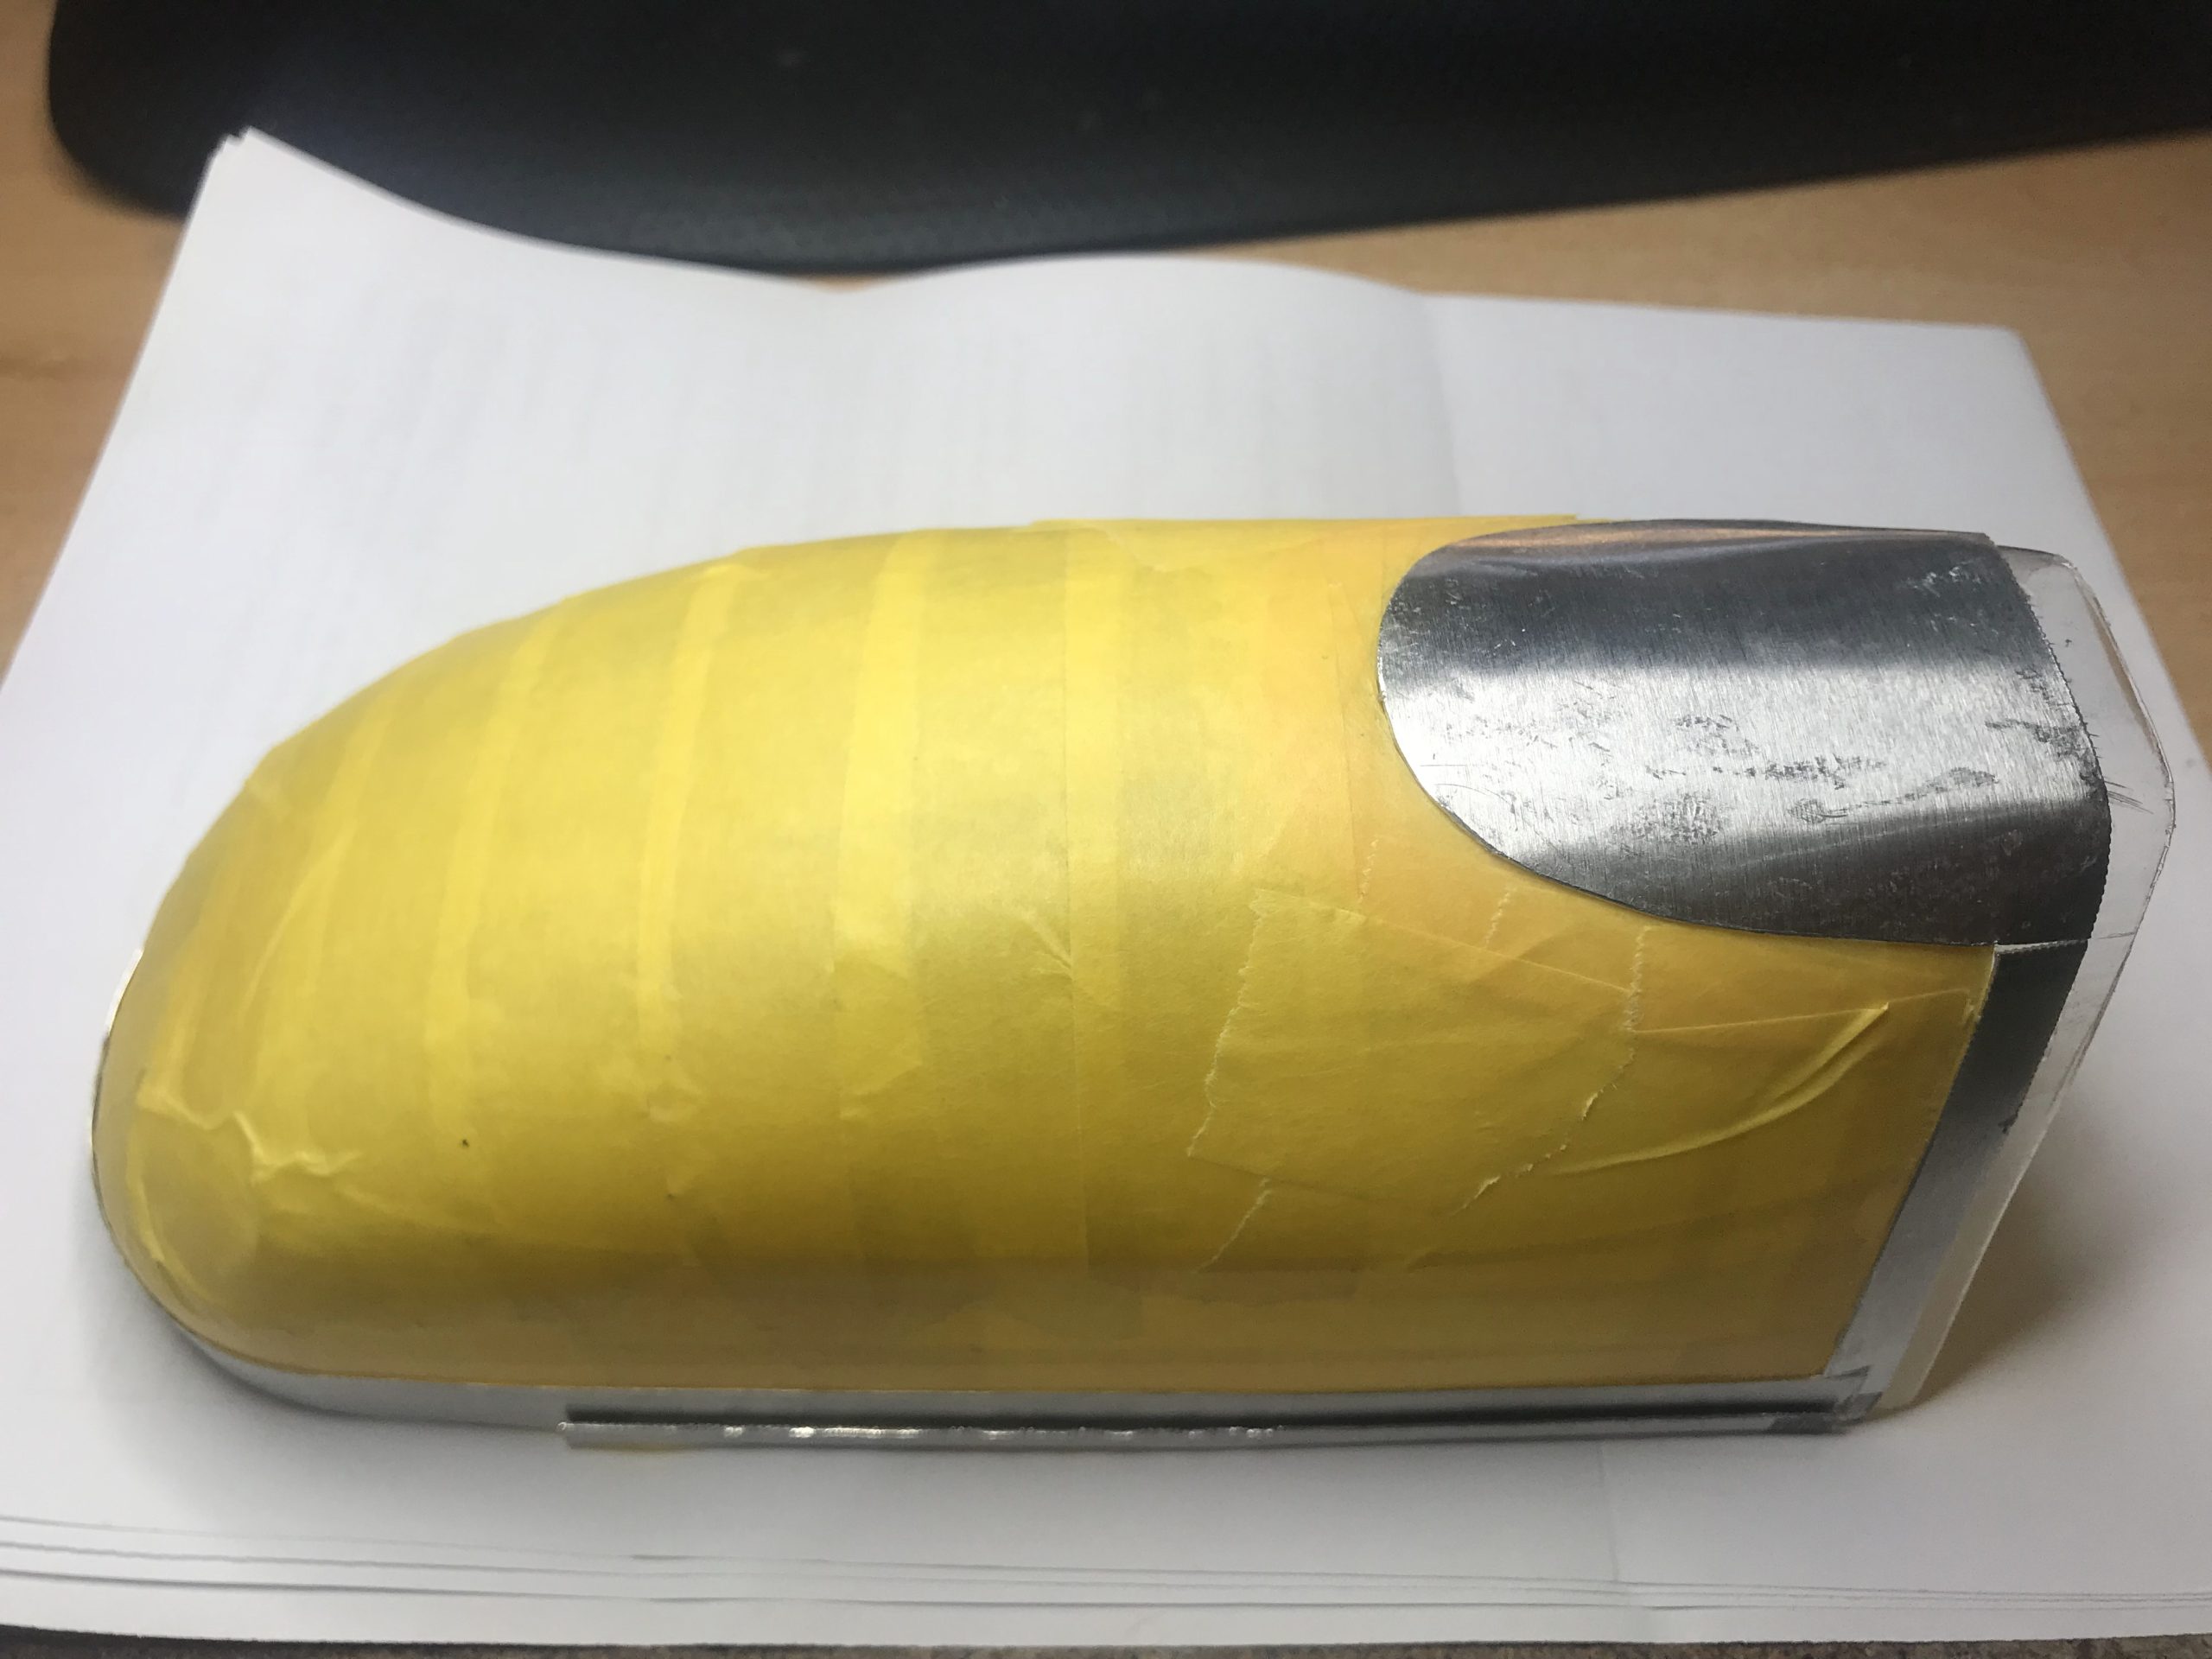
Here is the finished canopy fitted over the cockpit, complete with pilot and Mr Whoppit.
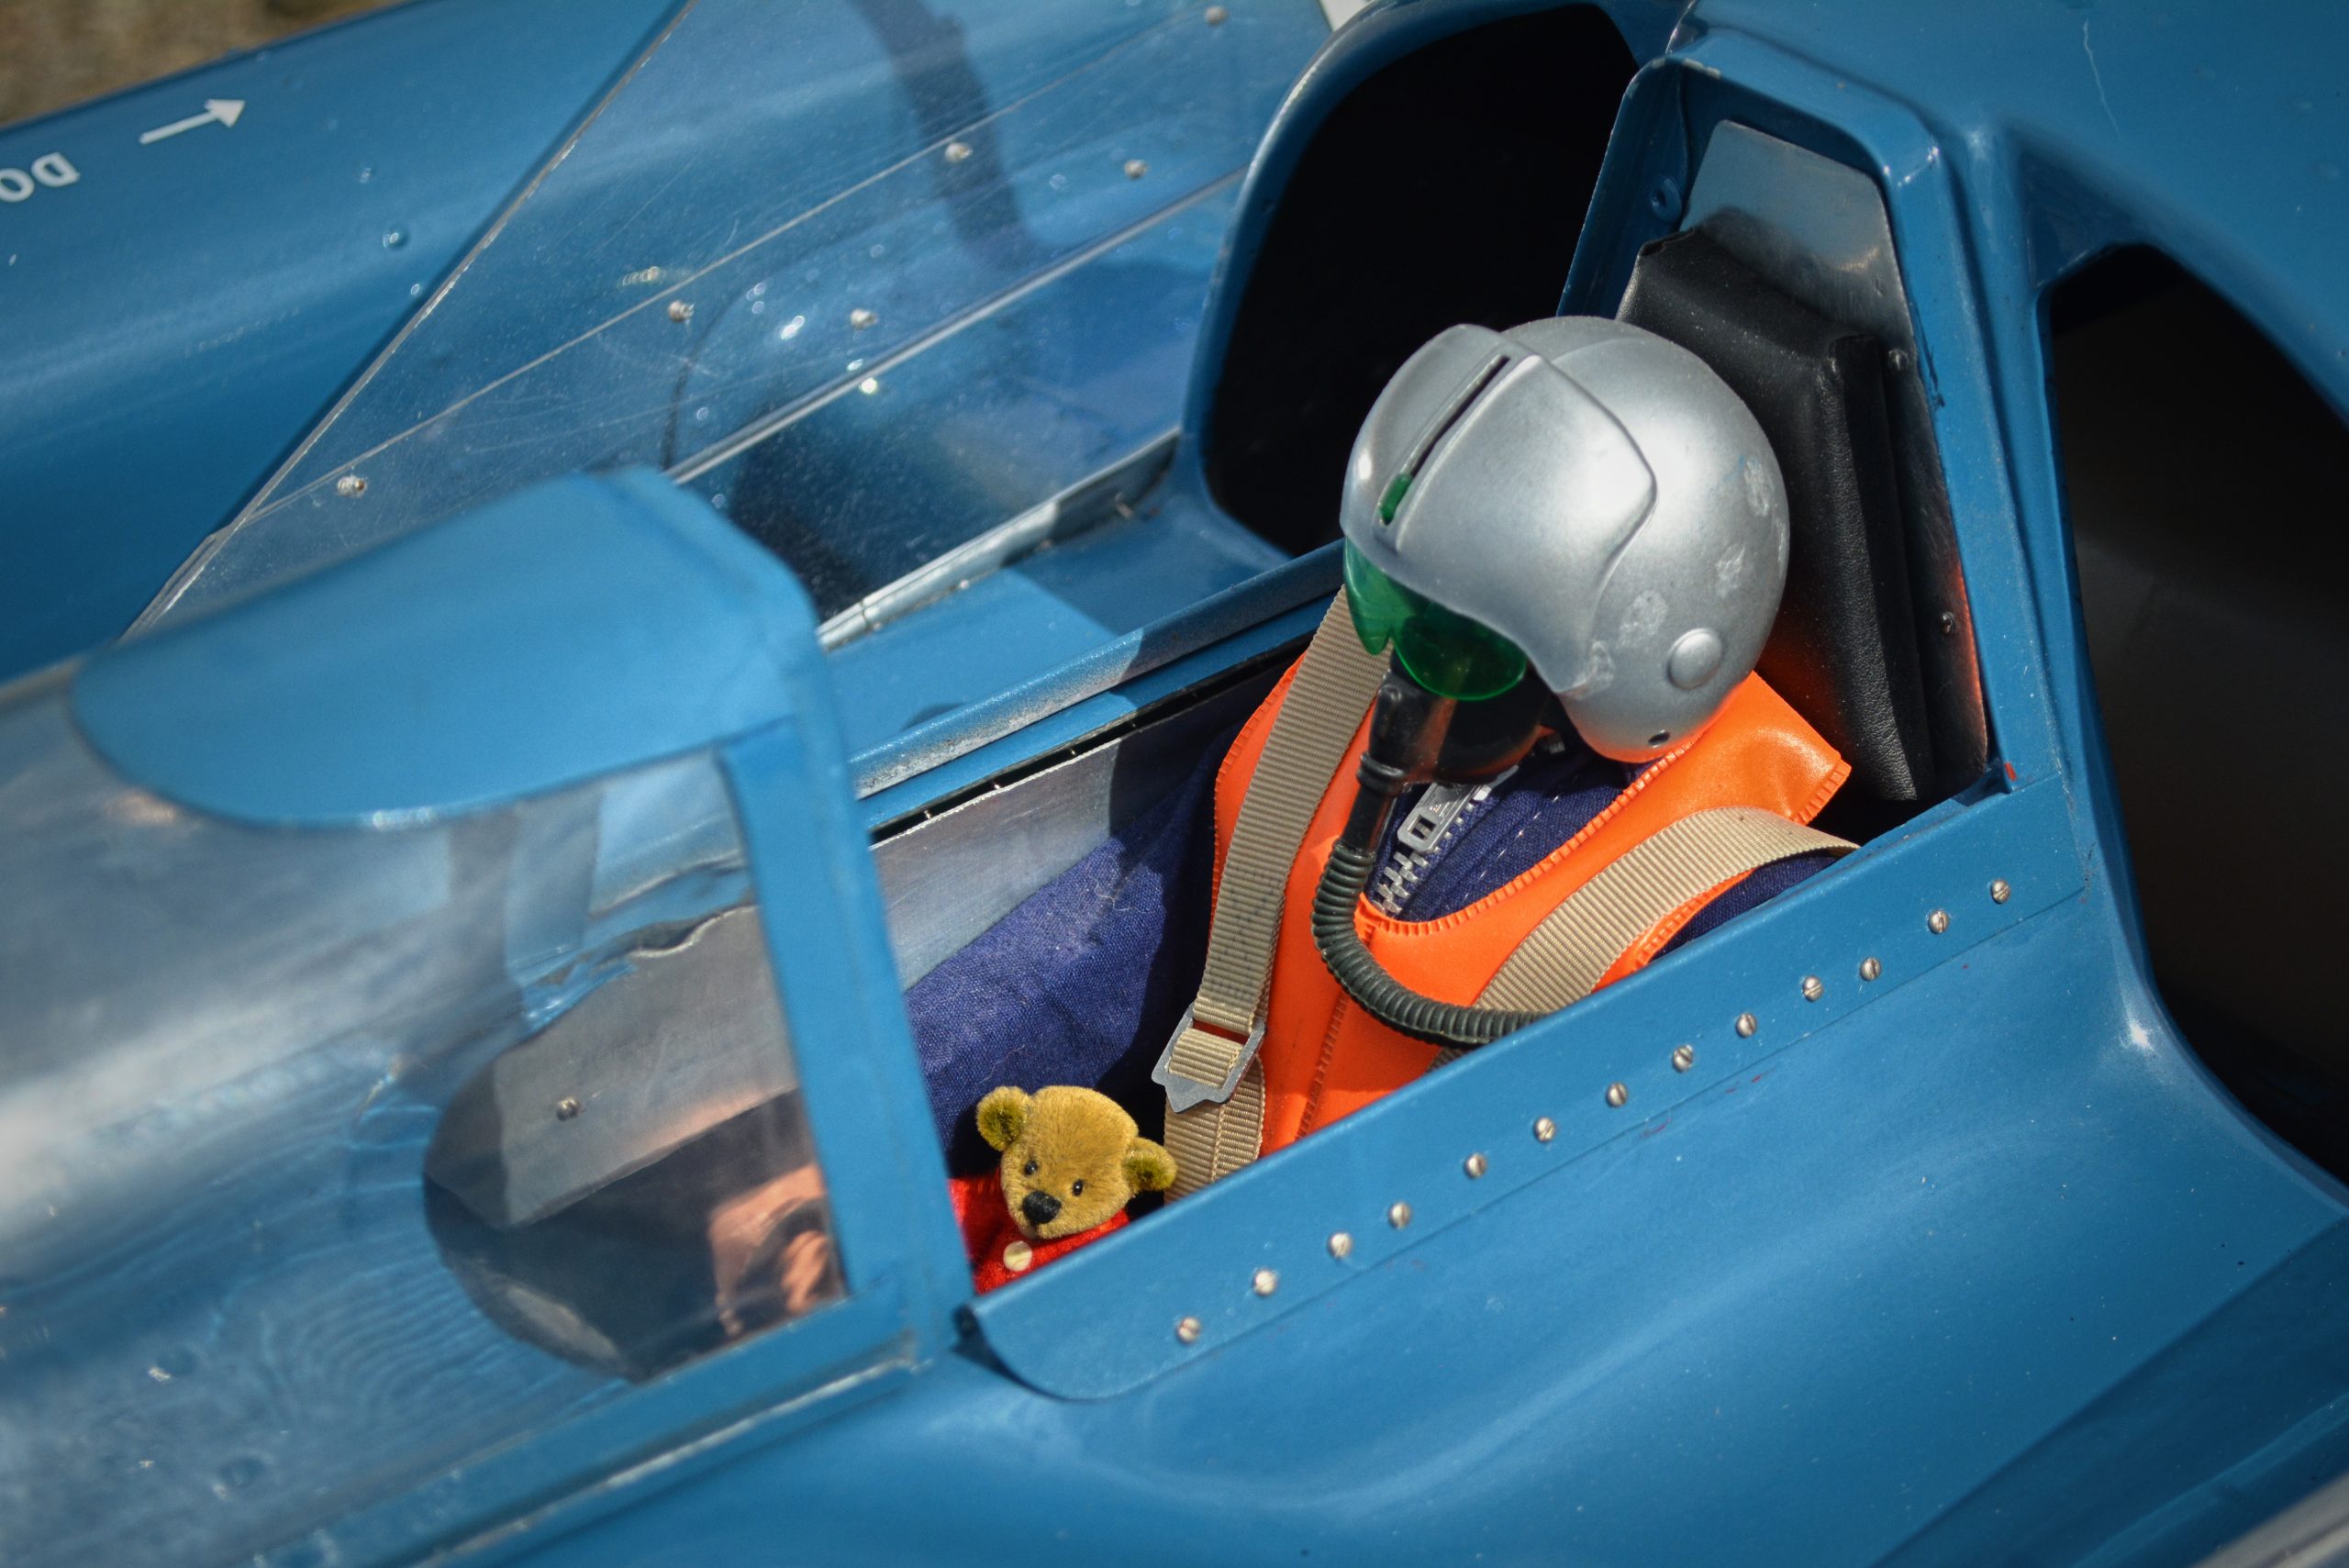
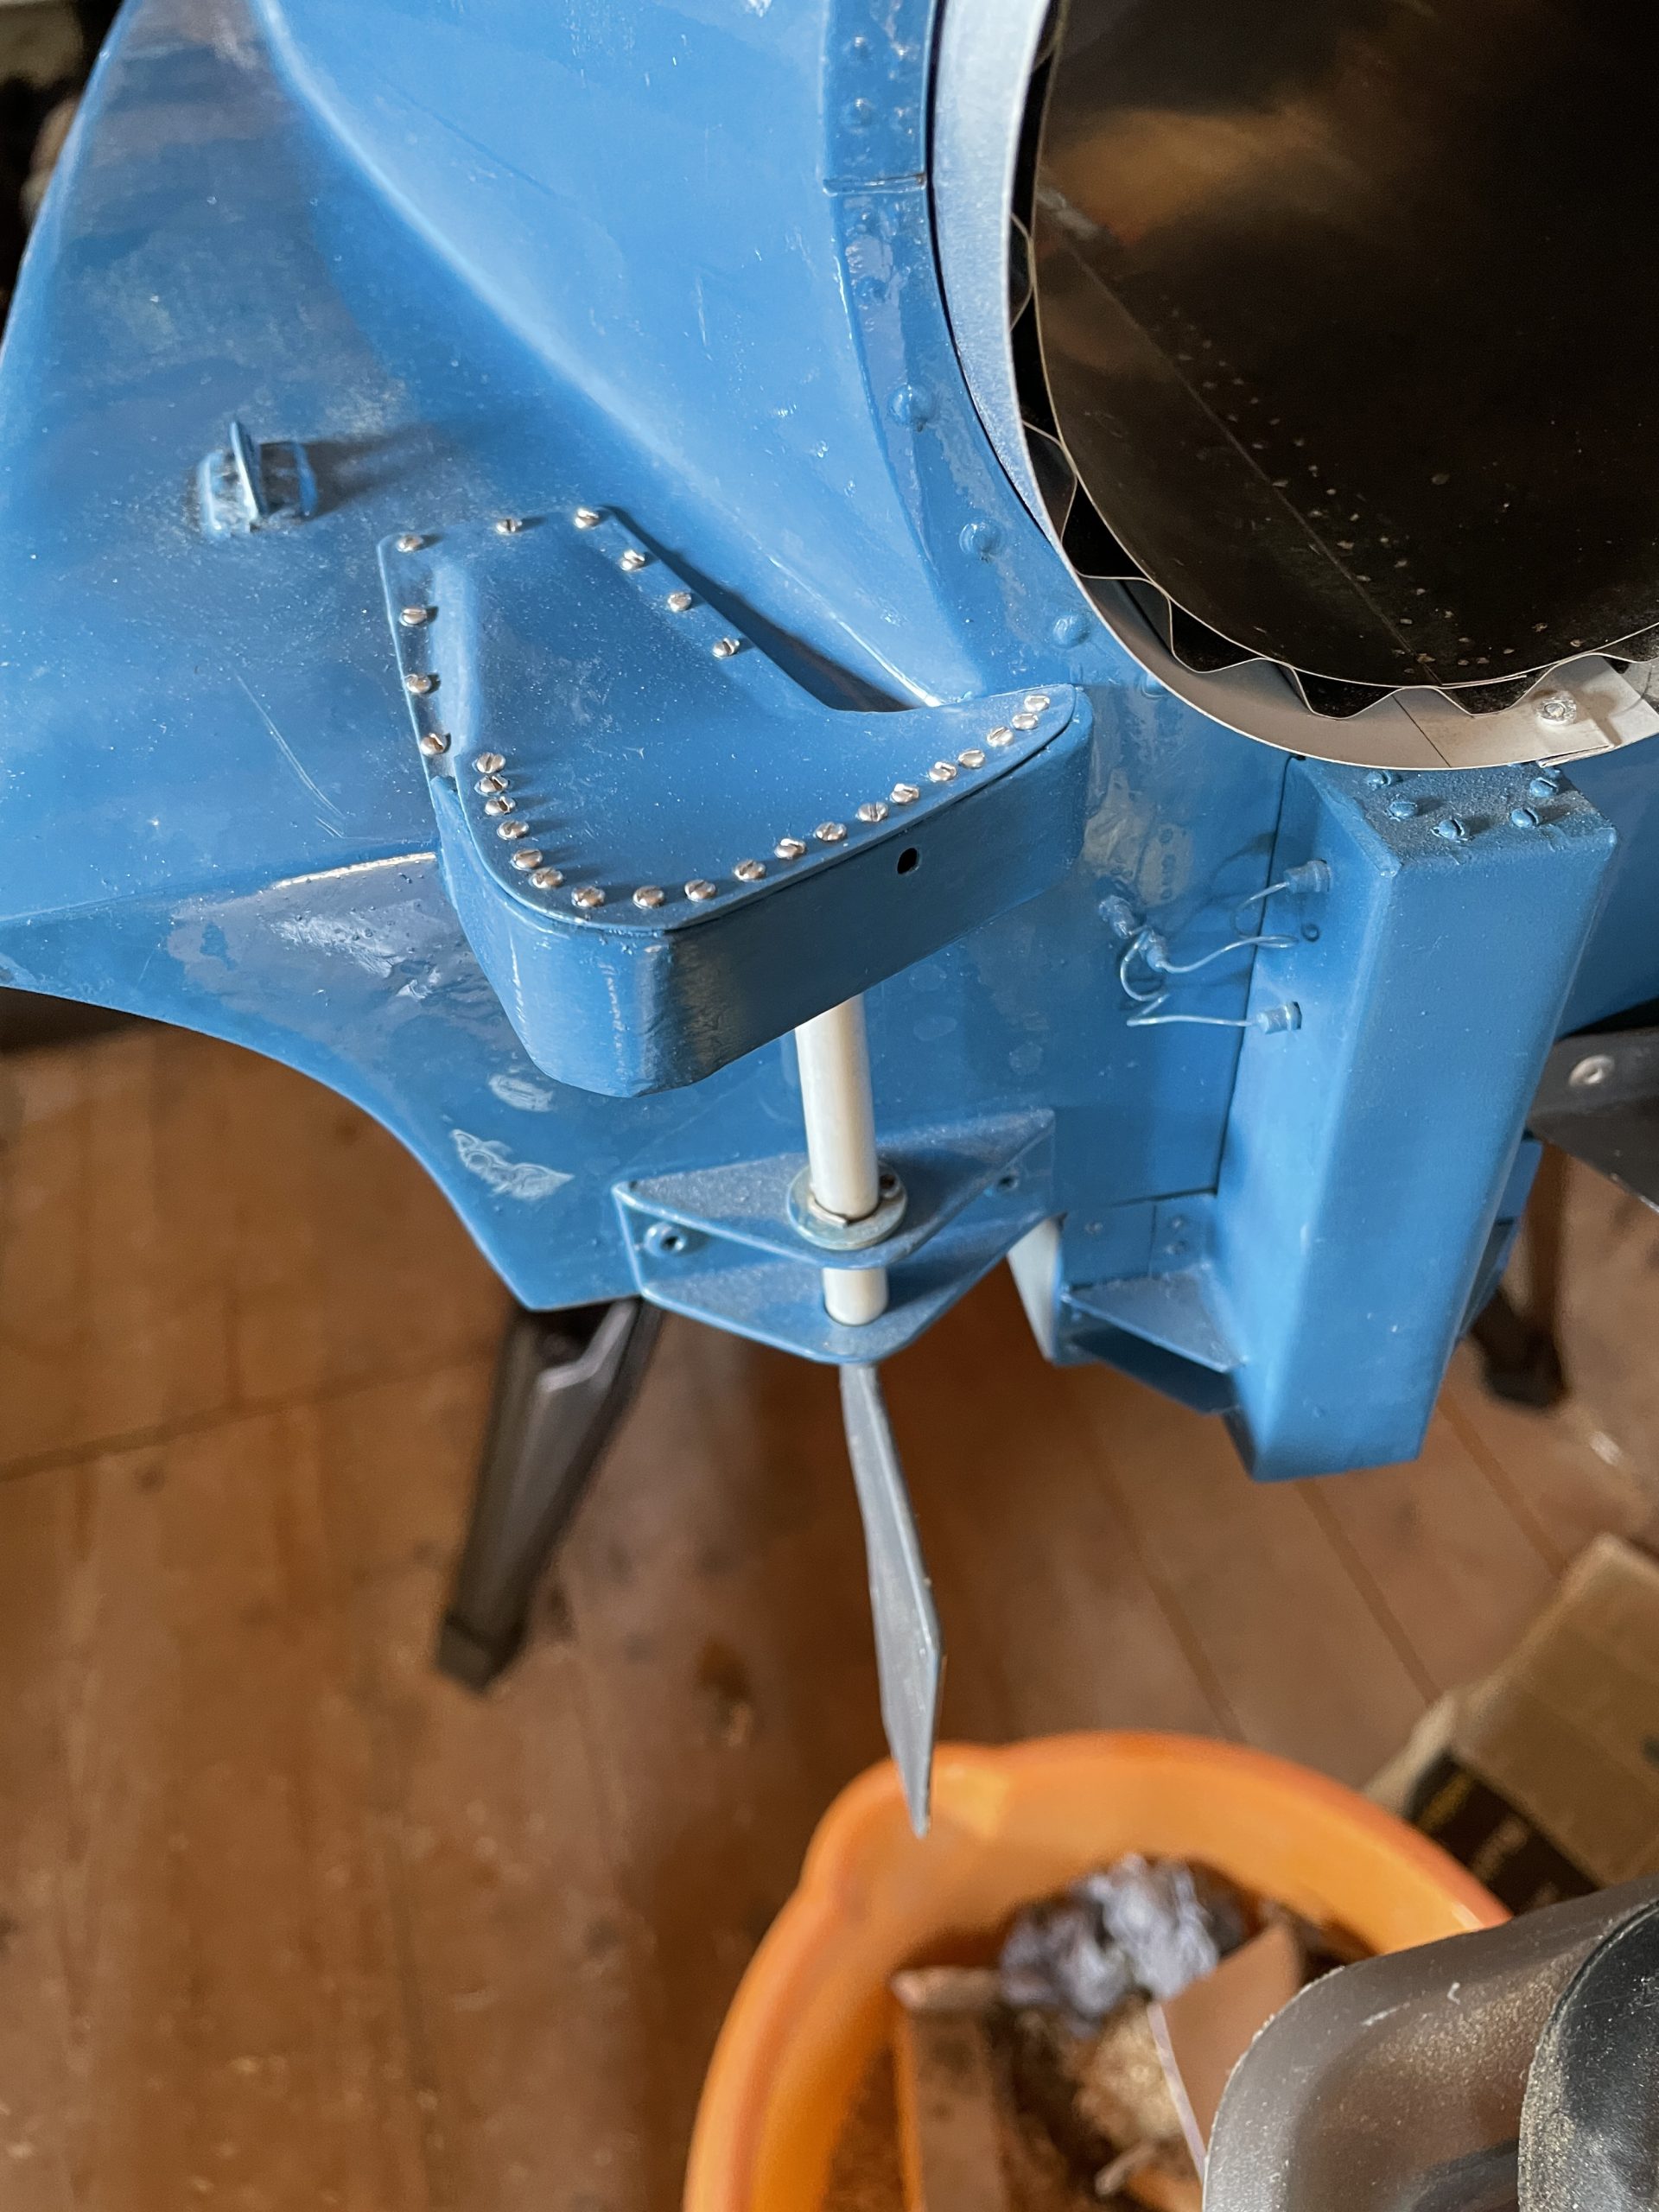
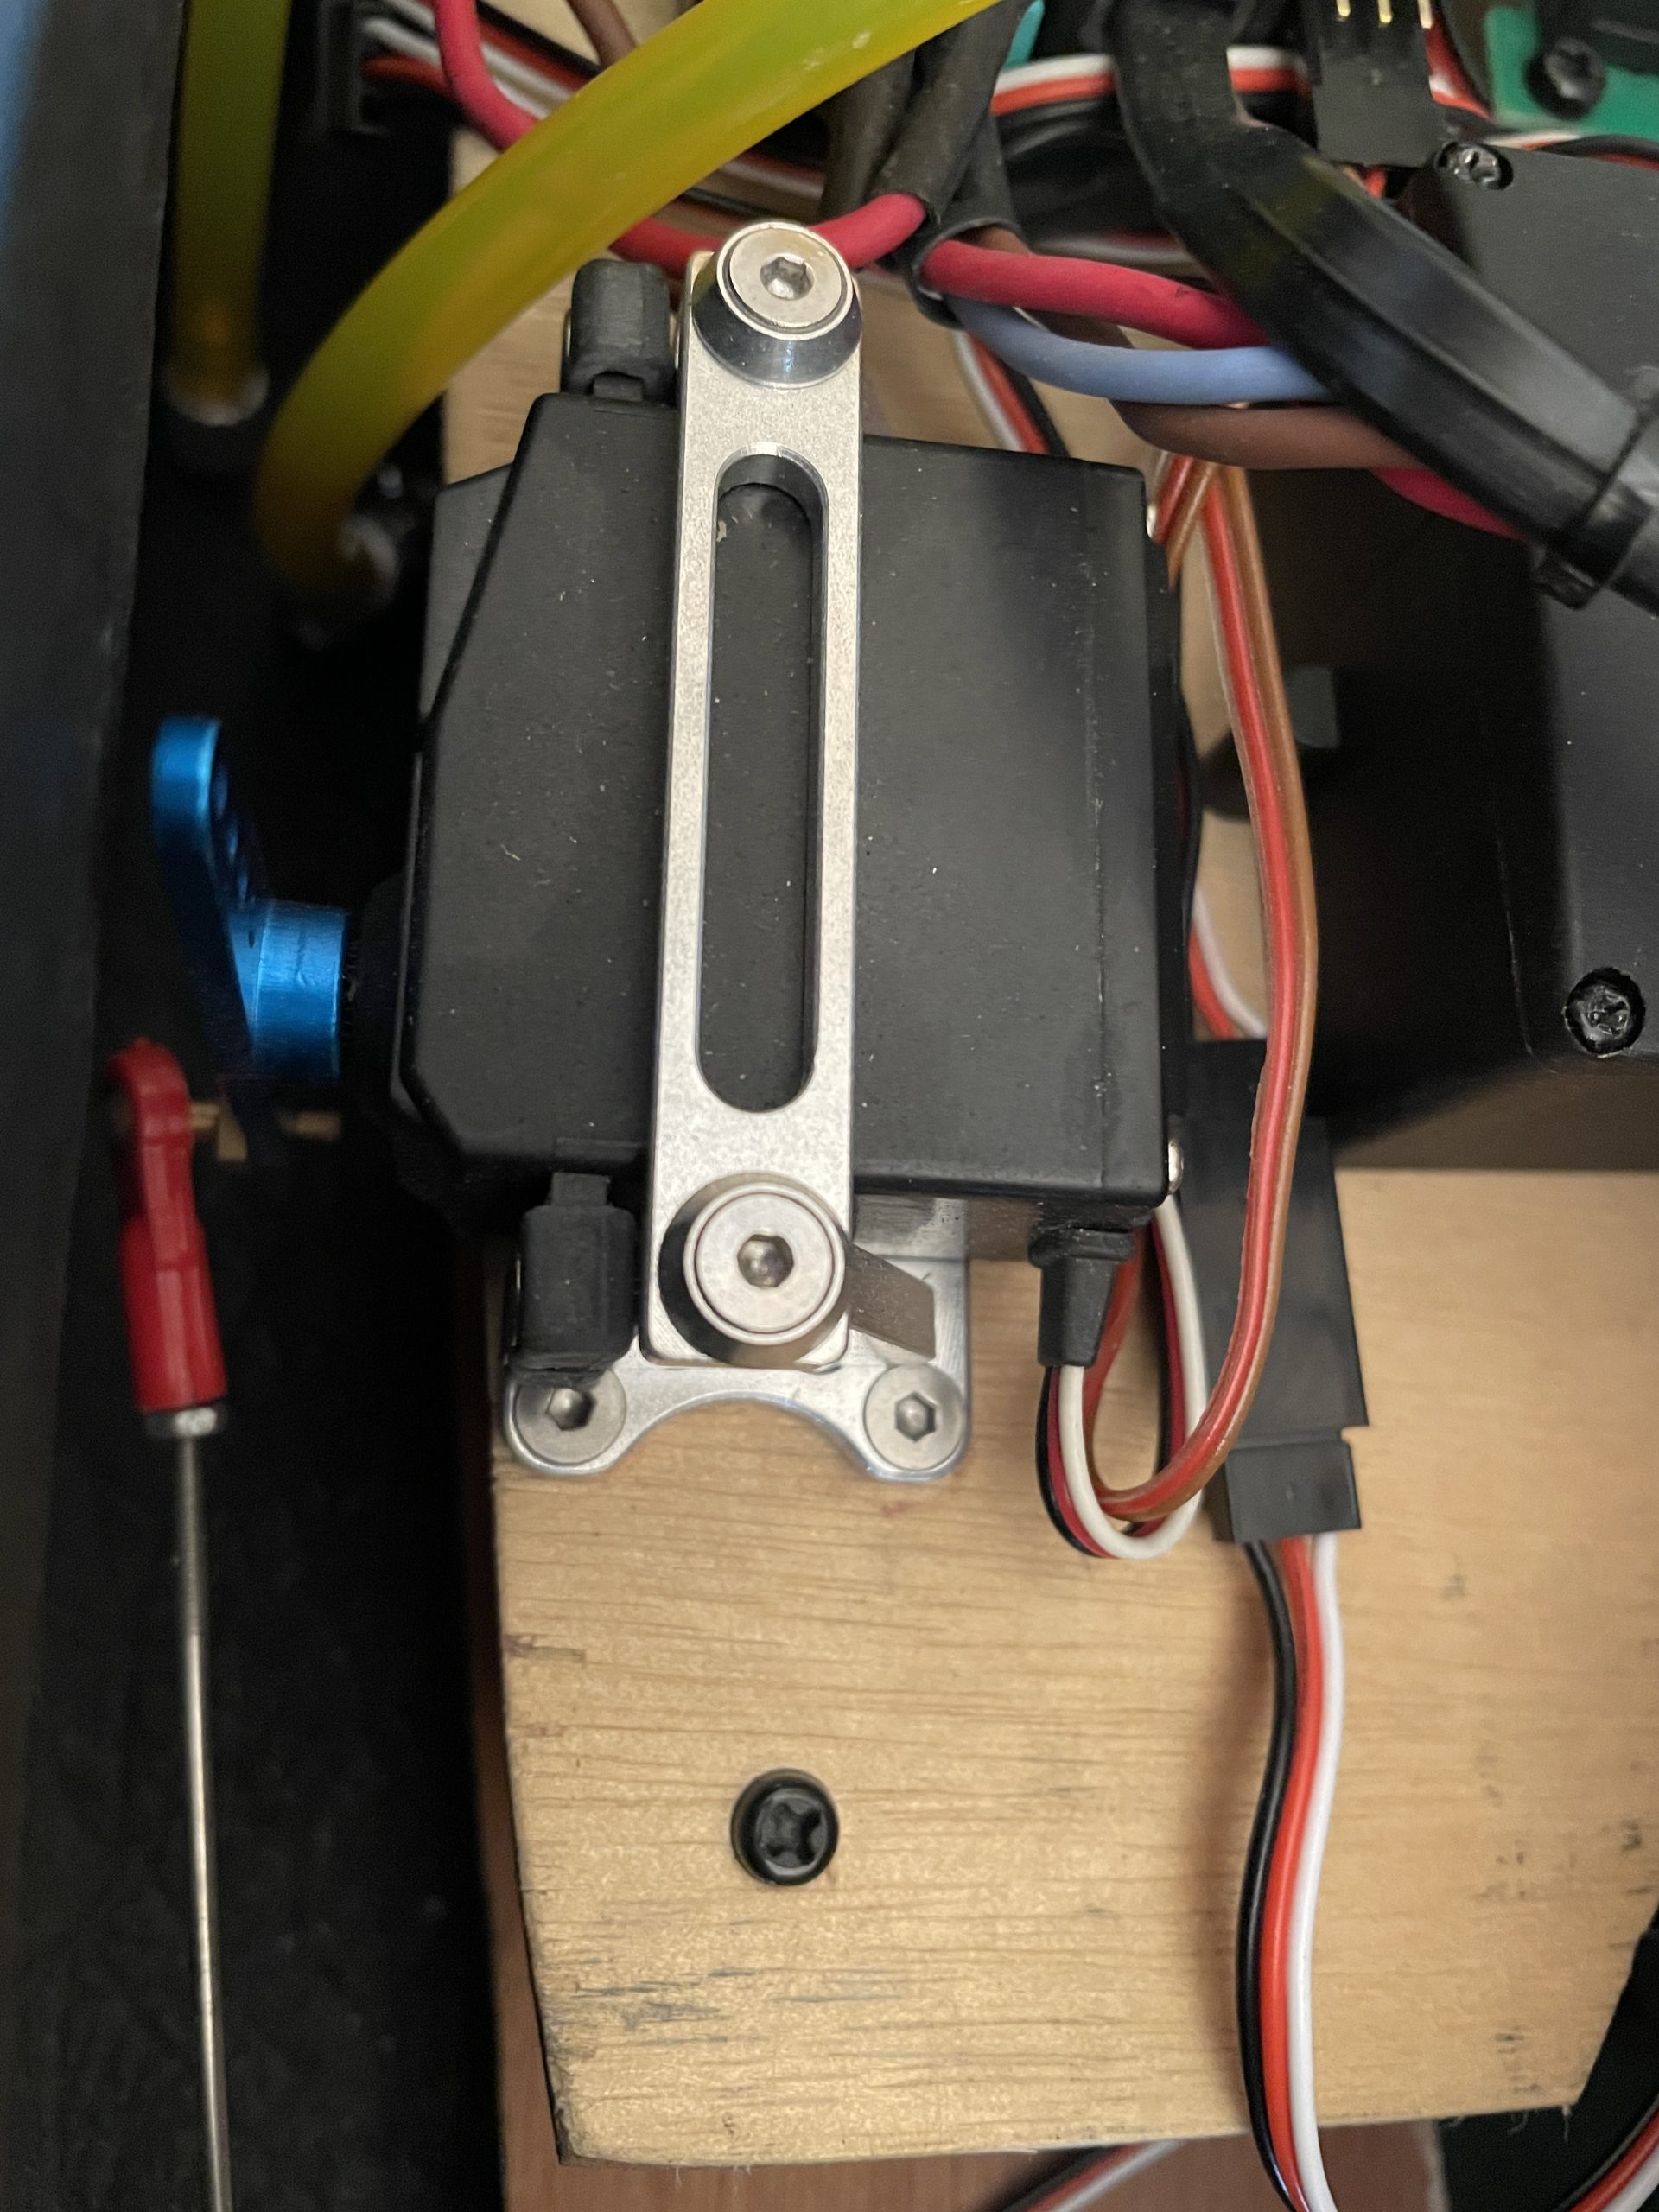
The Rudder was finished off so that it functioned correctly with control rods linking to servo in engine bay. Also a functioning water brake was made out of sheet aluminium and coper pipe.
Not that my initial build was done, other than a few static engine runs I did not really do much for quite a while.
Next Page: Coniston Model Boat Regatta 2021
